Wednesday, December 31, 2014

Recipe #56: Upside Down Pineapple Cake

Recipe: Pineapple Upside Down Cake
Time: 1 hour
Ease: 4
Taste: 7
Leftover Value: Issues led to no leftovers
Down the Drain or Keep in the Strainer: Keep in the Strainer

You may recall, fruit and cake don't normally equate in my world.

Regardless of this, and regardless of the fact that I never, ever would have made this cake had I not been in the middle of a recipe challenge forcing me to make every single recipe in The Pioneer Woman Cooks, I am learning with each additional dessert I make with fruit that fruit only makes desserts better.

Except with chocolate.  I'm still learning to accept including fruit with chocolate. 

Except chocolate covered strawberries.  They are kissed by God.

IMG_1701

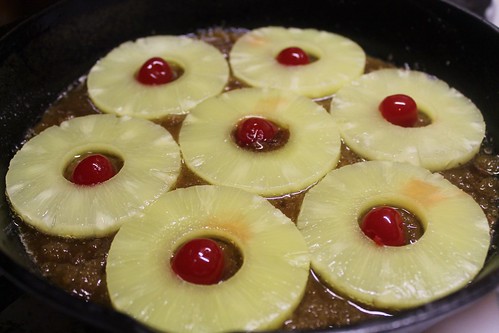
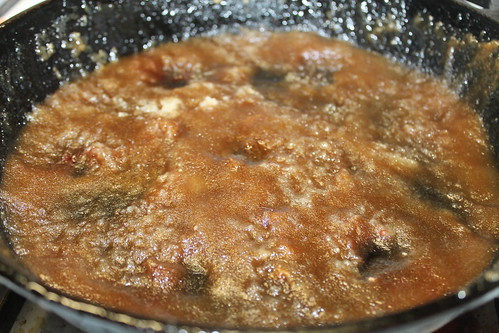
Butter and brown sugar.

That is the story of this cake.

And an iron skillet.

It is pretty much essential to this recipe.

IMG_1706

Thank God PW doesn't try to reinvent the wheel by making you cut up your own pineapple.

That would have crushed my soul.

Canned pineapple rings make life so much simpler.

The batter is basic and can be mixed together in the same amount of time that it takes for the butter and brown sugar to melt together.

IMG_1708

Here is where my impatience yet again got the best of me.

I baked the cake in the oven for thirty minutes.

It seemed a little wobbly in the center, so I skipped the whole toothpick step and put it back in the oven for another ten minutes.*

*Note: PW says it should bake for 30-40 minutes.

After another ten minutes, I decided it had to be finished.  The toothpick was being rather difficult.  It would seem clean at some points and others appeared wet.  I reasoned to myself that it was the wetness of the fruit and that the cake must be finished.

Foolish, foolish girl.  I know.


IMG_1710

The problem with this cake is that once you commit to flipping it out of the pan it is irreversible.

In my defense it really, really looked finished.

It was golden brown to a point that I worried it would burn.

IMG_1711

Yet somehow, I should have saw the sign.

The sign that blared, "NOT FINISHED".

IMG_1712

Regardless of this slop, Hubby and I cut off a hunk of the edge and devoured the cake while it was still piping hot.

The cake had a sweet crispiness to the edge, and the inside was moist and airy.  I made sure to grab a huge slice of pineapple to pair with my piece, and I loved each and every bite.

I'm sure I could have attempted to save the remnants of the cake, but it was beyond the energy I was willing to expend on cake.

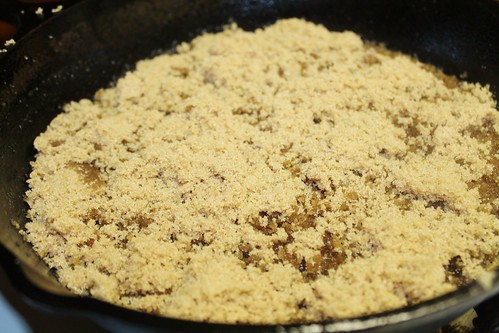
Especially after I saw what was left in my cast iron skillet.
IMG_1713

Tuesday, December 30, 2014

Recipe #55: Enchiladas

Recipe: Simple, Perfect, Enchiladas
Time: 1 hr 20 min
Ease: 5
Taste: 4
Leftover Value: There were leftovers, but no one ate them!
Down the Drain or Keep in the Strainer: Down the Drain

I always get excited over enchiladas and then I realize a few bites in that I'm not a big fan.

Particularly of beef enchiladas.

The chicken and cheese ones tend to be my favorite, but even with them I find I have my limits. 

You'll have to keep this in mind as you read my review of this recipe. 

I think my issue is the corn tortilla and the enchilada sauce.

But enough about me and my issues.  Let's talk about PW's Simple, Perfect, Enchiladas!

There is a long list of ingredients for this recipe.  First, there are about six ingredients that go into making the enchilada sauce (primarily, you guessed it, Mexican red sauce). The meat mixture contains four different ingredients, and then there is "the rest"--six more ingredients that don't fall into the sauce or the meat category.

Despite the long list of ingredients, the sauce and meat are fairly easy to throw together.

It is the assembly that changes this from being "Simple" enchiladas to "Simply Impossible" enchiladas.

At least for me.  Perhaps you might purchase more cooperative corn tortillas.

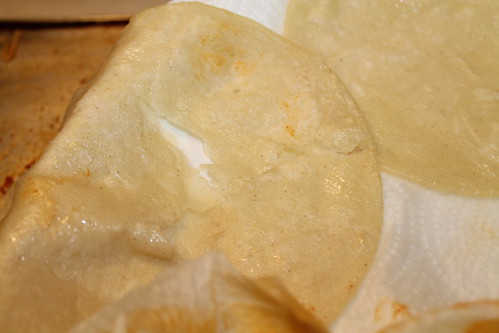
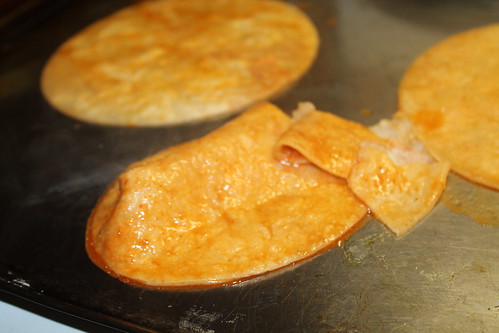
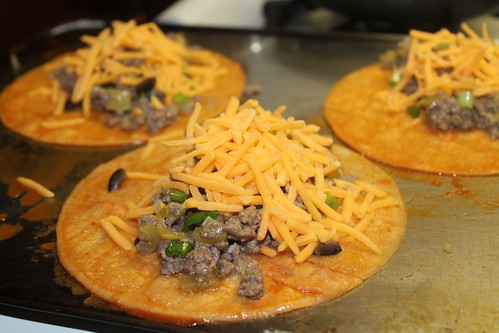
Several of my tortillas did this to me after I fried  them "just until soft" as PW directs:

IMG_1693

I assume I let them cook until a little too soft, but how can one know when a tortilla has reached true 'just softness'. 

While it was aggravating, I pressed on.  I had extra tortillas.  I could spare a few to tear.

IMG_1686

Oh yes.  After frying the tortillas, then they must be dipped in the enchilada sauce.  

That was loads of fun, as you can see.

When it came time to fill the tortillas, I realized just how small corn tortillas are and that their size does not equate to the amount of filling I wanted per tortilla.

IMG_1690

Folding them and arranging them in the pan led to a few more tears.*

*That is tears as in the verb- tear: to pull apart.  However, the noun- tear: the fluid appearing in or flowing from the eye as a result of emotion, especially grief, was close to occurring.

IMG_1691

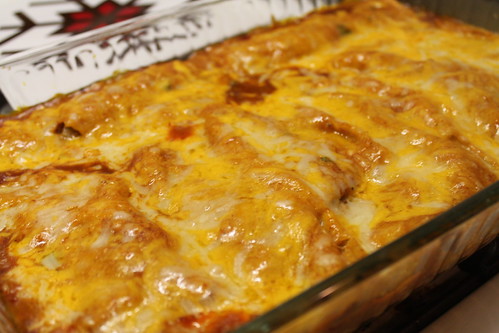
In the end, they looked as good as any beef enchiladas I have ever ordered in a restaurant.

IMG_1696

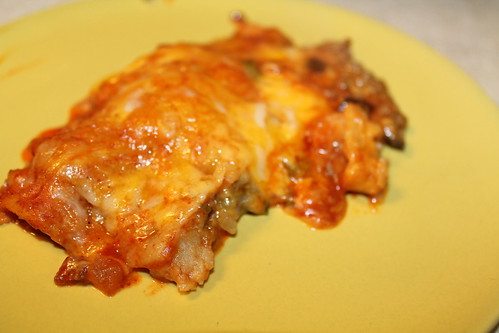
And the taste was pretty much equal as well.

IMG_1699

Meaning that at first bite I thought they were positively amazing.

IMG_1700

But halfway through I realized I didn't like them.

It was then I wished I had a chicken enchilada to start eating.

Monday, December 29, 2014

Recipe #54: French Breakfast Puffs

Recipe: French Breakfast Puffs
Time: 50 minutes
Ease: 3
Taste: 10
Leftover Value: 10
Down the Drain or Keep in the Strainer: Keep it in the Strainer!

IMG_1669

The word "puffs" is deceiving.  To me, it indicates that this is a light breakfast item.

While I could possibly eat two in one sitting, they are certainly not light items and therefore do not fall under the "puff" category to me.

A few items I consider to be "puffs": popcorn, croissants, cream 'puffs'*, rice cakes

*Shocker, right? 

Because these sugar muffins are delicious, I won't fault PW over the name.  I just wanted to make sure you understood they aren't as light and airy as they sound.

If you aren't into carbs for breakfast, you might want to save these for dessert.  Me, I'm perfectly fine with it.  In fact, my body craves pastries, bagels, muffins, and all other carb-a-licious items during the a.m. hours.

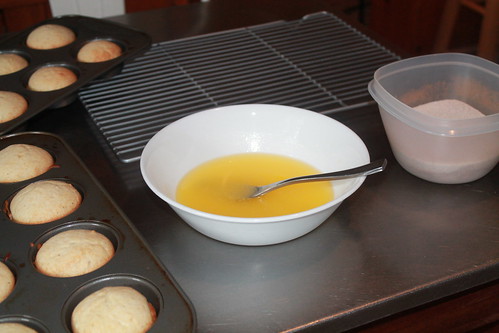
These muffins are so easy to make and so long as you can get over the fact that they are DIPPED IN BUTTER in the final step they might just become a household breakfast item.

IMG_1666

The thought of butter dipped muffins first excited me, and then it bothered me. But when I realized that it essentially boils down to one tablespoon of butter per muffin, I decided it wasn't quite so horrible after all.

IMG_1668

These muffins are like having cake for breakfast....or a cinnamon sugar Auntie Anne's pretzel.  Yum!  But the name has 'breakfast' in there, so it's okay.

IMG_1670

The best part is that they are fabulous left over and apparently, according to PW, they freeze well.  That means a less hectic morning for me and the possibility of enjoying a breakfast that isn't in the form of a Cliff bar when I'm back at work and on the go.

Note: I just discovered that I blogged about these little beauties over two years ago!

Sunday, December 28, 2014

Recipe #53: Marlboro Man's Sandwich

Recipe: Marlboro Man's Favorite Sandwich 
Time: 25 minutes
Ease: 1
Taste: 7
Leftover Value: 7
Down the Drain or Keep in the Strainer: Keep it in the Strainer!

Though this is the 53rd recipe review of the 65 recipes in The Pioneer Woman Cooks, I am happy to report that I have finished my recipe challenge made on October 17th, 2014. I finished a day later than my goal of December 25th and was smacking myself for all the days that I pushed off making recipes that I had scheduled out on my menu.

More on all that, my favorite recipes, and the overall experience to come as soon as I have blogged about all the recipes!

IMG_1675

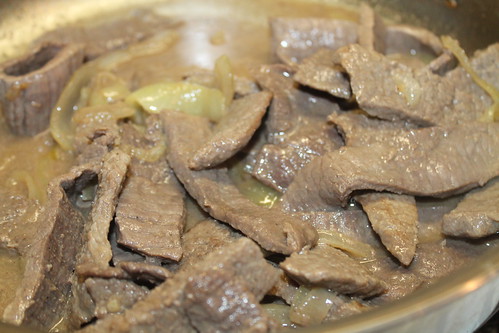
I did not have high hopes for the Marlboro Man sandwich.  As I mentioned before, Hubby isn't a fan of cube steak. So, I'm going to confess that I while I did use cube steak for this recipe, I also mixed in a little thinly sliced steak to try to fool Hubby.

It turns out I really didn't need to.  Cube steak fried in butter with onions apparently is absolutely amazing--who knew?

The best part was that this recipe was finished in under a half hour.  PW gets a bit excessive with the butter by having you spread butter on the roll and brown it on a griddle--so I'm again going to confess that I was a.) in a hurry and b.) feeling a little health conscious and therefore I eliminated that step.

I am certain it would have made the sandwich that much more amazing.

Especially since I used deli rolls that had been chilling* in my freezer for a few months.  They would have benefited from a healthy, buttery toasting.

*Literally!

IMG_1684

This sandwich is like a fancy one-minute steak sandwich---one that takes around twenty minutes to make.  But do yourself a favor and make sure to buy fresh rolls.  Frozen rolls are simply insulting to this beautiful sandwich.  

Tuesday, December 23, 2014

Recipe #52: Blackberry Cobbler

Recipe: Blackberry Cobbler
Time: Prep: 15 minutes Bake: 1 hr
Ease: 1
Taste: 9
Leftover Value: 6
Down the Drain or Keep in the Strainer: Keep it in the Strainer!

IMG_1664

I find it crucial that you understand that I am not a fruit dessert lover.  This must be completely understood before I discuss this blackberry cobbler.

Until my twenties, fruit and dessert were completely separate items.  Combining the two was complete and utter nonsense.

IMG_1645

Pioneer Woman's fruity dessert dishes have brought me into a completely new realm of desserts.  My days of chocolate desserts only have become compromised.

I love it.

And I hate it.

Now there are so many more choices to think through when ordering dessert at a restaurant.

IMG_1651

This blackberry cobbler is amazing.  Even my brothers who were also raised with the no-fruit-for-dessert mentally have all been wow'ed over this dessert.

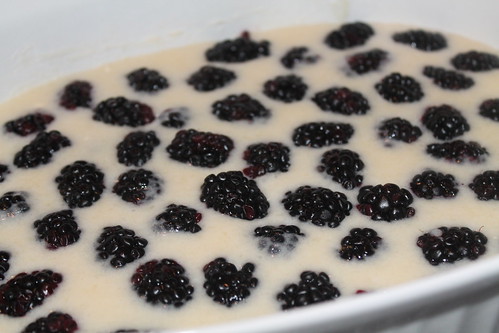
My favorite thing about it is that it is insanely easy to assemble.  The dry ingredients are mixed, then the wet are tossed in followed by the berries.  The only problem is you need to be patient during the hour of baking time.  For me, that ends up being time for me to catch up on my dirty dishes!

IMG_1653

You'll have to turn a blind eye to all the sugar that is used in this dish, because it is quite a lot.  

It is dessert, after all!

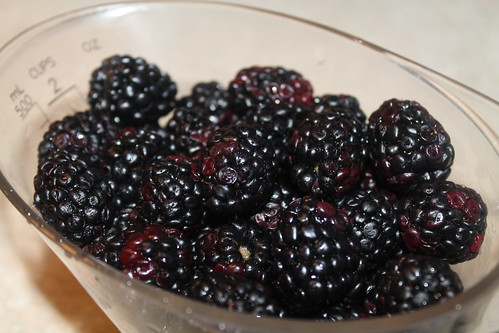
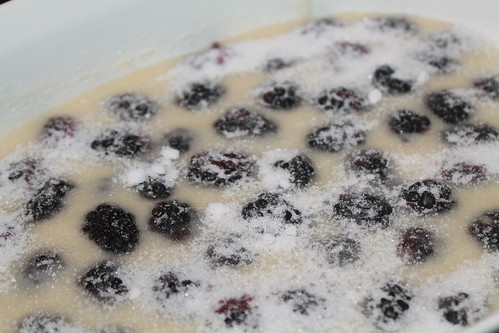
Though it is called "Blackberry" cobbler, PW says at the end of the recipe that you can use blueberries, peaches, raspberries, etc.  My first time making this cobbler, I used blueberries.

It probably won't surprise you that in addition to not being a fruity dessert person, I also hadn't explored the depths of the category of berries.  Cherries and grapes were the closest I had ever come during my childhood.  Blueberries seemed right for this recipe.  They are often used in muffins, so I imagined they would be perfect in this recipe.

And they are.

Though the blackberries were nice, I still prefer the blueberries. 

The dish might not be aesthetically pleasing at first...

IMG_1656

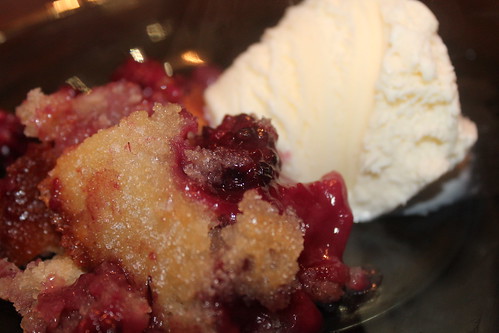
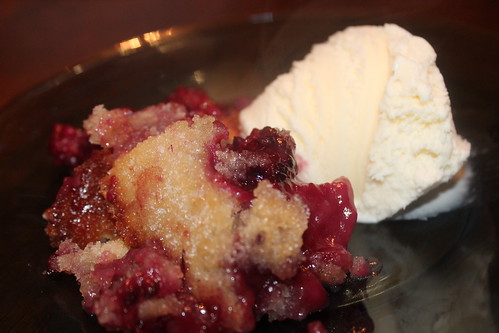
But after you serve it to your guests like this...

IMG_1660

They'll ooh and aah without even taking their first bite.

Please, please, please--never ever ever serve this without vanilla ice cream!

Monday, December 22, 2014

Recipe #50 and #51:Braised Beef Brisket and Twice Baked Potatoes

Recipe: Braised Beef Brisket
Time: 27 hours (24 hours marinating in the fridge)
Ease: 1
Taste: 6
Leftover Value: 6
Down the Drain or Keep in the Strainer: Keep it in the Strainer!

It wasn't until I was married that I experienced a brisket.  I immediately fell in love.
This is the first recipe that got me hooked.

Ordinarily, brisket can be purchased at a fairly decent price.

Naturally, when I needed it, I could only find one in the pristine meat section, and therefore my 3-pounder cost me around $25.

Did I mention I'm not liking the cost-of-meat aspect of this recipe challenge?

This recipe is ridiculously simple so long as you have the patience to allow the meat to sit for 24-48 hours.

When I'm organized, this isn't an issue for me.  But when I'm hoping to have brisket in a few hours and realize it needs to marinate for 24, then I want to throw my brisket out the window.

IMG_1610

The meat soaks in a marinade of beef consomme, soy sauce, lemon juice, and garlic.  My soy sauce got away from me, as you can see.

IMG_1614

The best part is, that once the marinade is created, the meat goes into the fridge and you can forget about it completely until it is time to toss it in the oven.

Here's where the confusion came for me.

I cooked my 3-lb brisket for 40 minutes per pound as directed.  PW says to "check to see if the brisket is fork-tender: stick two forks into the meat and pull them in opposite directions".  If the meat comes apart easily, it's done.  If there is resistance, it should cook longer.

I tried this several times and felt the meat was resisting me every single time.

But it looked done.

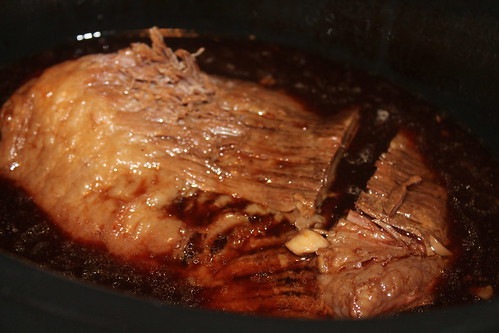
So eventually, I was so aggravated I tossed the entire thing into my slow cooker and set in on high for an hour.

Ultimately, that is how I think I will end up cooking this recipe the next time I make it.  Instead of even bothering with turning the oven on, I'll put it in the slow cooker on low until it is "fork-tender".

IMG_1633

The good news is that when I did eventually get to eat it, it was delicious.  Even Hubby raved about it, and that is a big deal around here.

I would usually serve such a main course with mashed potatoes, but I still had twice baked potatoes and potato skins left on my recipe challenge to do list.

Recipe: Twice-Baked Potatoes
Time: 1 hr 20 min
Ease: 5
Taste: 9
Leftover Value: 6
Down the Drain or Keep in the Strainer: Keep it in the Strainer! 

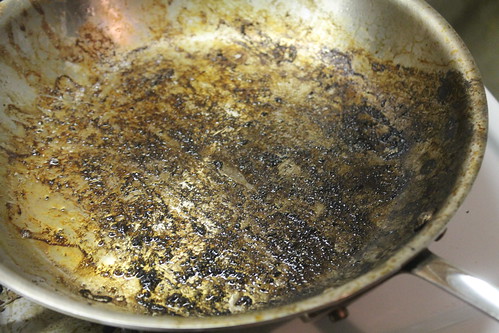
First, let me confess that it has been so long since I have fried bacon that I made a horrible mess of my frying pan...

IMG_1617

Baking bacon has overcome my life so much that I contemplated baking the bacon for this recipe even though PW clearly says to fry it.

Thank God I have an awesome Hubby who cleaned it for me.

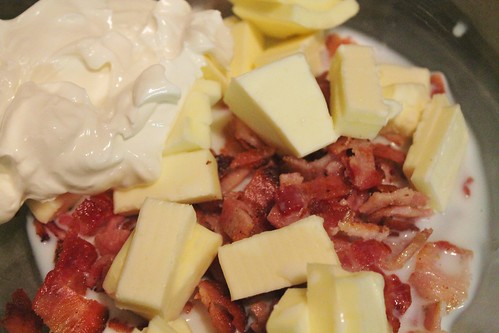
Is there anything more beautiful than this?:

IMG_1618

Hold on, it gets better...

IMG_1623

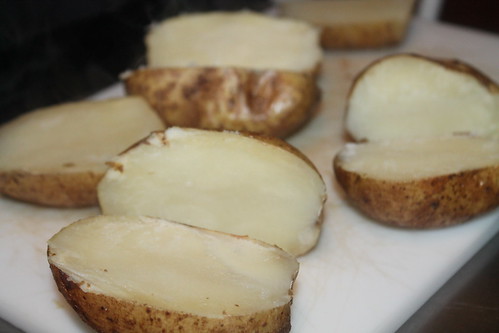
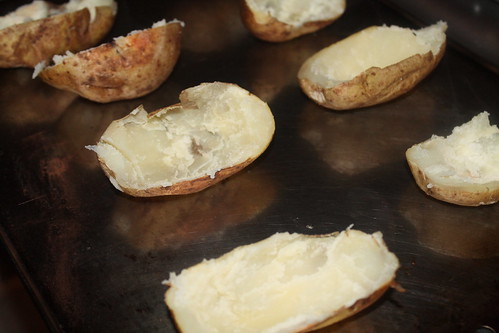
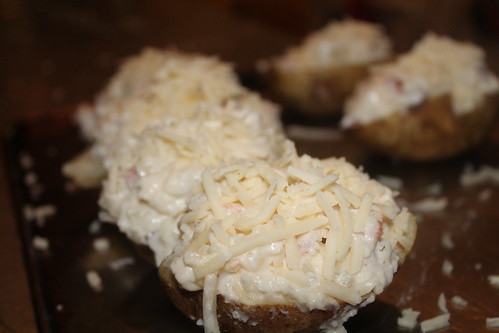
The potatoes, which have just baked for 45 minutes, need to have their bellies scooped out.

This is rather difficult.  It needs to be done while the potatoes are still hot.  Some scoop super easy, and others put up a fuss.

IMG_1625

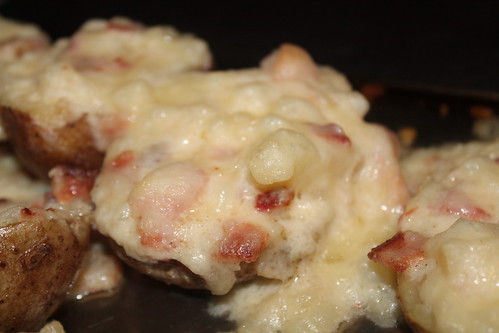
It was at this point I knew for certain this recipe was going to be absolutely amazing.

IMG_1627

Don't be fooled, these starchy delights aren't easy to make--at all.


But they are better than any, ANY, baked potato or potato skin I have ever eaten.
 IMG_1632

In complete honesty, these potatoes were my main dish and the brisket was the side.

Saturday, December 20, 2014

Recipe #49: Lasagna

IMG_1607

Recipe: Lasagna
Source: The Pioneer Woman Cooks
Time: 2 hrs 10 min
Ease: 7
Taste: 7
Leftover Value: 5
Down the Drain or Keep in the Strainer: Keep it in the Strainer!

I have been afraid of lasagna for a long time.

It intimidated me.

It haunted me.

My mother makes great lasagna and she is constantly perfecting her recipe.  She also is the one who reminds me when I think I'm going to make lasagna on a whim that it is an ordeal.

Ugh.  Who was the mother who coined the phrase, "Mother knows best"?

Because she was so right.

Note to self: Lasagna is not a meal to make when you are starving.  Lasagna is not a meal to make if you are in a hurry.  Lasagna is not a meal to make if you are impatient.

Perhaps this is why I have waited so long to make it.

Naturally, I chose to make it on a night where I was starving, in a hurry, and feeling rather impatient.

IMG_1598

Thankfully, I had a cute cooking companion who was not one of those things.

IMG_1599

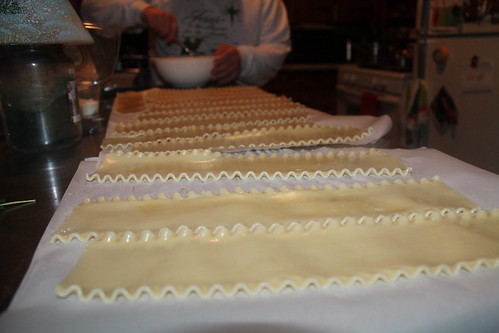
The recipe calls for 10 oz of lasagna noodles--which somehow ended up being more than necessary.  In reality, it should have called for eight lasagna noodles.  This worked out in the end for me though because Hubby has a complete aversion to cottage cheese.  Originally, I wasn't going to cater to this picky nature---especially since cottage and/or ricotta cheese are essentials to true Italian lasagna. Despite this, I decided the extra noodles could be used to make him a mini lasagna made with only mozzarella and Parmesan cheese.

IMG_1601

Here's something stupid that has happened several times to me during this recipe challenge (and let's be honest, during several of my cooking adventures over the past seven years): I forget to plan out how long certain things need to cook.

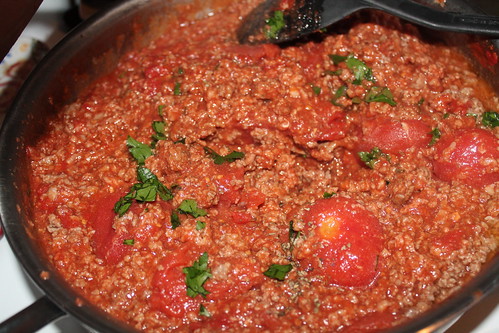
Such as the meat, seasonings, and tomato mixture that need to simmer for 45 minutes.

45 minutes!  

When you are hungry, 45 minutes is an eternity.

IMG_1605

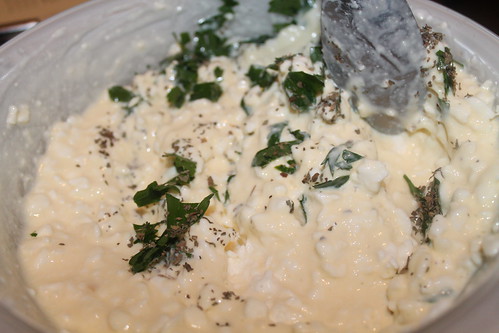
I tried to bide my time by prepping every other aspect of the lasagna including readying the pan and the cheese mixture.

IMG_1603

But then, of course, once the lasagna was assembled it needed to cook for 35 to 45 minutes.

IMG_1606

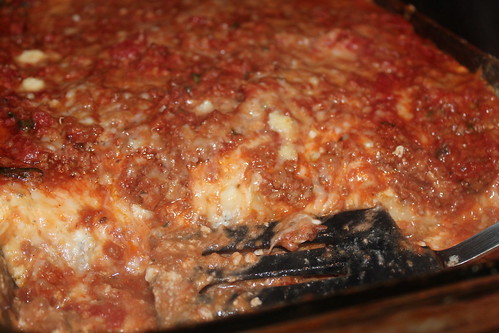
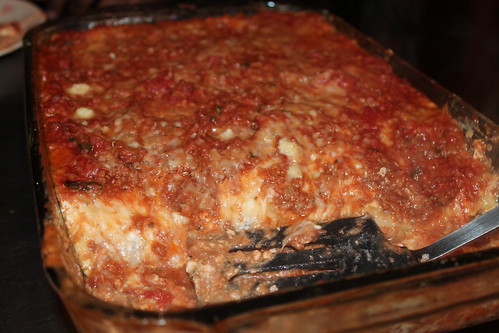
Impatience won out after the lasagna was finished cooking. As with most hot and potentially soupy items, lasagna should, and PW directs to let it, sit for 10 minutes before slicing.

I waited about 10 seconds.

Can you tell?

IMG_1608

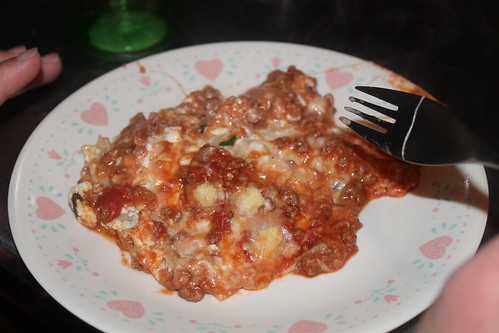
Regardless, the flavors were delicious.  The meat mixture was perfect...did I mention that I wanted to eat it with a spoon from the pan as it was cooking? It smelled divine.

The only change I would make is to add ricotta cheese to the mix.  Ricotta is amazing and completely necessary in lasagna.  

No matter what Hubby says.

IMG_1609

Thursday, December 18, 2014

Recipe #46, 47, 48: Beans, Bread, and Chili

IMG_1519

Recipe: Beans
Source: The Pioneer Woman Cooks
Time: 2 hours
Ease: 1
Taste: 4
Leftover Value: 2
Down the Drain or Keep in the Strainer: Down the Drain!

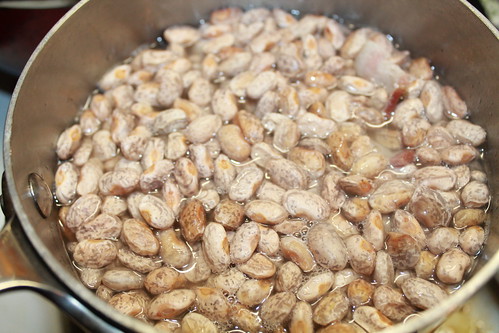
Beans aren't my favorite.  I certainly wish they were because I know they are incredibly good for you.

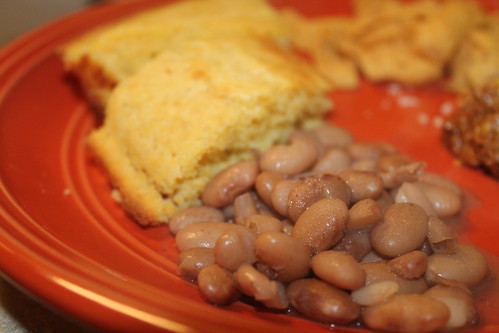
Even more so, I wish these beans had been as delicious as she set them up to be, because they are so simple to make.  Even Hubby, a bean lover, said that these beans were just okay.  The wait time for them to cook for the flavor acquired made it seem insane not to just crack open a can of beans instead.

I did not appropriately judge the size pot needed and about half way through cooking I had to switch over to a different one. 

That made me grunt and groan.

I had hoped that the pieces of bacon cooked with the beans would make the flavor amazing, but the lack of other ingredients tipped me off that I wouldn't be too impressed.  Other than the beans and bacon, we have salt and pepper added at the end.

These beans are bare bones basics, folks.  And it shows.
 
Recipe: Cornbread
Source: The Pioneer Woman Cooks
Time: 35 minutes
Ease: 3
Taste: 2
Leftover Value: 1
Down the Drain or Keep in the Strainer: Down the Drain!

Flavorless cornbread makes me sad.

This is only because I have tasted and made cornbread full of flavor and moisture that is so perfect I almost forget about my bowl of chili that sits beside it.

Almost.

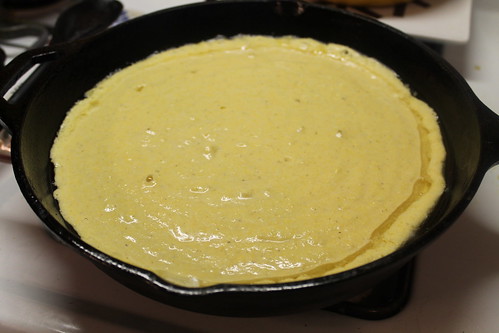
I had high hopes for this cornbread, especially since I didn't have any hopes for the beans.  I expected the beans to be lousy.  I reasoned that the cornbread would make up for this.

IMG_1499
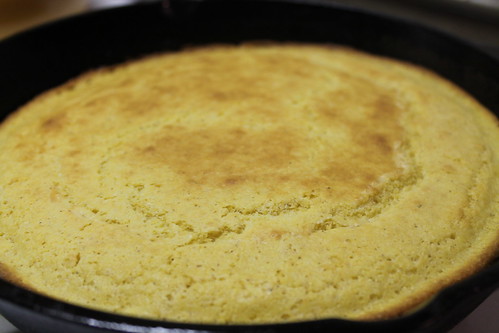
IMG_1512 
Even though it looks great, this cornbread was bland and boring.  The texture was great, but the flavor was lacking--greatly.
 
Recipe: Simple, Perfect Chili
Source: The Pioneer Woman Cooks
Time: 1 hr 20 min
Ease: 2
Taste: 8
Leftover Value: 7
Down the Drain or Keep in the Strainer: Keep it in the Strainer!

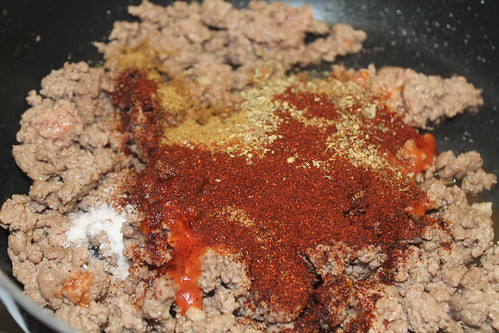
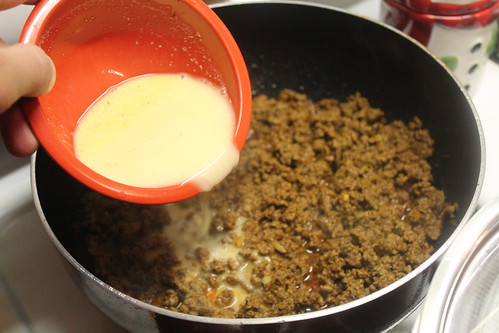
I've made this chili before and it is probably my favorite chili recipe because, in the book at least, she does not demand beans in it.  The linked recipe is from the Food Network, and is a little different than in the book.  In the book, she lists different things that can be mixed in with the chili, but doesn't require it.

Chili that does not require beans is simply perfect chili to me.   

IMG_1485

If I'm being completely honest, I don't totally hate beans in chili.  I only hate the super huge kidney beans that are often used in chili.  They bother me just a little.

I find that before the hour of time that the chili simmers, it becomes pretty dry and needs some water added to it.  This isn't always the case, but it is often the case.

A little corn flour mixed with water is the secret to the texture of this chili.  It is added a few minutes before the chili is  done to thicken it up a little. 
 
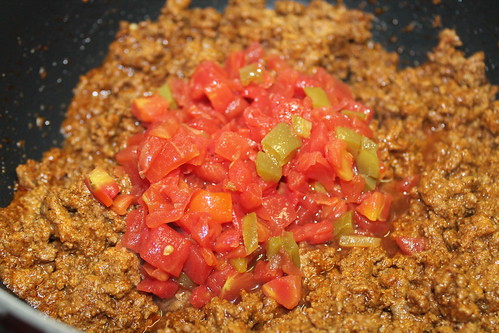
Instead of beans, I take PW's suggestion to add diced tomatoes with green chiles.  These are sometimes difficult to find in the grocery store.  Make sure you go to the international aisle and not the regular canned tomato section.

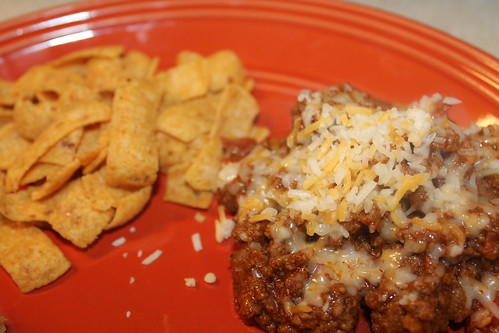
Here is why I especially love this chili.  While you can certainly cozy up with a bowlful of it and a hunk of (good) cornbread, you can also eat it with fritos, scatter it on top of french fries, of use it to make the best nachos ever.
 
IMG_1516