Showing posts with label butter. Show all posts

Friday, April 17, 2015

Butter, NYC

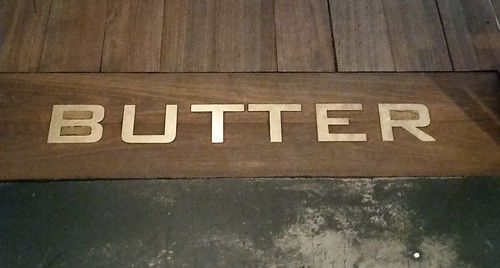
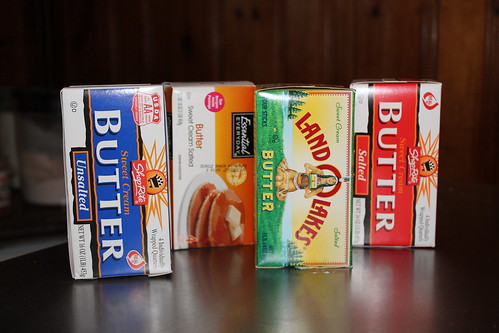
A restaurant named Butter, no question about it, is going to be out-of-this-world, write home to your momma amazing. Add in that the head chef is Alexandra Guarnaschelli, famous Iron Chef and Food Network chef, and guaranteed, it will be a meal to remember.

20150404_170828

After looking up the menu beforehand (because that's what true 
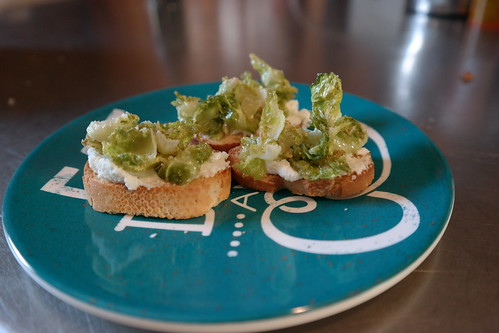
foodies do, right?) Hubby was dead set on ordering the Homemade Ricotta Crostini as an appetizer. He told me about it as we were driving into the city and was instantly annoyed that I didn't share his excitement.

"It has crispy Brussels sprouts!" he said.

"And ricotta…which you don’t like.” I reminded him.
                                  
Nevertheless, we ordered it.

If you have never experienced crispy Brussels sprouts, make it a priority to try them today! Brussels sprouts aren’t exactly a popular vegetable; to me they are highly related in taste and smell to cabbage. In this appetizer, they are transformed from an icky vegetable that gets avoided on the dinner plate, to the star of the show. I was curious how ricotta would blend with earthy Brussels sprouts, but the crispy sprouts, the creamy ricotta, and the crunch of the bread beneath it all married together beautifully. It was like a bite-sized vegetarian flat bread.
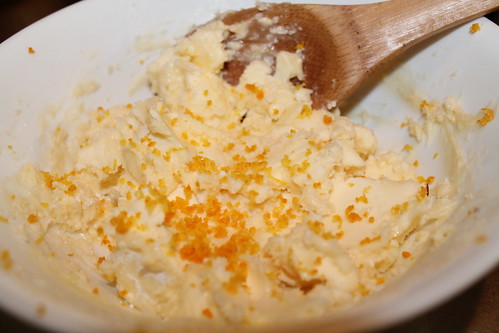
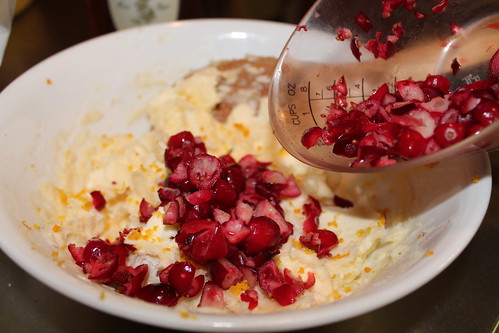
Here is how much we loved this appetizer. The next weekend, I recreated our dining experience at home by following Alex’s recipe

SAM_0688

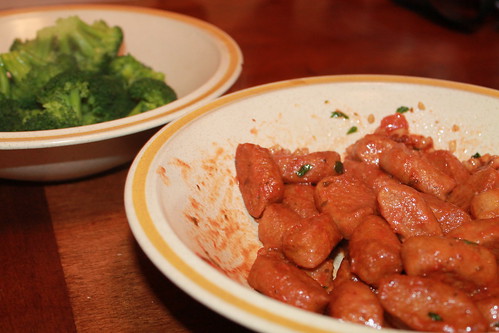
For dinner, Hubby ordered the Creekstone Farms “Butter Cut” Beef Filet with a side of Gnocchi Mac and Cheese. Butter Cut is the right word choice when describing this filet. It was tender, juicy, and smooth as butter. Turning gnocchi into mac and cheese was clever, and delicious.

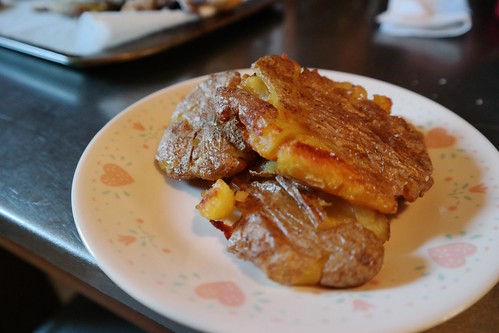
I ordered the Roasted All-Natural Chicken Breast with sautéed sunchokes and black truffle butter. It was the sunchokes that really decided my meal. You might recall how I first met and fell in love with them during our Valentine’s Weekend (LINK) in NYC. However, I almost didn’t order the chicken for fear that the chicken wouldn’t be cooked properly. The last two or three times I have ordered roasted chicken (at different restaurants) I have either received super dry chicken or chicken that simply lacked flavor. Thankfully, Butter does chicken right. The skin had the necessary crisp to it, and the chicken was juicy and had absorbed the sweetness of the sherry it cooked in. The sunchokes continued to impress, but I couldn’t finish them because I had lost all self-control and also ordered a side of Roasted Red Norland Potatoes with rosemary sea salt.

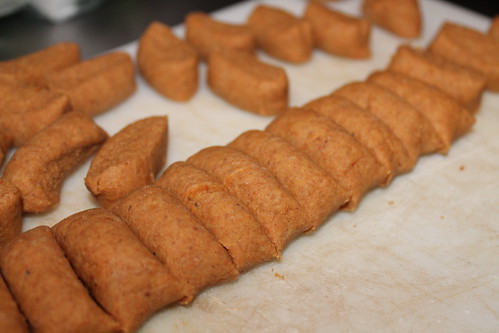
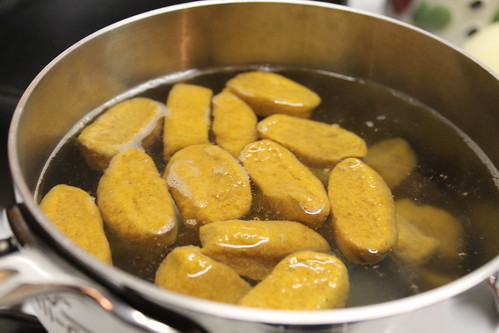
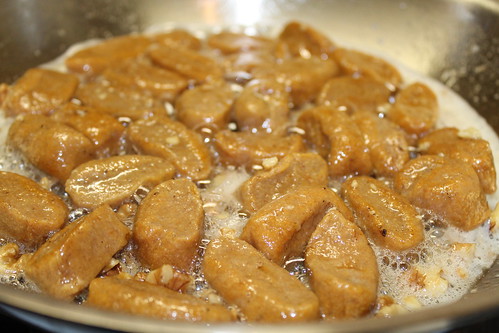
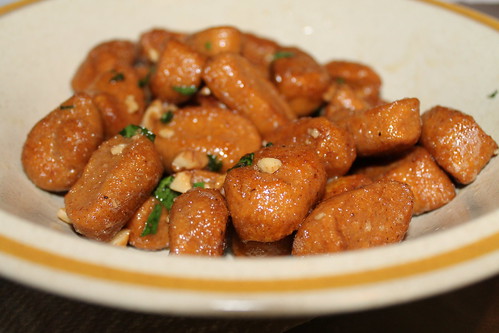
We decided these potatoes also needed to be recreated at home, so I dug around and found a super simple recipe that in the end matched almost perfectly to the presentation and taste of Butter’s potatoes.

SAM_0696

The desserts certainly were tempting. I was particularly intrigued by the Frozen Toasted Marshmallow “Mallomar”, but we decided to refrain from ordering.*

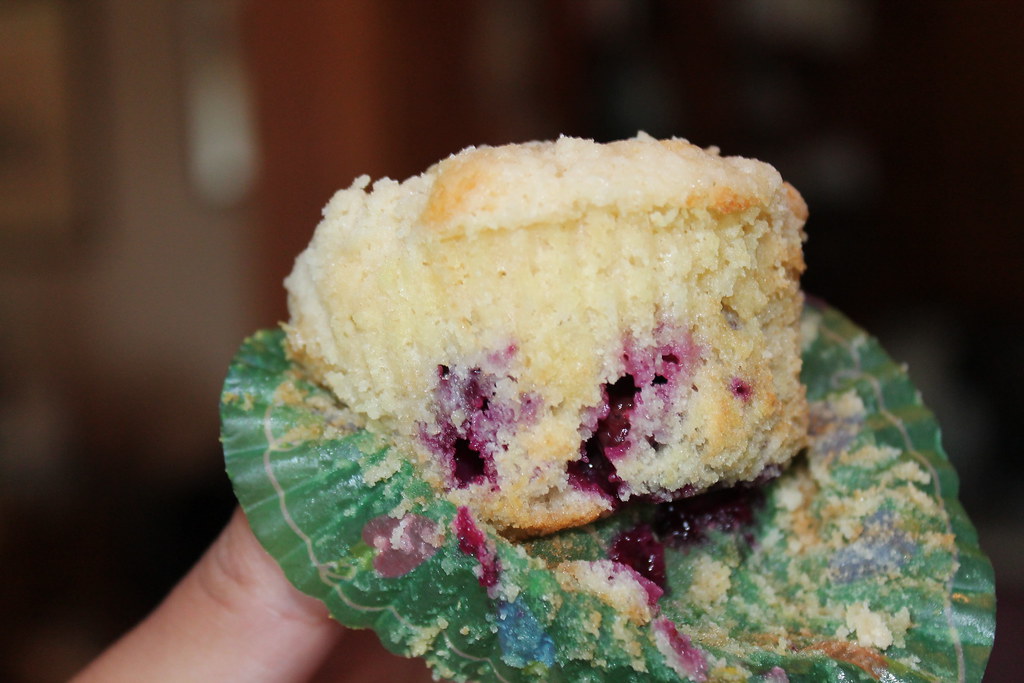
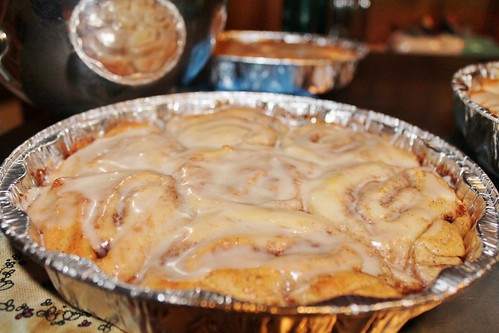
*This could possibly be because we had popped into Magnolia Bakery only an hour before dinner and grabbed a few cupcakes. It could also have been because we had plans to head to Le Pain Quotidien for French Crème Donuts.

Butter was exactly the kind of restaurant I want to spend the rest of my life with and in this case, I’m not so sure if a rose by any other name would smell as sweet. Don’t get me wrong, the food was what overall made this place a winner, but there was something about the name mixed with the atmosphere and environment when joined together with the food that made it perfection.

Along with an alluring name, bite, and décor what I loved most about a place like Butter is that from street view it gives off the facade of being a hole in the wall. A plain, seemingly small entrance with the word “Butter” can be easily missed, but behind the door lays an underground dining experience perhaps not meant for the entire world. Thankfully, we had the opportunity to partake in it.

20150404_182625

Friday, October 24, 2014

Recipe #6: Egg-In-The-Hole

Recipe: Egg-In-The-Hole
Source: The Pioneer Woman Cooks
Time: 5 minutes
Ease: 3
Taste: 10
Leftover Value: Never, ever, any leftovers
Down the Drain or Keep in the Strainer: Keep it in the Strainer!

IMG_0468

I have been eating eggs-in-the-hole since I was eight or nine-years-old.  Gram would make them for me for breakfast, lunch, or an afternoon snack--they are so good, honestly, it doesn't matter what time of day you have them.

Only Gram didn't call them egg-in-the-hole.  At first, she called them 'Moonstruck Eggs' because in the movie Moonstruck someone is making them and that inspired Gram to want to make them.  But I guess that name didn't make too much sense to a child, so we began calling them 'Funny Eggs'.

Apparently we aren't the only ones to give this item whatever name we thought suited it.  Pioneer Woman lists off over ten different names given to this delicious way to cook an egg including: frog-in-a-hole and private eyes.  Interesting.

I'll stick with calling them funny eggs, though moonstruck egg does have a classy sound to it.

Being that I've been making funny eggs for as long as I have been cooking, I thought it was rather silly to actually follow a recipe.  But since it was in the book, it was part of the challenge, and I had to do it.

And I'm so glad I did.

I realized, in my recent times of making funny eggs, that I have grown rather impatient with this less than ten-minute meal.  I've wanted to rush through getting my bread perfectly crisp and my eggs still runny, and tried to speed up the process by doing everything from raising the heat to frying the bread first.

But the answer my friends is this: butter.

I know, you didn't want to hear it, but it's the truth.  Butter simply makes everything better.  See, in my impatience, I had also grown a little health conscious and was trying to use a tablespoon or less of butter in making my funny eggs.

Pioneer Woman ruined that by using 3-4 tablespoons per egg and wowing my taste buds at the same time.

IMG_0453
We never used fancy biscuit cutters to make our hole.  A knife works just fine.

Of second importance is timing.  We start by heating 2-3 tablespoons* of butter in a skillet, then placing the bread into the skillet to soak up some of the butter.

After a minute--a whole entire minute---the egg is then cracked in the center.  She doesn't warn of this, but I've had enough experience with messing up my eggs to know that you need to make sure you crack lightly and carefully break away the shell as to not break the yoke.

*I opted for two.

IMG_0461

Season with salt and pepper!  Yet another thing that I would ordinarily hurry past.  

Why do we insist on living flavorless lives when just a little salt and pepper can change everything?  That is what I asked myself again and again after making this recipe.

Flipping the egg/bread over is as tricky as making sure to crack the egg properly.  If you wait a full minute, the egg should be set enough that this can be done without breaking it.

IMG_0463

Oh, and before you do this, Pioneer Woman suggests throwing another tablespoon of butter in, 'just for kicks'.

Here are the three elements you want to remember when making funny eggs.  They are what I've learned from following Pioneer Woman's recipe: butter, timing, and a large pan.

I always tried getting by using a small skillet and while it works, a larger one does the job better.

Concerning the butter, when I made my second funny egg I could use far less without compromising the flavor.*

*There was still plenty (butter) left in the pan.

IMG_0472

Hello, gorgeous.

If you don't like your eggs runny, I seriously don't know what is wrong with you.

I'm just kidding.  If you don't like your eggs runny, just let the egg cook longer in the pan on both sides.

But runny is where it's at.

Finally, that little square or circle of bread that you kept in the pan and fried in the butter, it is sacred.  Use it to sop up the egg yoke, or just stuff it in your mouth and enjoy the buttery goodness.

Thursday, July 3, 2014

Brown Butter Blueberry Muffins

Recipe: Browned Butter Blueberry Muffins
Time: 65 minutes, includes cooling time
Ease: 5
Taste: 10
Leftover Value: 10
Down the Drain or Keep in the Strainer: Keep in the Strainer!

IMG_5497

I want to make something perfectly clear before I begin.  I have never, ever been into blueberry muffins.  I have never, ever been into muffins that didn't involve chocolate chips throughout.

Yet.

These muffins, oh my, these muffins.  They make me forget all about, what were they again? 

IMG_5480

I found Joy the Baker through who else but the Pioneer Woman?  And I'm so happy I did.  This girl knows her stuff, and every one of her recipes I have made has been fantastic.

IMG_5481

The first time I made these I had no idea what it meant to brown butter, so I winged it.  I'm pretty sure I failed miserably, because since then I have really learned what it means to brown butter.  The muffins hadn't suffered too much, because they were still edible and delicious.  But perhaps they were even more delicious the second and third time I made them with true blue, er...browned butter. 

IMG_8595

Here is what Ms. Joy tells us to do: "Keep an eye on the butter.  It will melt, froth, and begin to crackle....The crackling will subside and butter will begin to brown fairly quickly.  Remove from heat when butter solids become a medium brown color and butter smells slightly nutty,"

Wha...wha...what??

First of all, the crackling is hardly "crackling".  From this term, I'm expecting a Rice Krispies snap-CRACKLE-pop sound.  Not quite.  This sound is slightly reminiscent of what...wait for it....butter sounds like in a frying pan.  However, there does reach a point where there is no longer any sound coming from the butter.  I used this the gauge when my brown butter was close to done.

IMG_8596

Another issue I have is that no matter the lighting of the kitchen or the coloring of the pan, it is pretty difficult to determine that the butter has officially become brown.  This leads me to wonder things like, How brown is too brown?  and  Did the butter actually change color, or has it looked this way the entire time?

IMG_8607

Whether I got it right each time or not, I will say this, this batter is so divine I could skip the baking step, grab a spoon, and call it quits right there.

IMG_8608

Thankfully, I have learned to exercise restraint and times have not gotten that desperate.

I love the topping on these muffins, after all, what is there to dislike about the crunchy buttery delight that flour, butter, and sugar make when mixed together?

IMG_5486

As I said before, baked goods with fruit aren't normally my thing, but these are like vanilla cake dressed up as something a little healthier. 

IMG_5499

I don't even mind the purple stuff at the bottom.*

*Note: Every time I have made these I have used fresh frozen blueberries and it tastes darn good.  Translation: I buy blueberries in bulk, freeze them, and then can make these muffins whenever I want.  

Tuesday, January 28, 2014

Pumpkin Gnocchi with Butter Walnut Sauce

Recipe: Pumpkin Gnocchi with a Butter Walnut Sauce
Source: http://www.foodrecipeshq.com/pumpkin-gnocchi-with-a-butter-walnut-sauce/
Time: 20 minutes
Ease: 2
Taste: 3
Leftover Value: 4
Down the Drain or Keep in the Strainer: Down the Drain*

*Note: I made an adjustment to the recipe.  I plan to try it again without the adjustment.  My hopes are high, but perhaps too high.  Sigh...

I have made gnocchi once before.  You might remember from this post.  While the taste was delicious, it was a laborious task, which outweighed any delight I may have experienced.

IMG_7198

Considering that this gnocchi was not one made of potatoes, I didn't anticipate the same struggle.  However, considering that I was using whole wheat flour per the guidelines of the Daniel Fast that I was semi-somewhat-kind-of-in-a-way following, I decided that I would be good and use whole wheat flour. 

I knew by using whole wheat flour that I was already marking this recipe to be a loser.*

*Note: I'm sorry to those whole wheat lovers out there.  But as I've stated before, I know cardboard that is tastier than whole wheat flour.

IMG_7205

IMG_7206

These were stupidly simple to make.  In fact, it was about as easy as: mix all the ingredients together, roll them into a cylinder, and slice.

IMG_7213

IMG_7214

From there, the gnocchi was tossed into a pot of boiling water.

Let me take a moment to tell you how much faster water boils now that I am using All Clad pots.  I have the fastest boiling water in the nation.  My water boils so fast, I have to tell it to slow down so I can catch up.

Okay, I'm done.

I just thought you might like to know.

IMG_7216

IMG_7219

Here was a promising part to this recipe: butter.

Then again, butter didn't quite meet the guidelines of the fast I was supposed to be sort-of-kind-of following.  Then again, Hubby (who was strictly following the fast) was still away in LA when I made this recipe, so I decided I'd let the butter part of the recipe stay.*

*Which makes me wonder why I couldn't have just let the white flour part stay too.

The gnocchi fried with crushed walnuts in butter until they were crispy and delicious---looking.  Key word: looking.  

IMG_7223

IMG_7229

One point of major annoyance is that the pumpkin flavor didn't come through at all.  The recipe's author even states that, making me wonder why we even bothered to put it in in the first place.  She does recommend serving the gnocchi with tomato sauce, which I didn't need to read twice to do.

Though I found the gnocchi to be heavy and bland, I would have found it to be absolutely unbearable without the tomato sauce and broccoli I served on the side.   

After eating a small serving I found myself to be full.  

This is a ground breaking, earth shattering comment.  I was full.  I had hardly eaten anything, or so I thought.  But apparently, all that whole wheat goodness packed together brought cause for my stomach to actually say, "I''m good."

I haven't totally written it off yet, but I'm pretty sure that even with white flour the consistency of gnocchi made this way is still going to be much heavier than the light and moist delight of sinking your teeth into a piece of gnocchi made with the starchy goodness of potatoes.

************

If you haven't noticed, Orange Strainer has an "Index" section now.  Hopefully this will help in finding specific recipes you might be interested in or looking for.


Friday, December 6, 2013

Thanksgiving Delights: Part Four, Cinnamon Rolls

Recipe: Cinnamon Rolls
Source: The Pioneer Woman
Time: 3 hours
Ease: 10
Taste: 10
Leftover Value: 10
Down the Drain or Keep it in the Strainer: Keep it in the Strainer!

I've saved the piece de resistance for last.

Every single time I make these, something seemingly terrible happens and I fear the worst.

Something like, I double the batch instead of halving it.  Or, I forget to let the buns rise before shoving them into the oven.

You do things like this too, right?  Please say you do.

But in the end, they always come out looking like this:

IMG_6661


and all my fears subside.

Before I carry on, I want to take this moment to mention the star of my Thanksgiving breakfast:

IMG_6640


Dear dear butter.  How could we exist without the goodness you add to cakes and pastries?

I'm sure my thighs could still exist, but my heart would have an empty butter shaped hole.

Alright, enough of the sentimental stuff.

These cinnamon buns start out friendly.  The first steps require combining a warm liquid mixture with yeast.  Then, mixing it all together with flour.

A lot of flour.

Hence why I desired to cut the recipe in half a few years ago to no avail.

The dough sits for an hour.  I spend this hour trying to throw together one of my easier Thanksgiving breakfast recipes.  This year I spent this time making the Mini Cherry Pecan Pie 'dough'.

IMG_6657


I always use this pot and I'm always annoyed when after an hour is up I realize I meant to use my larger pot.

The moral of this story is: use a large pot.  And of course, don't be like me.

After the hour, baking powder, baking soda, and salt are sprinkled on top of the mixture.  They are then mixed into the dough along with another cup of flour.*

*Note: You will more than likely need to add even more flour.  I always knead the dough and then think, "Gee, this seems a little moist but I think it will work" and then I'm filled with regret later.

Because the step that follows is going to make your cinnamon rolls even more moist, gooey, and messy.  It's what takes this recipe from fun and friendly to painful agony.

Okay, I'm a little dramatic.  It isn't quite that bad.

IMG_6658


What you're looking at, dear friends, is what I imagine the entryway of heaven must look like.  Golden and delicious.

Alright, I'm not sure about the delicious part, but a girl can dream, can't she?

Because in the recipe she says you can use even more butter for the filling, I use exactly how much the recipe states (because even that seems a bit excessive considering the looks of the above picture).  This is followed by covering the butter with cinnamon and sugar.  The dough is then rolled towards you into one long luscious log of liberty.*

*This makes sense, I promise.

Because I like to give you the cold hard truth here about the recipes I try out, I am going to tell you the mixture of issues I always have at this step.  First of all, my cinnamon rolls always end up oozing buttery pools mixed with cinnamon sugar by the end of the roll.  The next problem is the dough isn't firm.  This doesn't create the perfectly formed cinnamon buns you see in all the Pillsbury commercials.  Instead my buns look like Pillsbury blobs.

Yet, once I assemble my blobs into their pans, bake them, and ice them, they always end up looking like this:

IMG_6664

So for all the faults I have encountered in making these gorgeous globs of goodness, I suppose if they always come out tasting delicious, that's all that matters in the end.

Tuesday, December 3, 2013

Thanksgiving Delights: Part Two, Cranberry Butter

Recipe: Cranberry Butter
Source: The Orange Strainer
Time: 15 minutes, plus time in refrigerator
Ease: 2
Taste: 10
Leftover Value: 10
Down the Drain or Keep in the Strainer: Keep it in the Strainer!

A local diner near my house serves bread with three types of butter: regular, garlic, and cranberry.  Butter and bread is classic.  Garlic butter is incredible.  Cranberry butter is an unexpected delight.

The first time I experienced this butter wonderland, I wanted to take back my dinner order and send for more bread and butter.

It was that amazing.

This cranberry butter is what made me choose to make Baked French Toast as part of my Thanksgiving breakfast.

As I started to make it, I feared that it wouldn't meet my expectations.  This is probably because I've never made anything with cranberries before.  Because of this, I decided to give a raw one a try.  The taste was so bitter, I instantly started shaking my hands and making whining noises like Will Ferrell did in Elf when he sprays Passion Fruit (perfume) Spray in his mouth.

Cranberries alone are terrible.

IMG_6625

Cranberries in butter are mind blowing.

I chose to make it the simple way (simple = less dishes to wash), however, if you want a more whipped butter, you can mix the ingredients in a stand mixer rather than the following way.  Just remember to lightly mix in the fruit.  You want there to still be some chunks of cranberries throughout.

Here's what you'll need:
1/2 cup of cranberries
1 cup (2 sticks) butter, softened
2 T powdered sugar
2 T honey
Zest of one orange

Start by giving the cranberries a good chop.  I had frozen mine so it made them super easy to chop up.

IMG_6623

Put your softened butter into a medium sized bowl.

IMG_6627

Sprinkle in the powdered sugar.

IMG_6629

Pour the honey on top.

IMG_6632

Give it all a good mix at this point.

Then, zest the orange over top of the butter mixture.

IMG_6634

Toss in the cranberries, but not any liquids that may have gathered at the bottom of your measuring cup.

IMG_6635

Lightly mash the berries into the butter mixture.

IMG_6706

Refrigerate for a few hours.  Serve with pancakes, french toast, baked french toast, fresh bread, muffins, or any delicious carb of your choosing.

IMG_6709

If you cross your eyes, this picture is totally in focus.  I had to add it to show that each butter knife's worth is woven with bits of cranberry which have been transformed from passion fruit spray bitter to a pleasantly sweet surprise.  

Mixed with maple syrup, it is positively divine.

Because I think you're cute, I've written the recipe out below:

Cranberry Butter

Ingredients:
1/2 cup of cranberries
1 cup (2 sticks) butter, softened
2 T powdered sugar
2 T honey
Zest of one orange

Steps:

Chop up the cranberries.  
Place softened butter in the bowl.  
Add the powdered sugar and honey.  Mix well with a spoon.  
Zest one orange on top of the butter mixture.  
Add the berries.  Mix lightly.  
Refrigerate for a few hours.

Enjoy!

Wednesday, October 30, 2013

Sliced Baked Potatoes

Recipe: Sliced Baked Potatoes
Source: Great American Recipes
Time: 1:15
Ease: 3
Taste: 5
Leftover Value: 2
Down the Drain or Keep in the Strainer: Down the Drain!

I love potatoes.  I have always loved potatoes.  I remember telling my second grade teacher that I wanted to eat mashed potatoes for breakfast, lunch, and dinner.  She told me that I would get tired of eating them after a while.  I didn't believe her.  I couldn't imagine how anyone could ever tire of the buttery goodness that is mashed potatoes.

But just in case she was right, it's a good thing I never tried it.

Because I still love potatoes, and my heart would be broken if I didn't.  

Mashed.  Baked.  Scalloped.  Smashed.  Fried.  

It doesn't matter.  They all make my heart sing.

This particular potato, of this particular recipe, sadly left a little more to be desired.  It is my future hope to come up with a fabulous rendition of this "Down the Drain" recipe that will transform it into a "Keep it in the Strainer" option.

*And perhaps, this is the sparking of a new idea for this blog: "Down the Drain" recipes become "Keep it in the Strainer" ones?  I'm loving the sound of it.

The start of this recipe makes it seem a rather serious task.  After cutting or peeling off undesirable parts of your potatoes, make slices across the short side of the potato spacing them only about a quarter of an inch.


While I disliked this recipe, it did teach me how to make this slicing action happen.  Whenever I learn something that I can use in the kitchen, success has been found.

Place a spoon face down on your cutting board and its handle will act as a stopper for the blade.  This way you don't end up cutting your potato into chunks instead of a still attached sliced potato.


There were a few slices that went a little too far, creating hinged pieces in my potato (see following picture).  Next time I'm going to try sliding the highest point of the spoon's handle with me as I go along with the knife.


Place the sliced potatoes into a baking dish.  Open them up a little, but not too much or the areas you cut too far in will stick out like a sore thumb just like.....oh yes, the potato that is front and center in this shot.

Here's a mini confession: I love red potatoes.  Sometimes, I will just completely ignore all other potatoes in the grocery store.  I know, I need to broaden my horizons, but red potatoes have never steered me wrong.


Sprinkle the potatoes with a little salt.


This part.  Ah, this part.  It makes me wonder how these potatoes didn't instantly transform into delicious mountains of goodness.

Drizzle 2-3 T of melted butter over each potato.


The recipe gives you the option of sprinkling 2 to 3 T of chopped fresh herbs or 2-3 tsp of dried herbs.  I went with a dried mixture because I didn't have anything fresh on hand.

Bake in a oven that has been preheated to 425 for 50 minutes.

Then sprinkle with 4 T cheddar cheese and 2 T Parmesan cheese.


Hello fresh Parmesan cheese.  I love you.  I'm sorry I wasted you on this recipe.  But it was for the sake of experimentation.

My gut says, 'We need more cheese'.  Definitely.  We will have more cheese next time around.


Place potatoes back in the oven for another 10 to 15 minutes.

If I was rating this recipe on looks alone, I'd give myself a 10 for delicious looking factor.


Maybe it was a bad batch of potatoes.  (But they're red, so how could it be?)  But maybe not.  There is a future for this recipe, just not the one that currently exists.  Keep your eyes open for its come back.