Friday, October 31, 2014

Recipe #13 and #14: Pizza Crust and Cowboy Calzones

Recipe: Pizza Crust
Source: The Pioneer Woman Cooks
Time: 1 hr 10 min (or longer, dough can be refrigerated for up to 2 days)
Ease: 1
Taste: 8
Leftover Value: No leftovers! (But again, dough can be make ahead of time and will keep for 2 days)
Down the Drain or Keep in the Strainer: Keep it in the Strainer!

Recipe: Cowboy Calzone
Source: The Pioneer Woman Cooks
Time: With pre-made dough, 50 minutes
Ease: 7
Taste: 9
Leftover Value: 8
Down the Drain or Keep in the Strainer: Keep it in the Strainer!

I'll be using this dough a few more times as I cook through The Pioneer Woman Cooks when I make her two different pizzas, so I'll learn quickly if this dough is versatile enough to be used for pizza and calzones.

So far, it's a winner.

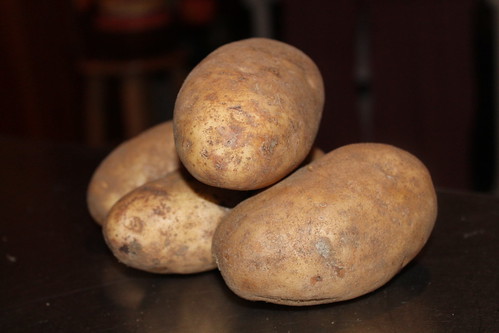
IMG_0589

Any dough stacked with ingredients or too many steps isn't worth making.  This dough is simple, taking under ten minutes to mix together.

Just be prepared to wait an hour before you can begin making your calzones.

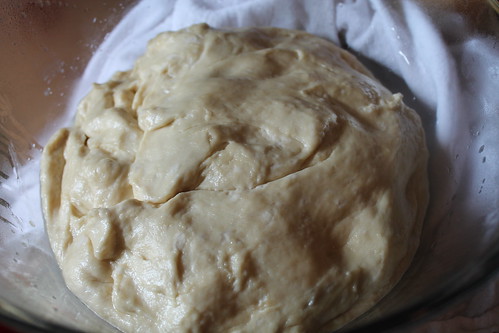
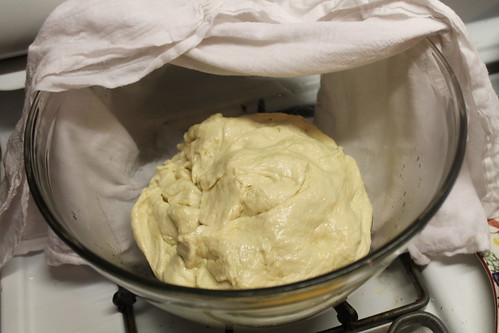
Then the dough will look all puffy like this:

IMG_0592

About a half hour through the wait time is when you'll want to begin making the meat for the calzones.

Unless you're smart and make your dough ahead of time.

Unlike me.

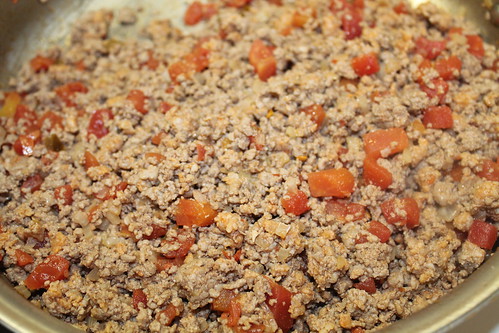
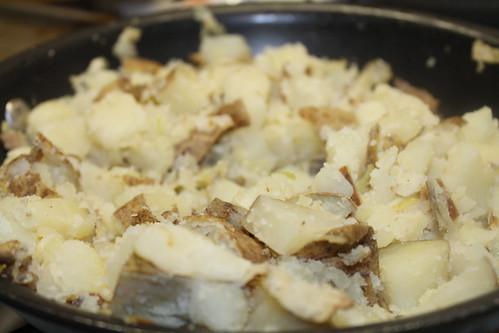
IMG_0595

The meat mixture is so easy, and as it begins to combine you will want to scoop it from the pan and eat it right there.

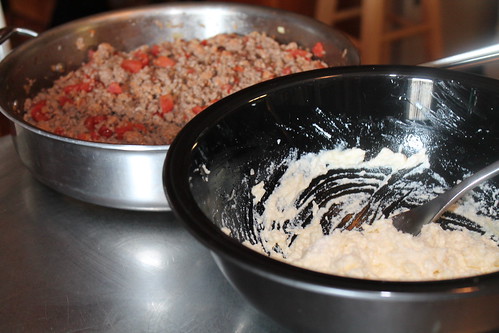
IMG_0597

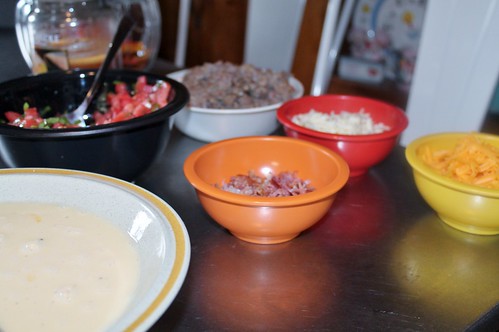
But wait, because there is an equally as tempting cheese mixture to be combined next.

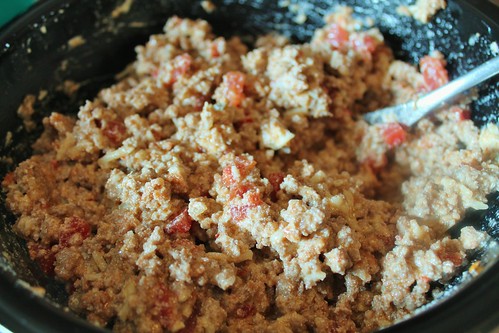
The meat mixture should cool a little before being combined with the cheese mixture, I assume to keep the cheese from instantly melting.  I used this time to start separating my dough into eight portions for my calzones.

IMG_0600

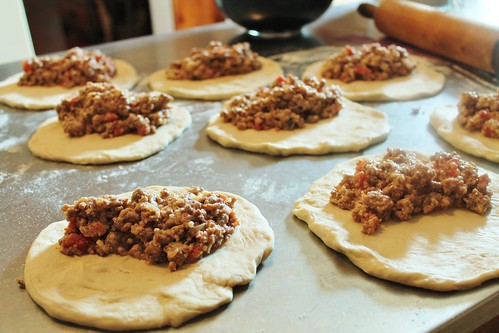
This part was the most difficult, and perhaps that is because these weren't a typical calzone in the Italian sense of a calzone.

The calzones I've always enjoyed have been as big as half of a pizza.  Though these were obviously smaller, after rolling out the dough according to the specifications, it felt like I was over packing them with meat.  In the end, I still had leftover meat in the bowl.*

*It didn't go to waste since my garbage disposal brother, Joel, was over to enjoy these for lunch.

IMG_0601

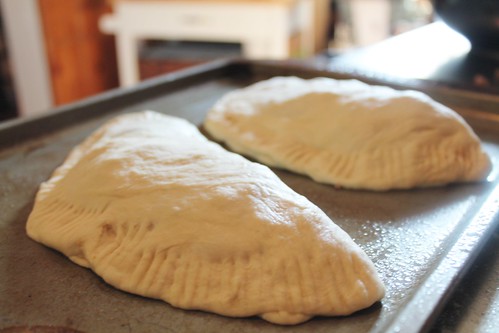
They felt especially large when I closed them up.  I expected the dough to stick a little to the table (even though I floured it beforehand) or start to rip apart when I picked up each calzone so I used a spatula to pick them up.

IMG_0603

But they lifted fairly easy.

IMG_0606

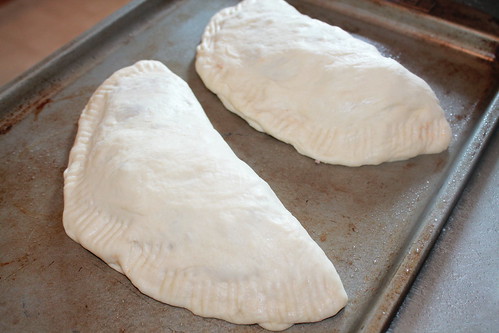
The next problem I ran into was that I could only fit 2-3 on a pan.  I'm still working on a solution for that problem.

IMG_0608

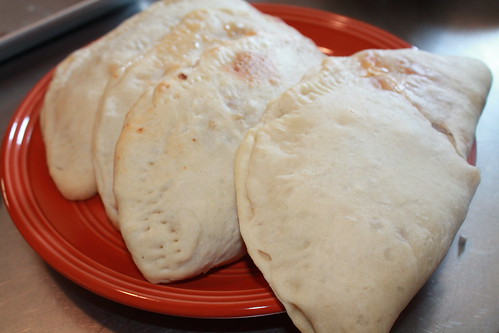
If you like a crisper shell, you'll want to bake these for longer than the 12-15 minutes baking time.  We were pretty hungry so the first six calzones were devoured without a golden brown crisp about them.

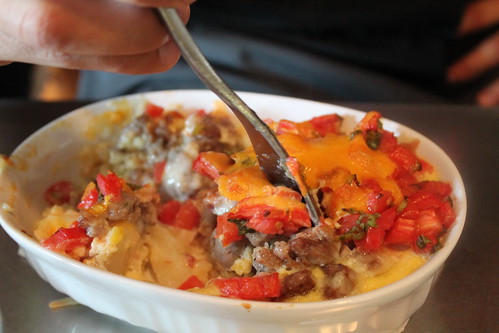
Regardless, the dough wasn't too doughy and the center was piping hot and delicious.

IMG_0610

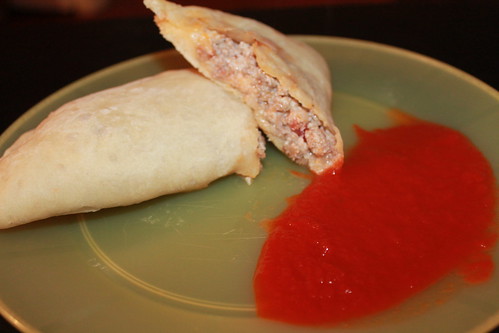
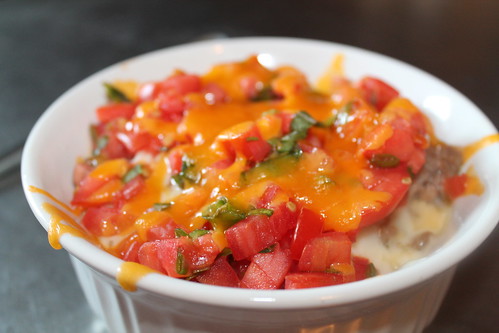
I might have been just a little too excited to get a great picture.  PW doesn't say to serve these with any sauce, but it seemed like a necessity to me.
Thursday, October 30, 2014

Recipe #12: Huevos Hyacinth

Recipe: Huevos Hyacinth
Source: The Pioneer Woman Cooks
Time: 15 minutes
Ease: 1
Taste: 4
Leftover Value: No leftovers--will probably not keep well
Down the Drain or Keep in the Strainer: Down the Drain

Apparently, I've been trying to speed my way through the breakfast section of The Pioneer Woman Cooks.  Sorry.  Hopefully you aren't tired of hearing about breakfast.

My favorite meal.

Ever.

I'm not one who likes to switch up my breakfast choices.  My favorite breakfast has always included some kind of carb that can be covered in syrup and butter (pancakes, french toast, waffles), eggs--scrambled or over easy, and bacon.

All that will make me one happy gal.

So these unusual breakfasts like the following one and breakfast bowls have been difficult for me to accept.

The ease of these made me want to love them.

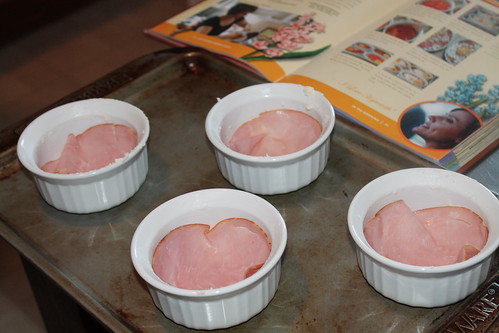
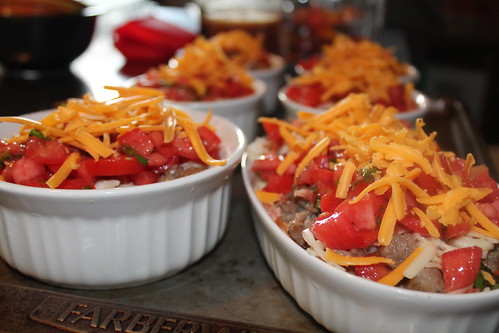
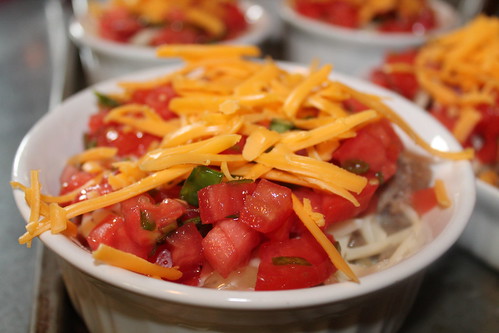
They are as simple as a buttered ramekin,

IMG_0563

With a piece of ham,

IMG_0568

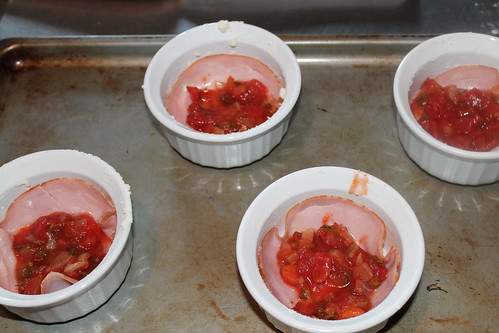
And a splash of picante sauce (or a few tomatoes),

IMG_0569

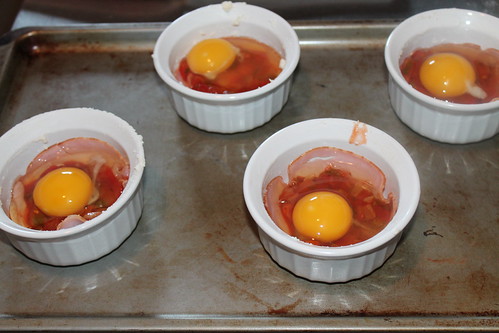
A cracked egg,

IMG_0575

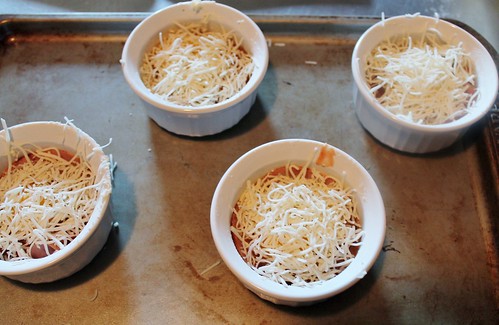
And a hefty sprinkling of cheese.

Hubby was excited about these because of the picante sauce.  As he sat down to eat it he said, "I love eggs and salsa".  I suppose it takes cooking your way through a cookbook to learn more details about your husband, aka, man of mystery.

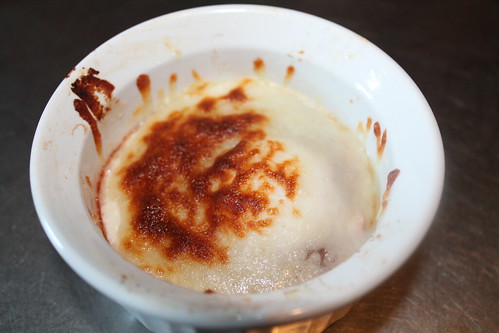
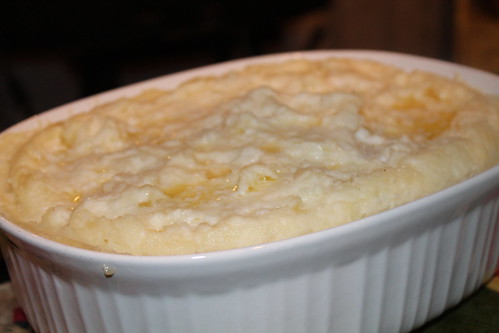
The ramekins are to be placed in the broiler section of the oven for 2 to 4 minutes which, as with the breakfast bowls, seemed a little on the short side to me.
IMG_0582

And it was.  Though the cheese was beginning to brown, the eggs were still runny enough for Rocky to slurp them down, and I'm just not into that.

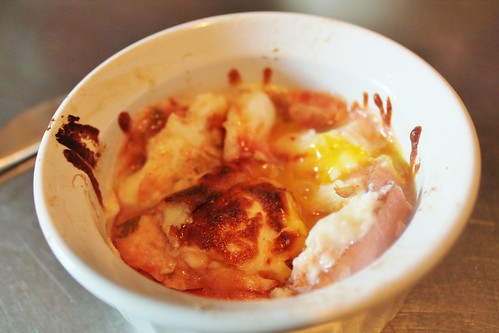
Hubby suggested I turn the broiler down to Low (PW doesn't indicate whether the broiler should be on High or Low).  After another four minutes they were edible.

IMG_0584

The combination didn't speak to me.  Perhaps because it was thin deli ham that she uses instead of chunks of ham steak.  I liked the ease of this dish, but again, it needs some adjustments to become something I want to make again and again.*
*Just to be sure that I wasn't crazy, I even made these a second time during the week for Hubby for breakfast.  He seemed to like them, but still I wasn't in love.

Wednesday, October 29, 2014

Recipe #10 and #11: Potatoes and Pancakes

Recipe: Basic Breakfast Potatoes
Source: The Pioneer Woman Cooks
Time: 1 hr 25 minutes
Ease: 2
Taste: 7
Leftover Value: No leftovers
Down the Drain or Keep in the Strainer: Down the Drain

Recipe: Edna Mae's Sour Cream Pancakes
Source: The Pioneer Woman Cooks
Time: 15 minutes
Ease: 1
Taste: 8
Leftover Value: No leftovers
Down the Drain or Keep in the Strainer: Keep in the Strainer

IMG_0544

Breakfast for dinner is one of my favorites but I try to reserve it for days where I have absolutely no idea what to make for dinner.  And though it is a loved dinner choice, it is not the simplest.

Alright, it's simple in the fact that everything basically revolves around the frying pan, but it's one of those things where everything needs to happen at once.  By the time the bacon is done frying, the eggs should be set, the pancakes should be flipped, and the potatoes just about finished frying.

I need my food to be hot when I put it on my plate, so I've taken to making breakfast in shifts and putting the finished parts into a warming buffet tray so that my head isn't spinning at trying to handle five different elements at once.

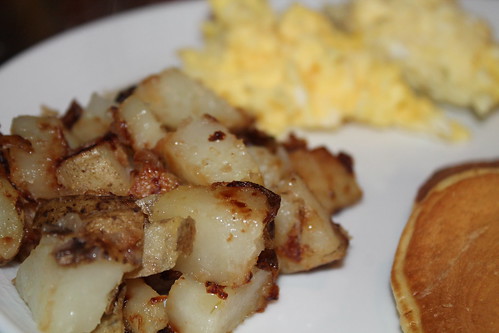
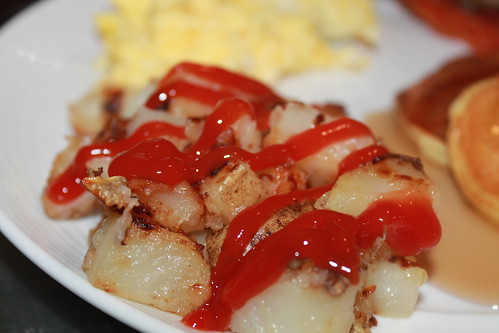
I started this particular breakfast-for-dinner with the basic breakfast potatoes.  PW starts them off by having them bake in the oven for 45 minutes.  At first I thought this was an awesome idea because I assumed it meant less time in the skillet.

IMG_0525

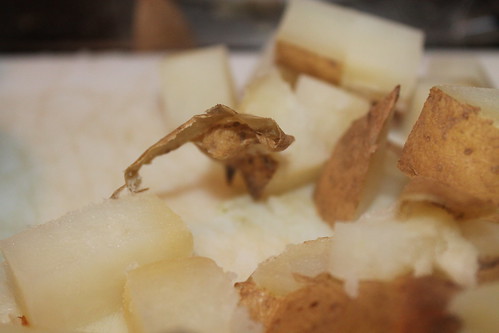
Don't you hate when you're so impatient to chop up hot potatoes that the skin tears off?

No?  Just me? 

Alright, I'll keep working on the patience issue.

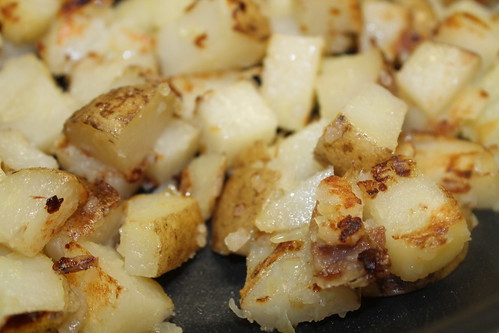
So, the whole baking-ahead-of-time thing didn't make much of a difference.  I still found that to get the perfect crispiness to these potatoes, they had to sit in the skillet for a good half hour.  

I've been able to obtain the same crispiness with potatoes I chopped and sent directly to the pan without having baked first.

The one thing I liked about these potatoes was the onion.  Diced onions are fried in a little oil before the potatoes go in.  PW says that you can take them out and add them after the potatoes have fried a little or keep them in.  She says, "...I happen to like the onions to get all dark and burny, so I'm going to leave them,"  At first I thought she was crazy, but I decided to do it too.  Now I totally get what dark and burny means.  It means tasty.

IMG_0526

They were good, but the baking wasted time that I don't have.  This is why I rated them Down the Drain.*

*In looking for the recipe link, I noticed that PW has several other potato recipes on her blog, so I'm assuming she has perfected these since the publishing of her first book.

IMG_0552

Now the pancakes.

These pancakes are ridiculously easy.  The batter can be whipped up in under a minute.

The problem is that more than half of the batter consists of sour cream.

I'm going to give you a minute to process that.


IMG_0531

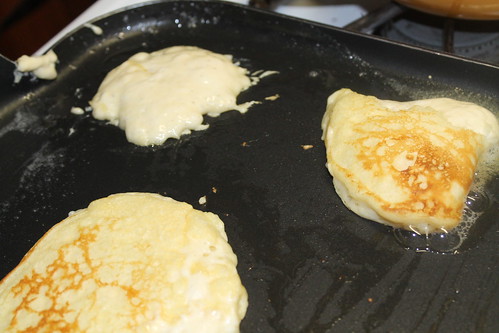
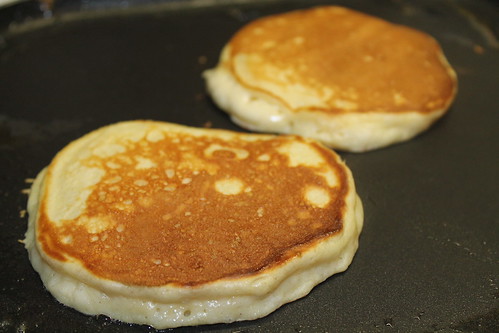
The timing for when to flip the pancakes was all off--as you can see by what appears to be two pancakes at the back of my pan.  No, that is really one pancakes that didn't flip properly because 1 to 1 1/2 minutes was no where near long enough for the pancakes to set.

PW says that the batter should make 12 pancakes (one pancakes using 1/4 cup of batter).  My batter produced only seven pancakes, another thing that made my skin crawl because that meant that there was approx 2.75489 tablespoons of sour cream in each pancake.  Yikes!

IMG_0536

I really did enjoy these pancakes though.  But before I tell you why, let me tell you the last reason I hated them.  

Look at the above picture.

The two pancakes look decent, right?  Nice rounds shape, inviting golden color spread across, and what appears to be an average thickness.  

Wrong.  On the thickness part at least.

IMG_0539

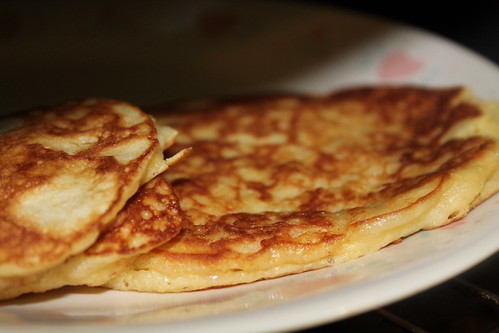
After sitting for a few minutes, these pancakes flatten out like a....err, well, pancake.  But flatter.  

My beef with this is that it makes me want to eat more.  But I know what is in these pancakes!  Gobs and gobs of fattening sour cream!

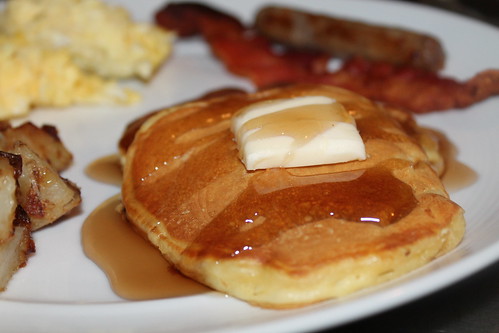
Alright, now that I got that off my chest, let me tell you how wonderful these pancakes are.  Only a 1/2 teaspoon of vanilla is mixed in, but it shines through in every bite.  Despite their wicked thinness, the pancakes are moist--perhaps sour cream has something to do with that--and sweet enough that they almost, almost, don't need a fountain of syrup poured over them.

IMG_0548

I really can't wrap my head around using sour cream as the key ingredient though.  So these pancakes will be reserved only for special occasions.

Tuesday, October 28, 2014

Recipe #9: Mocha Brownies

Recipe: Mocha Brownies
Source: The Pioneer Woman Cooks
Time: 1 hr plus time for brownies to cool and icing to set
Ease: 2
Taste: 5
Leftover Value: 6
Down the Drain or Keep in the Strainer: Down the Drain.

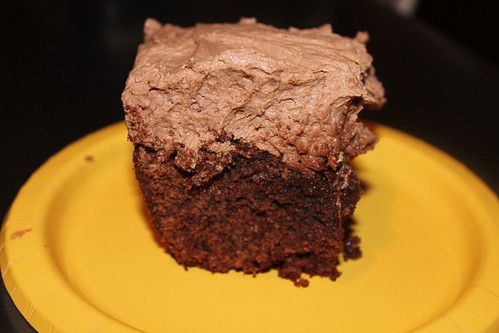
IMG_0512


These brownies are obnoxious.  I'm just going to call them like they are.  They are monsters.

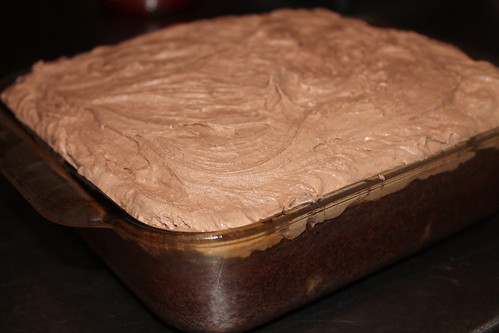
I knew these brownies were over the top.  I made them several years ago and heeded PW's warning that the icing was a lot---so I halved it.  The brownies were good, the icing was good, but together it seemed like overkill.  Also, the brownies were extremely crumbly--perhaps this is why the last step is to refrigerate them.

Since this time I couldn't make any changes, I decided I needed to make the icing as directed.

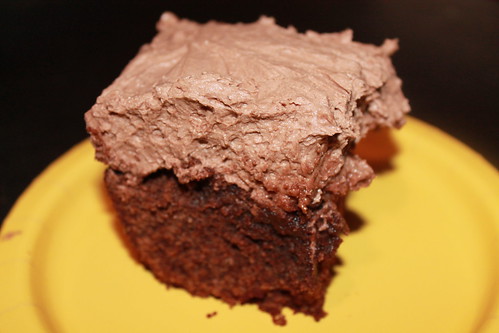
IMG_0514


Only, as you can probably tell from the picture, I forgot the last part about refrigerating them.

Either way, with icing that has hardened or icing that is still creamy smooth, this will be the last time I make these brownies.  At least in this way.

There are far too many brownie recipes out there that I love for me to make brownies that I'm just okay with.

IF you are into icing, and IF you like a thick brownie, then this is for you.

Should I choose to make these again, I would change two things.

1. Instead of baking them in an 8-inch square baking dish, I would use a 9 x 13 dish.

Aside from the brownies themselves being ridiculously thick, one of the major issues I had with their size was not being sure that they were done.  I know brownies are the sort of thing that can be a little underdone, but because of their thickness, I didn't want to be serving chocolate mush as dessert.

2. I would alternate between halving the icing and simply making the brownies without it at all.

The icing was delicious (and if you have any family members who wrinkle their nose to coffee flavoring, milk could be substituted for the coffee), but because of the richness of the brownies, I feel like the icing was out of place.

IMG_0523

Monday, October 27, 2014

Recipe #7 and #8: Mashed Potatoes and Comfort Meatballs

Source: The Pioneer Woman Cooks
Time: 1 hr 50 min
Ease: 4
Taste: 7
Leftover Value:
Down the Drain or Keep in the Strainer: Keep it in the Strainer!

Source: The Pioneer Woman Cooks
Time: 1 hr 35 min
Ease: 4
Taste: 10
Leftover Value: No leftovers!
Down the Drain or Keep in the Strainer: Keep it in the Strainer!

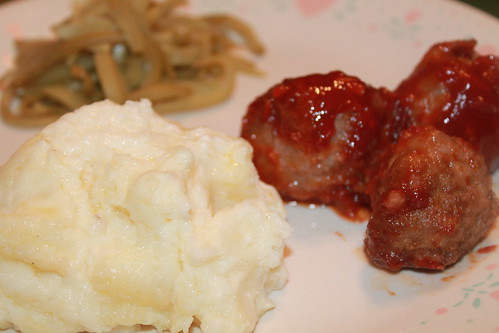
IMG_0507

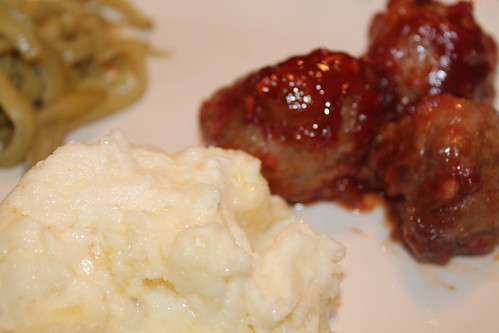
In order to serve mashed potatoes with meatballs, I had to convince myself that these were not meatballs.

They are not meatballs.

They are not meatballs.

They are not meatballs.

I may or may not have had to recite this again and again.

I also may or may not have said the word meatloaf again and again to convince myself they were meatloaf meatballs rather than Italian meatballs.

I knew that if I allowed myself to be confused, I would want to make pasta instead of mashed potatoes to go along with these 'meatballs', not meatloaf meatballs.*

*Note: Though PW pictures the comfort meatballs being served with mashed potatoes, she also says you can serve them with egg noodles tossed with butter.  Yum!

IMG_0481

These recipes share a similar trait: they both take a lot of time to make.  The positive about the mashed potatoes is that you can make them ahead of time and save the final step of baking them for 30 minutes for later.  I haven't tried to do this yet, but Pioneer Woman says it can be done.  So I take a little comfort in that.

IMG_0483

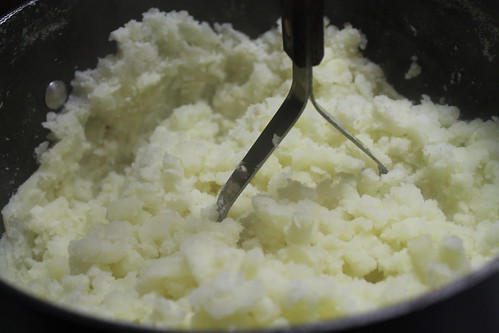
Up to the baking point, these guys are a lot of work.  Mashed potatoes usually are.  All the peeling, the chopping, the time to boil...it's quite a process.

For these, she has you hand mash the potatoes.  Ugh.  I have been spoiled by using my immersion blender every time that I make mashed potatoes.  They are the smoothest, most delicious potatoes ever and whenever I serve them to friends they marvel at their consistency.

So, needless to say, mashing potatoes by hand was not something I wanted to do.

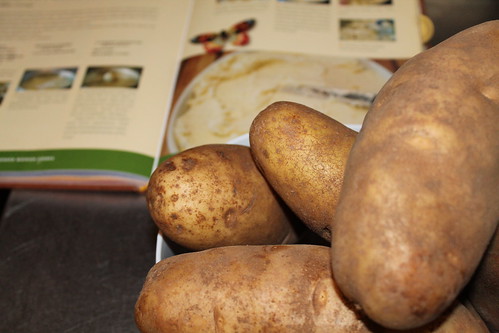
Especially considering it was five pounds of potatoes.

IMG_0484

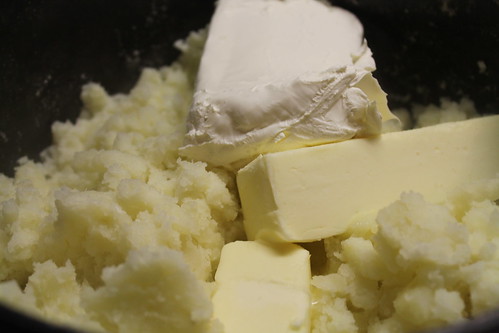
But then when I put the butter and cream cheese in, everything was right in the world.

IMG_0487

It's a little over the top, I'll admit, but since PW said to do it, I did it.

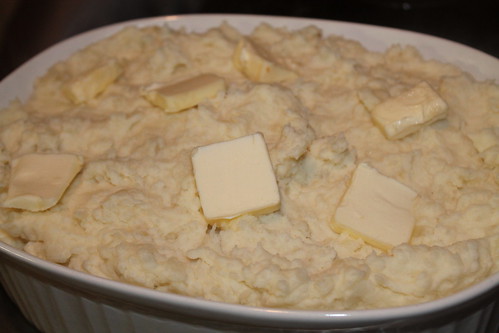
I topped the potatoes with hunks of butter.

IMG_0494

This is decadence like none other.

I recommend serving these potatoes when you are feeding large crowds (think Thanksgiving), but not for an ordinary weeknight meal.

IMG_0493

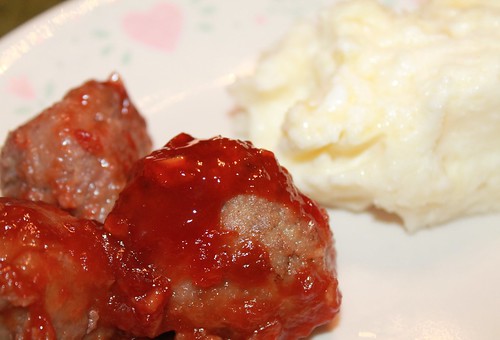
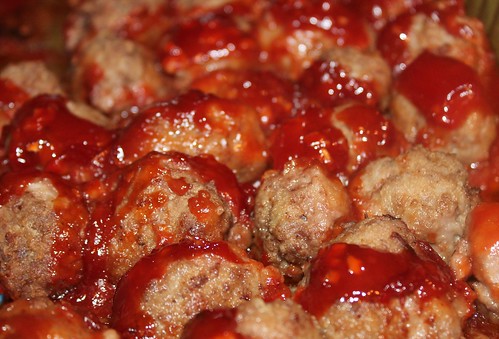
The comfort meatballs were fantastic.  But just like the mashed potatoes, they required a lot of time and even more work.

After mixing all the ingredients, the meatballs are refrigerated for 30 to 45 minutes to set.  I like to do this sometimes with my Italian meatballs, but these meatballs were so moist that they needed it.  It was difficult to shape them perfectly because of how wet they were.  Next time I would either use a little more beef or use an ice cream scoop to shape them.

After the meatballs have set, they are to be dredged in flour, browned in a skillet, placed in a baking dish, covered in sauce*, and baked for 45 minutes.**

*The sauce was sweet, the sauce was delicious, and the sauce reminded me of meatloaf.  Perfect.

**Yes, this is real life.  I wanted to curse the day Pioneer Woman was born, but as soon as I tasted them I wanted to sing her praises.

IMG_0500

I did not make such a massive meal only for Hubby and myself.  

IMG_0504

Jon was the first to try it and, of course, loved it.  Then my brother, Justin, and his wife came over to help us eat the rest.

IMG_0505

These two recipes are perfect for each other.  I would recommend making the mashed potatoes ahead of time so that they can be thrown into the oven when the meatballs go in.  This way, when it is closer to dinner time you can focus solely on making the meatballs.

Friday, October 24, 2014

Recipe #6: Egg-In-The-Hole

Recipe: Egg-In-The-Hole
Source: The Pioneer Woman Cooks
Time: 5 minutes
Ease: 3
Taste: 10
Leftover Value: Never, ever, any leftovers
Down the Drain or Keep in the Strainer: Keep it in the Strainer!

IMG_0468

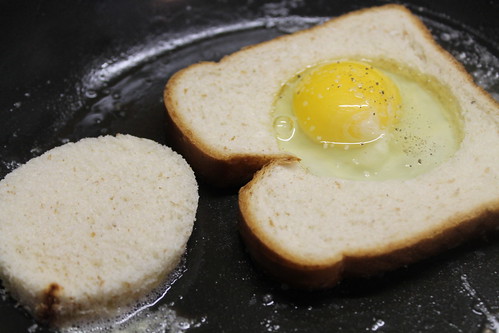
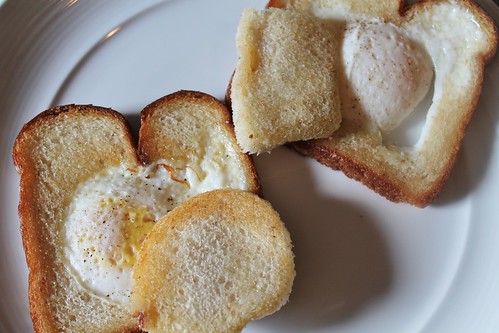
I have been eating eggs-in-the-hole since I was eight or nine-years-old.  Gram would make them for me for breakfast, lunch, or an afternoon snack--they are so good, honestly, it doesn't matter what time of day you have them.

Only Gram didn't call them egg-in-the-hole.  At first, she called them 'Moonstruck Eggs' because in the movie Moonstruck someone is making them and that inspired Gram to want to make them.  But I guess that name didn't make too much sense to a child, so we began calling them 'Funny Eggs'.

Apparently we aren't the only ones to give this item whatever name we thought suited it.  Pioneer Woman lists off over ten different names given to this delicious way to cook an egg including: frog-in-a-hole and private eyes.  Interesting.

I'll stick with calling them funny eggs, though moonstruck egg does have a classy sound to it.

Being that I've been making funny eggs for as long as I have been cooking, I thought it was rather silly to actually follow a recipe.  But since it was in the book, it was part of the challenge, and I had to do it.

And I'm so glad I did.

I realized, in my recent times of making funny eggs, that I have grown rather impatient with this less than ten-minute meal.  I've wanted to rush through getting my bread perfectly crisp and my eggs still runny, and tried to speed up the process by doing everything from raising the heat to frying the bread first.

But the answer my friends is this: butter.

I know, you didn't want to hear it, but it's the truth.  Butter simply makes everything better.  See, in my impatience, I had also grown a little health conscious and was trying to use a tablespoon or less of butter in making my funny eggs.

Pioneer Woman ruined that by using 3-4 tablespoons per egg and wowing my taste buds at the same time.

IMG_0453
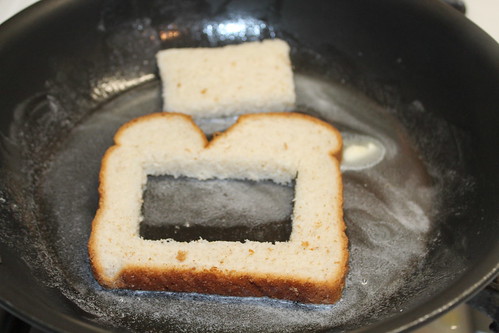
We never used fancy biscuit cutters to make our hole.  A knife works just fine.

Of second importance is timing.  We start by heating 2-3 tablespoons* of butter in a skillet, then placing the bread into the skillet to soak up some of the butter.

After a minute--a whole entire minute---the egg is then cracked in the center.  She doesn't warn of this, but I've had enough experience with messing up my eggs to know that you need to make sure you crack lightly and carefully break away the shell as to not break the yoke.

*I opted for two.

IMG_0461

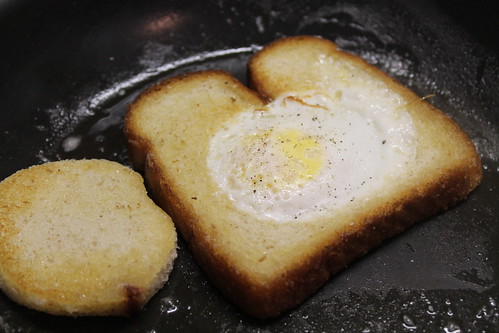
Season with salt and pepper!  Yet another thing that I would ordinarily hurry past.  

Why do we insist on living flavorless lives when just a little salt and pepper can change everything?  That is what I asked myself again and again after making this recipe.

Flipping the egg/bread over is as tricky as making sure to crack the egg properly.  If you wait a full minute, the egg should be set enough that this can be done without breaking it.

IMG_0463

Oh, and before you do this, Pioneer Woman suggests throwing another tablespoon of butter in, 'just for kicks'.

Here are the three elements you want to remember when making funny eggs.  They are what I've learned from following Pioneer Woman's recipe: butter, timing, and a large pan.

I always tried getting by using a small skillet and while it works, a larger one does the job better.

Concerning the butter, when I made my second funny egg I could use far less without compromising the flavor.*

*There was still plenty (butter) left in the pan.

IMG_0472

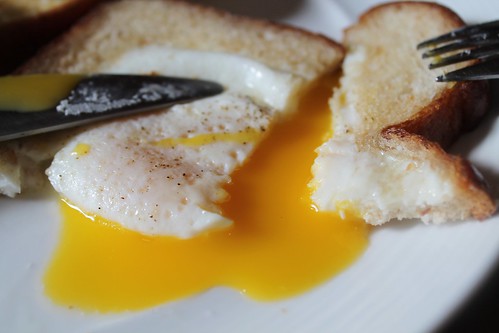
Hello, gorgeous.

If you don't like your eggs runny, I seriously don't know what is wrong with you.

I'm just kidding.  If you don't like your eggs runny, just let the egg cook longer in the pan on both sides.

But runny is where it's at.

Finally, that little square or circle of bread that you kept in the pan and fried in the butter, it is sacred.  Use it to sop up the egg yoke, or just stuff it in your mouth and enjoy the buttery goodness.

Thursday, October 23, 2014

Recipe #5: Katie's Roasted Corn Salad

Recipe: Katie's Roasted Corn Salad
Source: The Pioneer Woman Cooks
Time: 1 hour
Ease: 3
Taste: 10
Leftover Value: 7
Down the Drain or Keep in the Strainer: Keep it in the Strainer!

This recipe is kind of special for The Orange Strainer.  In my very first post where I introduced the blog, I briefly wrote about Katie's Roasted Corn Salad, specifically, the beauty of its remnants.   

IMG_0434

Because I said no substitutions, I gritted my teeth together and bought a red pepper instead of a green one.  I swore off red peppers for a long while because I was convinced they gave me the most lethal heart burn.

But I decided to forgive them and try again.

Most importantly, I decided to stick to the rules.  

I'm going to say this is hands down my favorite way to enjoy vegetables.  This corn salad is so amazing that people flock from all corners of the house the moment it is finished being made.

IMG_0436

Since I have yet to learn to grill on the outdoor grill, I decided to 'grill' my veggies in the broiler.  This works just as well as an outdoor grill, and saves on going in and out of the house.  I was able to put one item in the oven while chopping up another.

The chopping, that is the painful part of this recipe.  There is oh, so, so, SO much chopping do be done.

But again, oh, so, so, SO worth it.

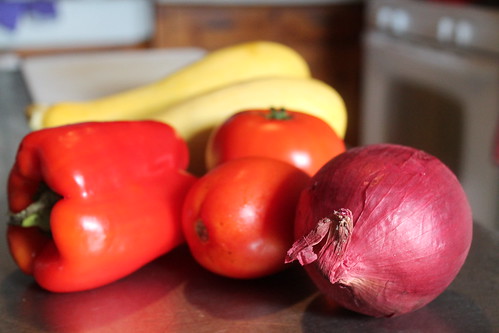
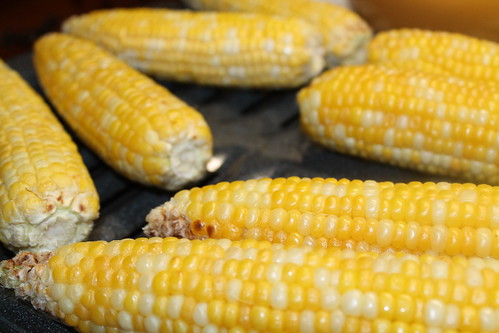
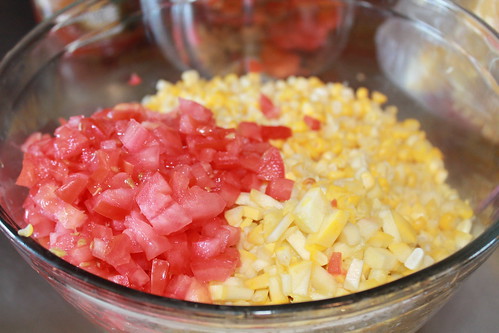
The veggies involved in this mouthwatering corn salad are: corn, red onion, yellow squash, red bell pepper, and tomatoes.  

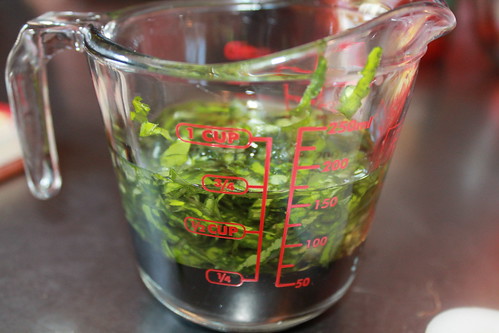
The dressing is as simple as olive oil, balsamic vinegar, basil, salt, and garlic whisked together.

IMG_0439

If you have a fancy gizmo for getting corn off the cob, then I applaud you.  However, this is the only recipe I have where I need to strip the cob of its corn so I refuse to purchase something to help me do it.

Although usually two cobs in, when my table, bowl, and floor are covered with kernels, I regret this stance.
  
IMG_0440

Hidden underneath this pile of tomatoes, squash, and corn, I promise, is a red pepper and a gorgeous red onion.

Let's take a moment to consider why they even call a red onion red.  I really think purple is getting a raw deal here.

IMG_0443

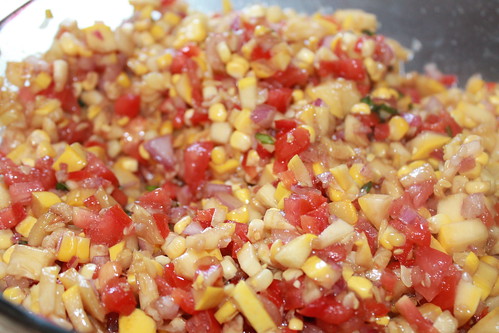
Oh my gosh.  Oh my gosh.  Oh my gosh!!!  This salad is perfection.  Please, please, please, do yourself a favor, and buy the Tostitos scoops to go with a salad like this.  Those chips were made for this salad.  Or...this salad was made for those chips.    

And here is my favorite part.  You can eat it right away and it will be a little lukewarm or put it in the fridge and let it chill for a few hours and eat it cold.  Either way it is delicious.  Both ways it is a completely different experience.

And, have I mentioned, I love it so?

Wednesday, October 22, 2014

Recipe #4: Breakfast Bowls

Recipe: Breakfast Bowls
Source: The Pioneer Woman Cooks
Time: 1 hr 30 min--if nothing is prepped before hand
Ease: 6
Taste: 6
Leftover Value: No leftovers!
Down the Drain or Keep in the Strainer: Keep in the Strainer, but changes must be made

IMG_0423

I love the idea of these breakfast bowls.  They seem so simplistic.  They are everything wonderful about breakfast wrapped up in a tiny little dish.

Only, I didn't have quite the same sentiment as I made them.  It isn't Pioneer Woman's fault though.  I should have known just by glancing the recipe over that prep would be king.  Yet I refused to submit to such a ruler.

Don't be like me.

I could have made life so much easier by frying my sausages and my bacon, shredding my cheeses, and dicing my tomatoes and onions the night before.  But did I?

Of course not.  

IMG_0412

I figured the smartest place to start would be with the potatoes which layer the bottom of the bowls.  I started at attempting to make them the way Pioneer Woman makes her Basic Breakfast Potatoes (also in The Pioneer Woman Cooks) as a way to kill two birds with one stones, but failed miserably at frying them perfectly.  Since the breakfast bowls only call for baked potatoes fried with onions, I decided they would still work to finish this recipe that I had only just started.

IMG_0413

The process of simply frying bacon and crumbling sausage when balanced with attempting to chop and slice ninety-two* other ingredients wore me out.

But eventually I had my prep bowls in order and was ready to assemble the breakfast bowls.

*Perhaps, I exaggerate.

IMG_0414

Here is the essence of the breakfast bowl:

Bottom---potato/onion mixture---sausage---bacon---Monterey Jack cheese---
egg mixture---tomato/green onion/basil mixture---Top

IMG_0419

It all sounds so wonderful, doesn't it?  The thought of double meats...that's what really did it for me.
IMG_0421

I really want some of the cute oven safe bowls Pioneer Woman has pictured in the book, because my basic ramekins just weren't cutting it.

Pioneer Woman tells us to place the ramekins on a rimmed baking sheet and bake for 10 to 15 minutes.  

Apparently, her cute little oven safe bowls must be made of much thinner material than the average ramekin causing her time estimate to be absolutely horrible.  
I took our yummy breakfast bowls out, expecting perfection, and the eggs weren't fully cooked.
IMG_0426

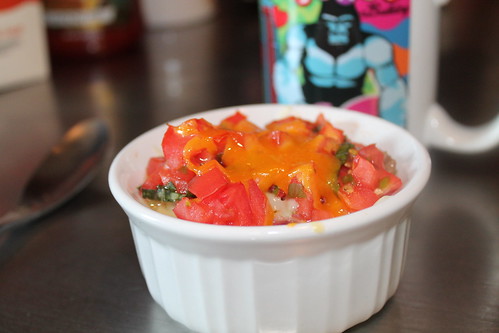
You can slightly see in the above picture a little wet in the bottom left corner.  Yes, that should be fluffy egg at this point.  I made sure to include King Kong on my coffee mug so you could imagine what my face looked like as I realized we had to wait longer for our food to be done.  

I was confused because the recipe said: "It's better for the eggs to come out of the oven slightly runny, as they'll continue to set after they're removed from the oven."

See, to me, that means that I want to favor runny eggs.  So I assumed, since I didn't have browned eggs as she warns against, that my breakfast bowls were ready to go.

They so were not.

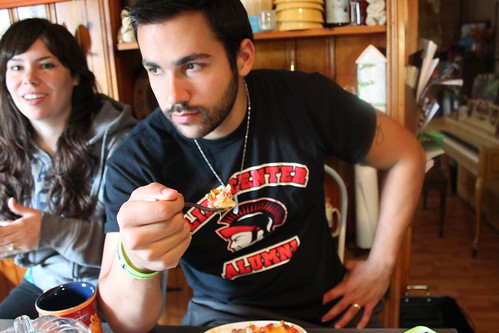
Our breakfast companions, Joel and Mallory, first tried the bowls.  Mallory was so hungry that I'm pretty sure she was willing to eat the eggs on the runnier side, but both Hubby and Joel shoved their bowls back at me for a longer cooking time, leaving Mallory to jump on the bandwagon.

IMG_0431

Joel often takes a GQ appraoch to life.

But I love when I catch shots like this one...

IMG_0433

Two things I would immediately change about this recipe.

1. I would raise the temperature to 350 degrees from the start. 
2. Hot sauce.  Enough said.

IMG_0432