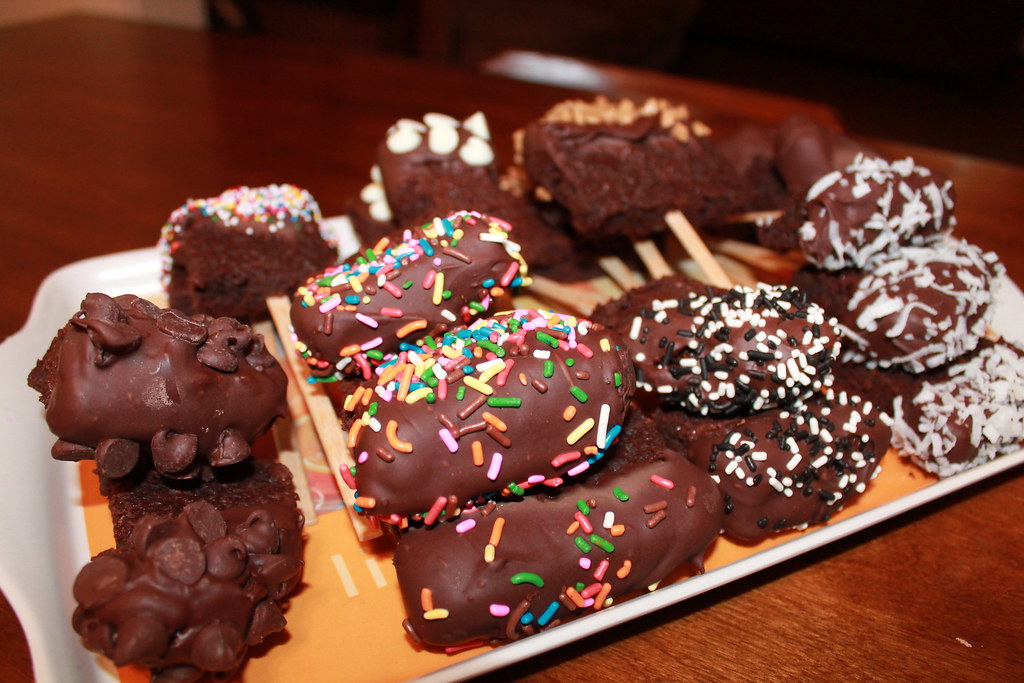
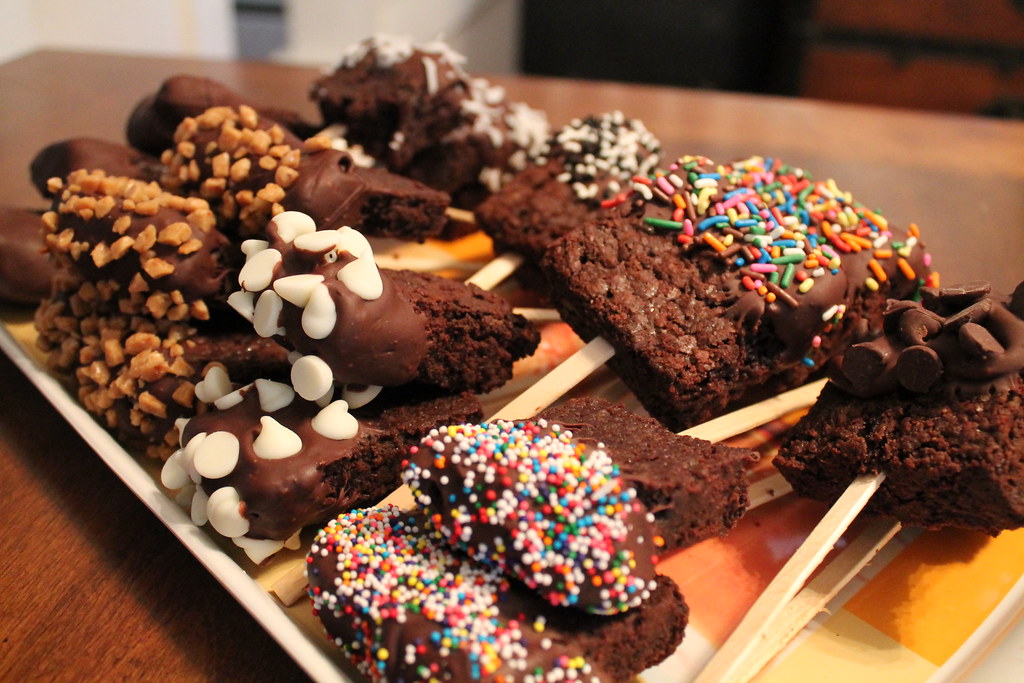
I have always taken issue with creating desserts that are masterpieces of beauty only for them to be demolished in less than 60 seconds. That might be why I have never been into cake making. Seeing what other people can do with cakes amazes me. But I know my reality. My patience in creating a piece of edible artwork only lasts so long and my logical reasoning would be saying to me the entire time, "This is a waste of time! People will ooh and aah at this for ten minutes and then in seconds destroy what took hours to create."
Or worse. They won't want to eat it at all because it, "Looks too pretty to eat".
When unique presentation can be given to food almost effortlessly, then I'm in.
Enter Brownies-on-a-Stick.
I got the idea for these while flipping through one of the many different cooking magazines that I dream of subscribing to (I already have a stack of recipes that I want to make and haven't made yet, could you imagine if I had four different food magazine subscriptions coming to my house monthly?).
I participated in the cake pop fad and after making them three different times I realized what a waste of time they were. One batch of cake pops took me a minimum of three hours to make. That's not counting making the cake and waiting for it to cool so that it could be shredded, mixed with icing, and then rolled into cake pop insides.
These Brownies-on-a-Stick give the same kind of Ohmygoodness-you-made-that? presentation as cake pops, but save you oh so much time.
Here's all you need to do:
1. Make your favorite non-gooey brownie recipe. You want a thicker, more cake-like brownie that doesn't have major crumbling issues.
2. Allow the brownies to cool completely. Throwing them in the fridge for a few hours will help to give a clean cut.
3. Slice the brownies into 2 x 2 squares. The ones that are pictured are a little bigger than this and I suffered because of it. Any larger and you risk them being too heavy for the stick.
4. Push a Popsicle stick into the thickest part of the brownie--make sure it doesn't go through the top.
5. Melt some chocolate.
6. Dip the top half (or the whole thing, why not!) of the brownie into the chocolate.
7. Dip it immediately into the topping of choice--make sure to cover the top and sides, too!
8. Allow chocolate to harden. This takes several hours. If you have space, put the brownies in your fridge to speed up the process.
Topping ideas: sprinkles, chocolate chips, toffee pieces, cookie crumbs, coconut, mini m&ms, crushed nuts, rice krispies
When the chocolate has hardened, lay the brownies out on your favorite tray in a cute pattern and serve. Cute, delicious, and super easy. How can you not love Brownies-on-a-Stick??


No comments:
Post a Comment