Showing posts with label basil. Show all posts

Monday, August 25, 2014

What To Do With All This Squash?

Recipe: Potato, Squash, and Goat Cheese Gratin
Time: 65 minutes (prep and baking time)
Ease: 3
Taste: 6
Leftover Value: 5
Down the Drain or Keep in the Strainer: Keep it in the Strainer!

IMG_9535

My husband decided to plant an abundance of yellow squash this summer.  He claims he planted other things.  Other things like zucchini, peppers, carrots, and cucumbers.  Our crop yielded none of those things, save four cucumbers and never-ending yellow squash.

We reached a point during dinner, when yellow squash was yet again the side dish, when we both looked at each other and said, "I think I'm tired of yellow squash."  

I could be to blame.  I don't get too fancy with my veggies.  I slice 'em, dice 'em, and cook 'em.  After making my entree, I don't really have the time to be bothered with side dishes.*

I decided to search for a recipe that would highlight the yellow squash and make it lovable again in my house.

Potato, Squash, and Goat Cheese Gratin was the perfect choice.

*Note: This is a lie.  It should really say, "...when cooking for the two of us."  Because, when I am making a meal for family and/or friends I go all out.  

IMG_9497

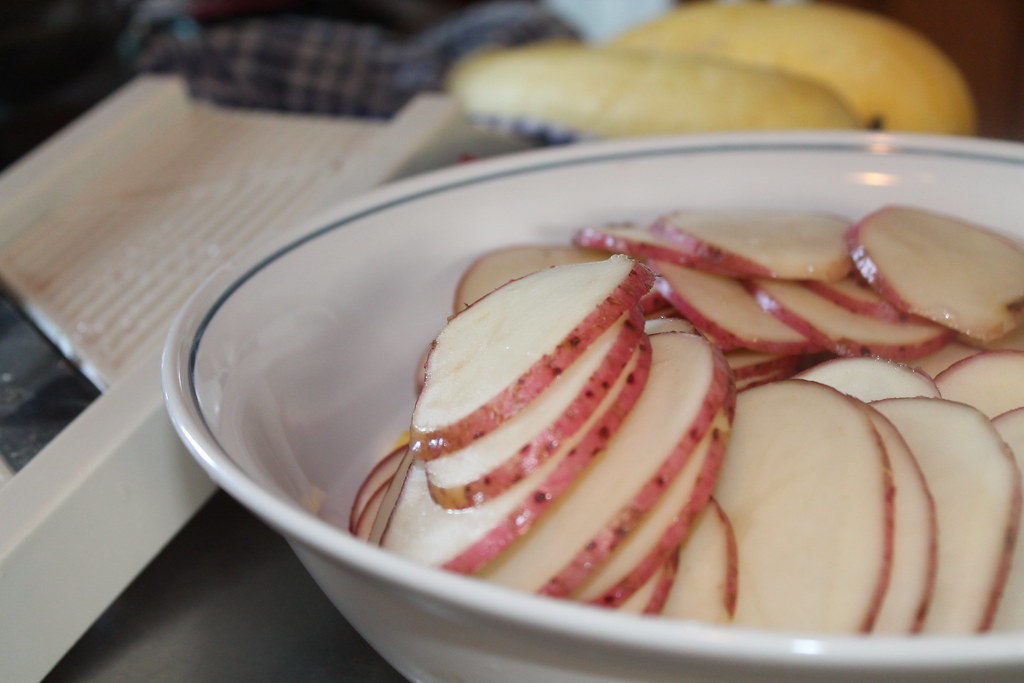
The best part of this recipe was using the mandoline to slice the potatoes and squash.  I've used my mandoline maybe five times--tops--in the seven years I've been married.  I know how wonderful it is, but somehow I always convince myself that I can slice things by hand just as perfectly as the mandoline can.

Then I begin to use it and realize just how wrong that thought is.  For starters, you can't beat the ease of just sliding your vegetable back and forth to create even and uniform slices.  Not only that, but clean up equals basically the same amount of kitchen materials if instead you had used a knife and cutting board.

IMG_9500

That said, I'm hoping to incorporate mandoline use into my kitchen a little more in the future.

IMG_9508

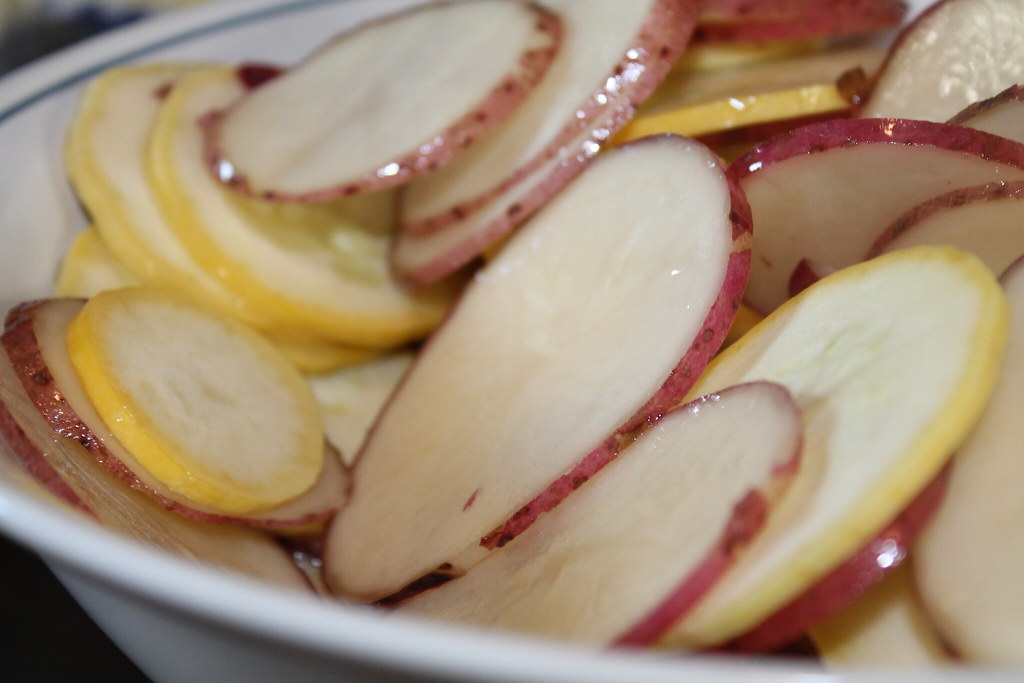
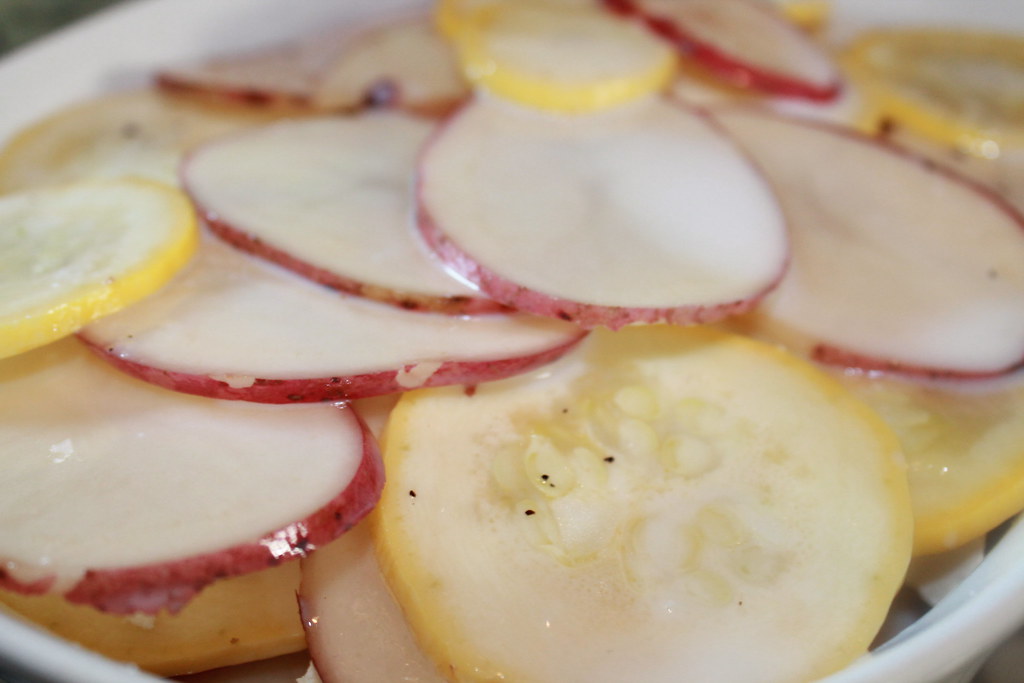
After slicing the potatoes and squash, tossing them with some olive oil, 1/3 of the mixture is spread out in a dish.  The recipe said it didn't matter how they were laid out--in other words, it didn't need to be a perfect pattern of potato-squash-potato-squash, but my perfectionist side of me had a difficult time completely following that step.

IMG_9518

Goat cheese is sprinkled on top of the first layer of veggies.  These two steps are repeated and the second layer of cheese is topped with the remaining potato and squash.

IMG_9521

The recipe boasts that it does not use cream, only a splash of milk (1/4 cup) to keep the vegetables tender.

IMG_9524

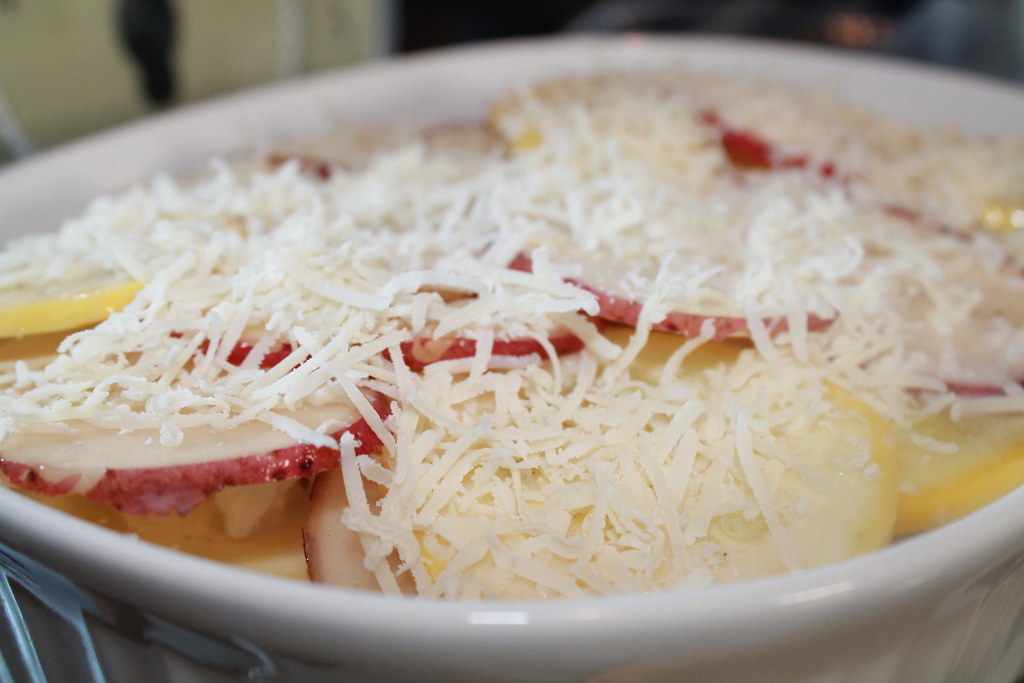
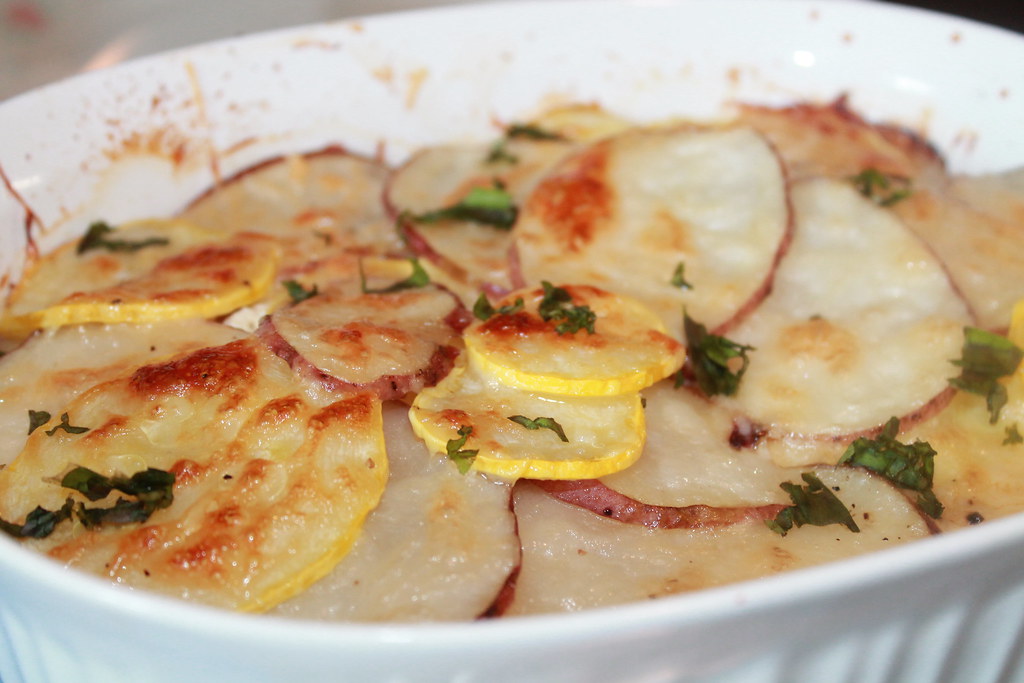
A sprinkle of fresh grated Parmesan cheese adds a little more flavor and charm to the top of this dish.

IMG_9533

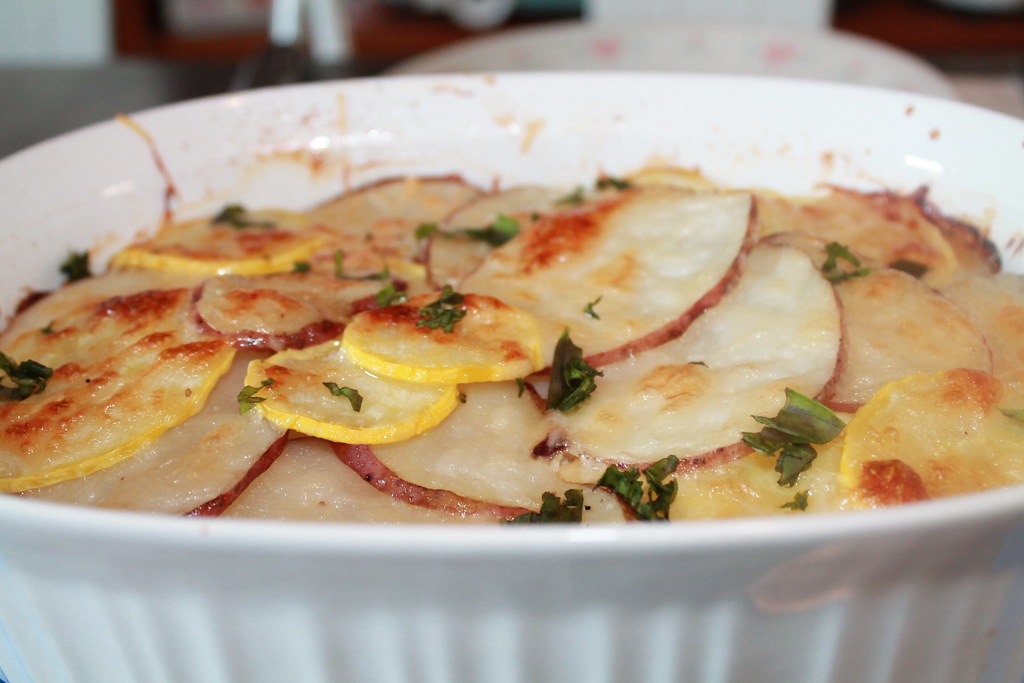
And of course, so does a sprinkle of fresh basil, picked from the garden, next to--you guessed it--more squash.

IMG_9538

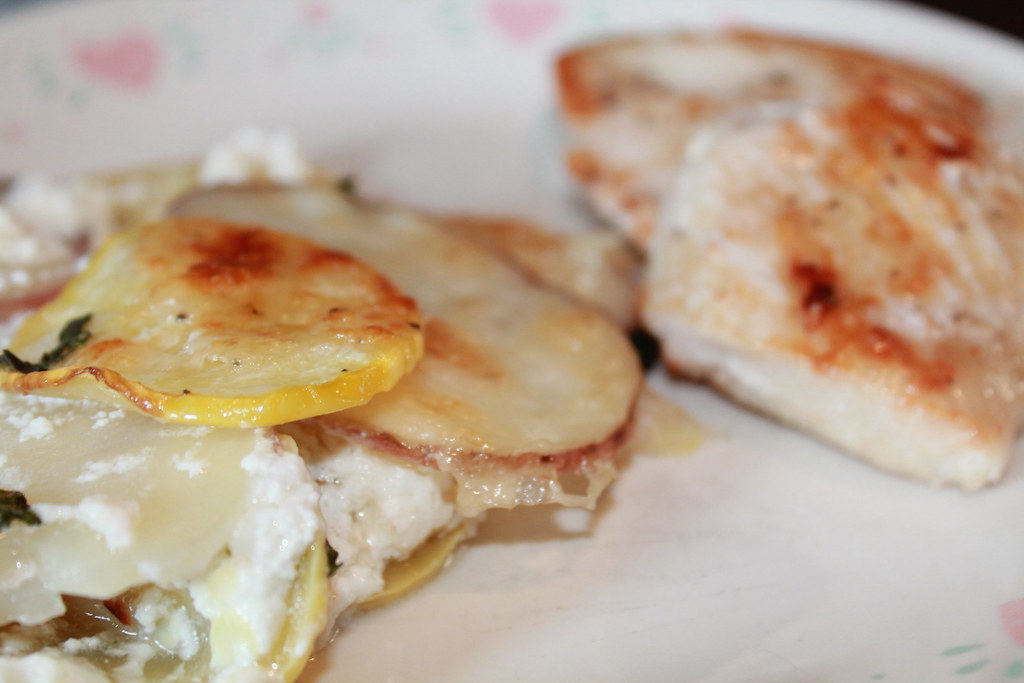
I served this for lunch one summer Saturday.  Hubby needed some protein to go with it, so I seasoned some chicken breasts and pan fried them in a little olive oil and butter combo until they browned.

I didn't expect Hubby to enjoy this dish.  As I've said before, he's unpredictable.  Surprisingly, we both really enjoyed it.  He had no complaints.  My only issue was that I felt the goat cheese was a little over powering and it took away from the veggies.  My future adjustment to the recipe would be to first try it with half the amount of goat cheese.  If it was then lacking a desired amount of cheesiness, I would play around with adding two ounces of another cheese--hello, Feta?

Sunday, July 22, 2012

Basic Bruschetta

Recipe: Bruschetta
Source: The Orange Strainer
Time: 40 minutes total
Ease: 1
Taste: 7
Leftover Value: 7
Down the Drain or Keep in the Strainer: Keep it in the Strainer!

Yesterday came and went without any recipes posted.  I have no excuses.  I had a very bum day overall.  However, I've allowed myself one day per week to not post a recipe, usually it's been Sunday, but clearly this week, it was yesterday.


I was in the mood for bruschetta recently and thought, "It can't be that difficult".

Boy, am I glad when I'm actually right.

The following is my basic bruschetta recipe.

You'll need:
-(4) Roma tomatoes
-Half a white onion
-(10) Basil leaves
- (2) T Olive oil
-Dash of balsamic vinegar
-Salt and pepper, to taste
-(1) Garlic clove
-(1) French baguette


 If you live in New Jersey, you're in luck, because, like me, you'll have your choice of the best possible tomatoes in the country.

If you don't, whatever you can get your hands on will work, but I feel sorry for you.


Dice the tomatoes.


Slice the onion in half and save the other half for the salad you're going to have for lunch tomorrow because you're planning to be super healthy this week.

We'll see about that...


Dice it up.

Cry a little.

No, a lot.

Darn onions.


Mix the onion and tomatoes together gently.


Basil!  Love love love!  I've been using it pretty often this summer, so I'm happy.


Slice the basil up julienne.  This is about as advanced as my cooking terms get, I promise.  

All you have to do is roll the basil up and then cut.


You should come out with cutesy thin strips of basil.


Toss the basil on top of the onion and tomato mixture.


Drizzle about 2 tablespoons of oil.


Then give a good dash of balsamic vinegar.


Season with salt,


and pepper.

Add a clove of minced garlic.  Pretend you see me doing this, because clearly, there is no photo of this.


Give one more light mix of all the ingredients.  Refrigerate for about 30 minutes.  Trust me, you'll want to! 


Preheat the oven to 350 degrees.  While you're waiting the torturous 30 minutes, you can prepare your French baguette.  Mine is curvy.  I'm not sure why...

Slice the baguette into quarter-inch or half-inch thick pieces.


Spread them out on a baking sheet and drizzle with olive oil.  Flip them over, and drizzle again.

Bake for 5 minutes, then flip the pieces over and bake for 3 more minutes.  If you like your bread to be a little more crunchy, keep it in a few minutes longer.  I like mine a little on the chewy side, so I took it out when it had just gotten toasty on the outside but still had a little softness inside.


Top your bread with a scoop of the brushetta.  Pop that whole bad boy into your mouth and sigh.

Repeat as many times as necessary.

Don't worry, no one is judging you.

Remember, these are vegetables, so this recipe has hardly any calories!  At least, that's what I tell myself...


Friday, July 20, 2012

Perfectly Pesto

Recipe: Pasta with Pesto Cream Sauce
Source: The Pioneer Woman Cooks: Food From My Frontier
Time: 30 minutes total
Ease: 1
Taste: 8
Leftover Value: 8
Down the Drain or Keep in the Strainer: Keep it in the Strainer!


I love pesto anything.  The only part I hate about making my own pesto is the darn pine nuts.  They are expensive!  A large bag at Shop Rite costs $8, a small bag at Acme $4.  

For pine nuts? 

Now, you obviously get more than one batch of pesto out of either of those bags, but still, the shopping trip where I have to buy pine nuts I always groan a little.  (When I pick them up, when I put them back deciding that I definitely can not reason spending that much for pine nuts, when I pick them up again knowing that I will not make the pesto without them, when I'm checking out and see the pine nuts on the conveyor belt, after I've checked out and my bill is much bigger than I wanted....you get the idea).


You need basil for this recipe.  I love my basil plant.  I'm trying my hardest to remember to water it.  I have serious issues with plants. So far this summer, I've kept them alive.  So, I'm doing good.


I love knowing I have fresh basil ready whenever I want it.


I call this picture, "The Pesto Collage, sans Olive Oil".


After your pesto is a green and white speckled masterpiece, melt some butter with some heavy cream.

Oh, yes.


Then add your pesto.

I'm sorry, I thought just pesto was wonderful, but pesto and cream. Oh. My. Gosh!

By the way, at this point it's important to remember that you should have started boiling the water for your noodles before you begin making your pesto.  I tend to forget about boiling water (just like I forgot to mention it in this post until now).


The last step said to add four roma tomatoes diced.  I have problems and didn't like the texture of the tomatoes I bought three weeks ago, so I used a can of diced tomatoes (drained) instead.

Just as delicious, just not as fresh.

Next time I would probably add extra tomatoes and maybe a zucchini, broccoli, asparagus, or oh I don't know, just about anything green!