Monday, August 25, 2014

What To Do With All This Squash?

Recipe: Potato, Squash, and Goat Cheese Gratin
Time: 65 minutes (prep and baking time)
Ease: 3
Taste: 6
Leftover Value: 5
Down the Drain or Keep in the Strainer: Keep it in the Strainer!

IMG_9535

My husband decided to plant an abundance of yellow squash this summer.  He claims he planted other things.  Other things like zucchini, peppers, carrots, and cucumbers.  Our crop yielded none of those things, save four cucumbers and never-ending yellow squash.

We reached a point during dinner, when yellow squash was yet again the side dish, when we both looked at each other and said, "I think I'm tired of yellow squash."  

I could be to blame.  I don't get too fancy with my veggies.  I slice 'em, dice 'em, and cook 'em.  After making my entree, I don't really have the time to be bothered with side dishes.*

I decided to search for a recipe that would highlight the yellow squash and make it lovable again in my house.

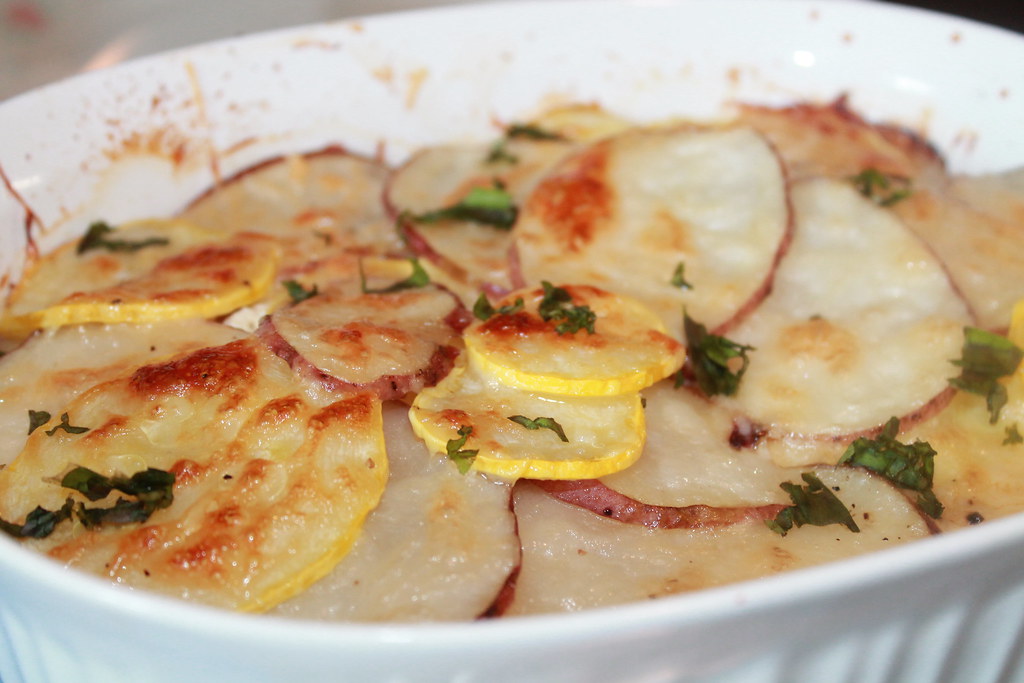
Potato, Squash, and Goat Cheese Gratin was the perfect choice.

*Note: This is a lie.  It should really say, "...when cooking for the two of us."  Because, when I am making a meal for family and/or friends I go all out.  

IMG_9497

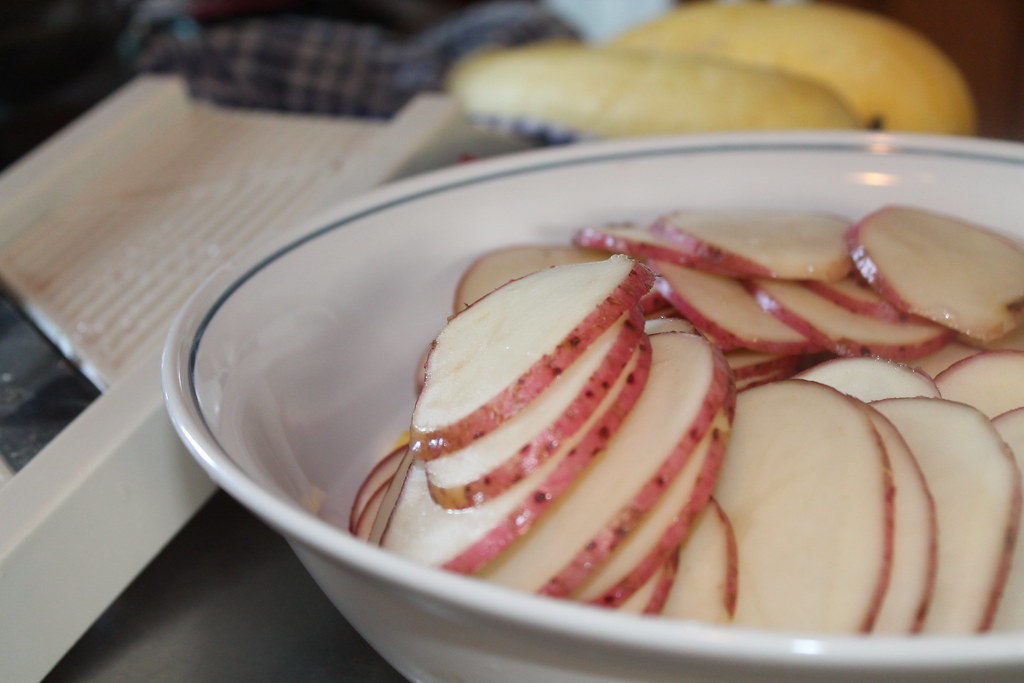
The best part of this recipe was using the mandoline to slice the potatoes and squash.  I've used my mandoline maybe five times--tops--in the seven years I've been married.  I know how wonderful it is, but somehow I always convince myself that I can slice things by hand just as perfectly as the mandoline can.

Then I begin to use it and realize just how wrong that thought is.  For starters, you can't beat the ease of just sliding your vegetable back and forth to create even and uniform slices.  Not only that, but clean up equals basically the same amount of kitchen materials if instead you had used a knife and cutting board.

IMG_9500

That said, I'm hoping to incorporate mandoline use into my kitchen a little more in the future.

IMG_9508

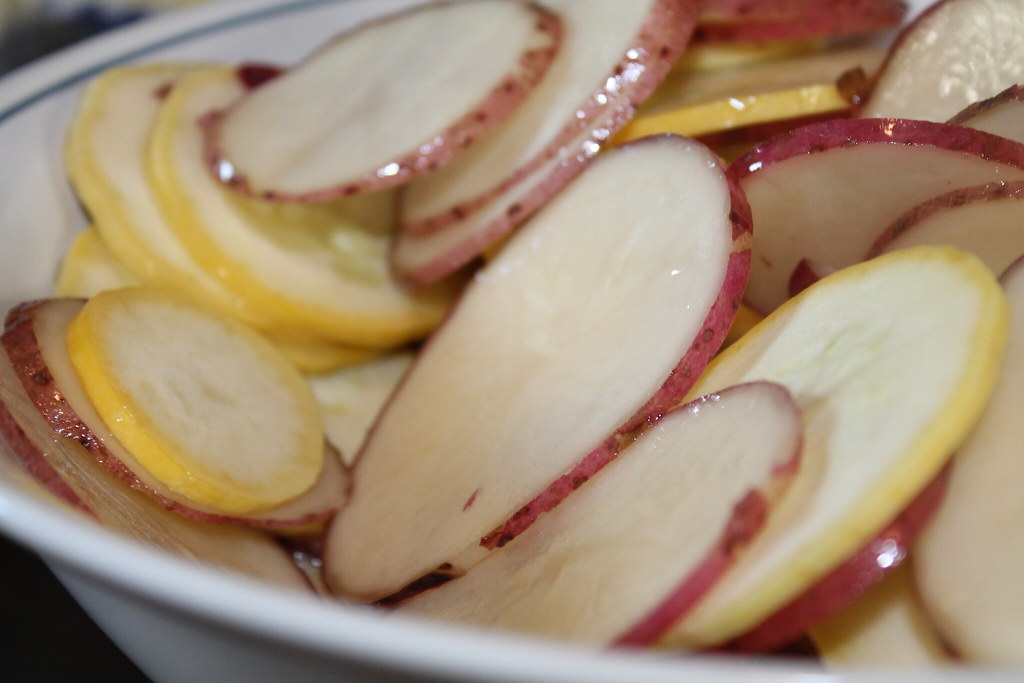
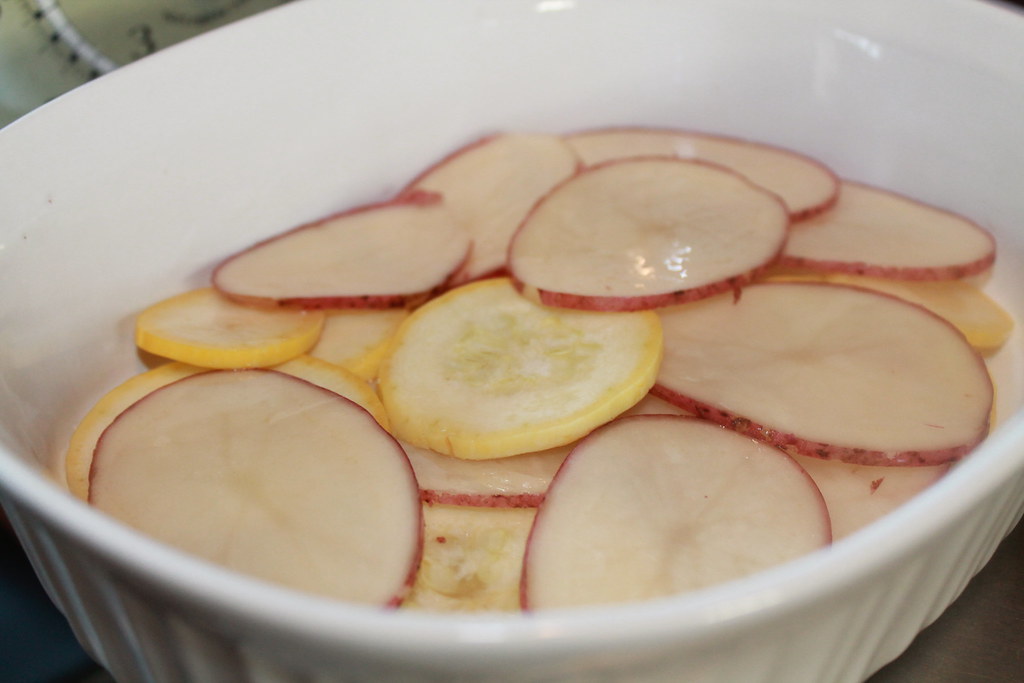
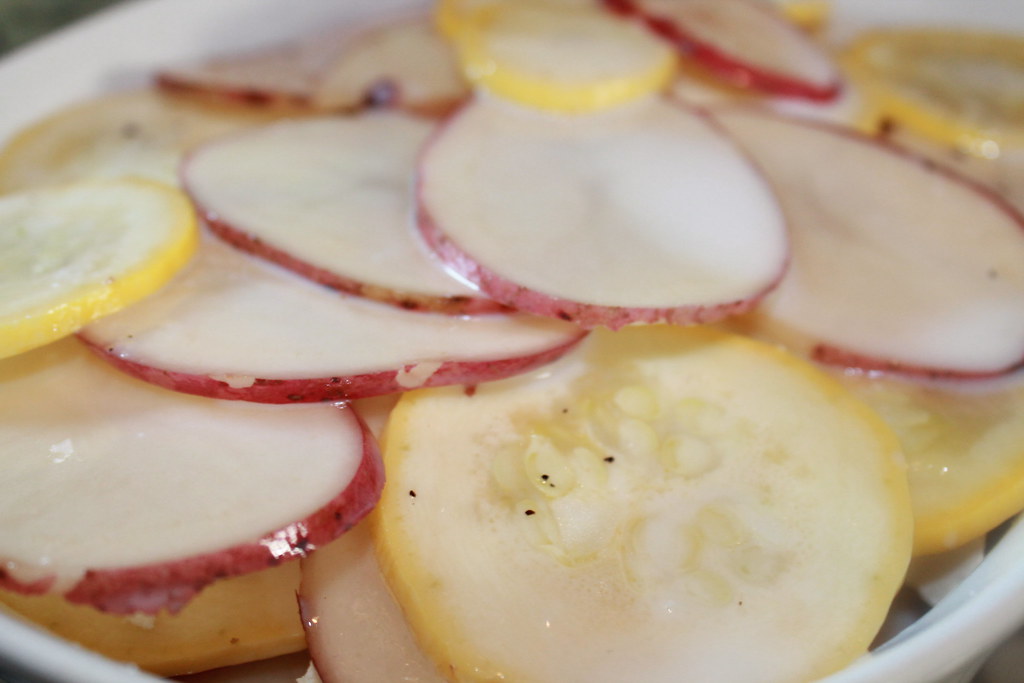
After slicing the potatoes and squash, tossing them with some olive oil, 1/3 of the mixture is spread out in a dish.  The recipe said it didn't matter how they were laid out--in other words, it didn't need to be a perfect pattern of potato-squash-potato-squash, but my perfectionist side of me had a difficult time completely following that step.

IMG_9518

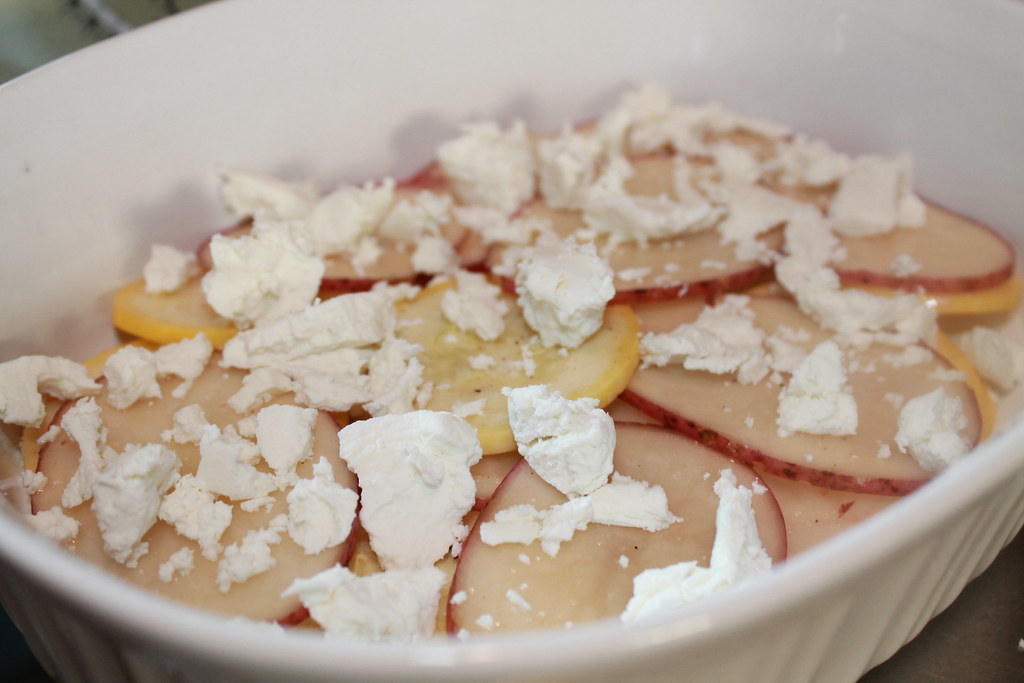
Goat cheese is sprinkled on top of the first layer of veggies.  These two steps are repeated and the second layer of cheese is topped with the remaining potato and squash.

IMG_9521

The recipe boasts that it does not use cream, only a splash of milk (1/4 cup) to keep the vegetables tender.

IMG_9524

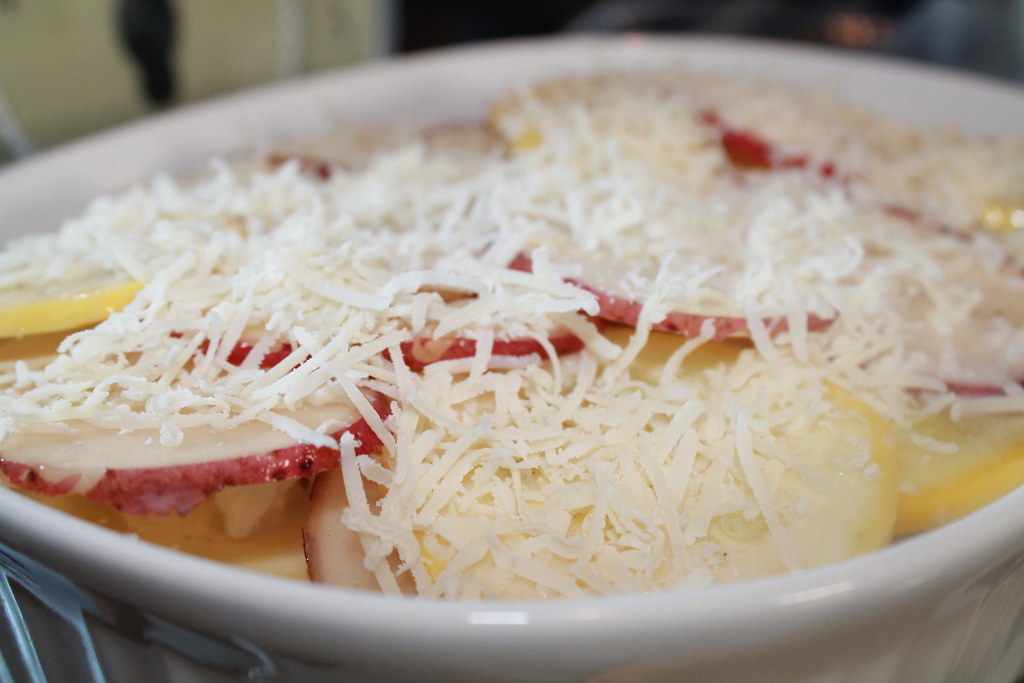
A sprinkle of fresh grated Parmesan cheese adds a little more flavor and charm to the top of this dish.

IMG_9533

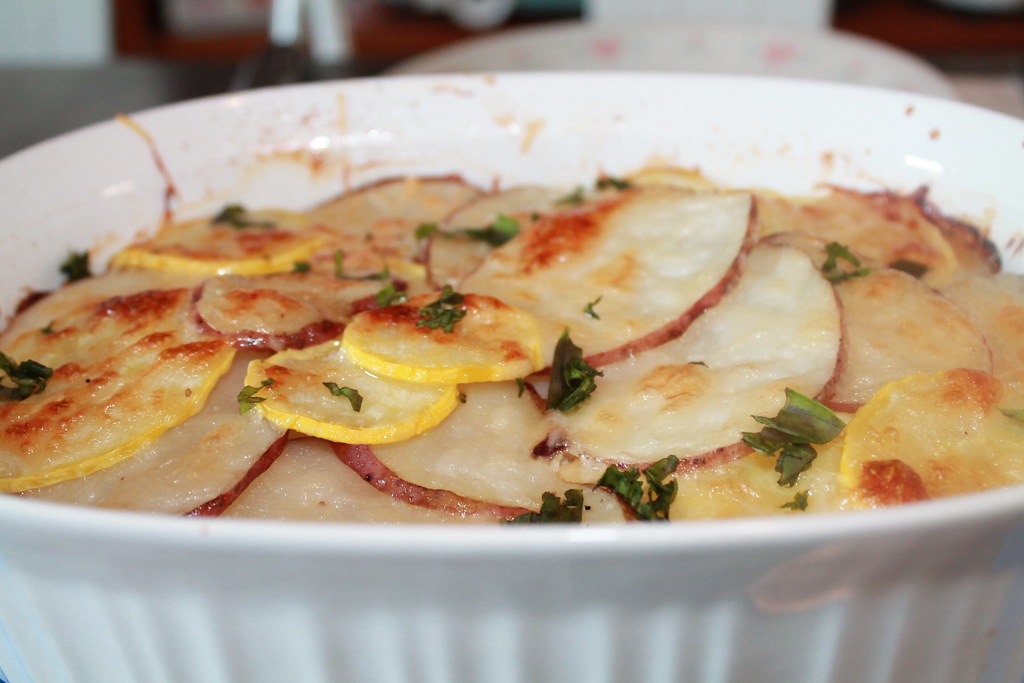
And of course, so does a sprinkle of fresh basil, picked from the garden, next to--you guessed it--more squash.

IMG_9538

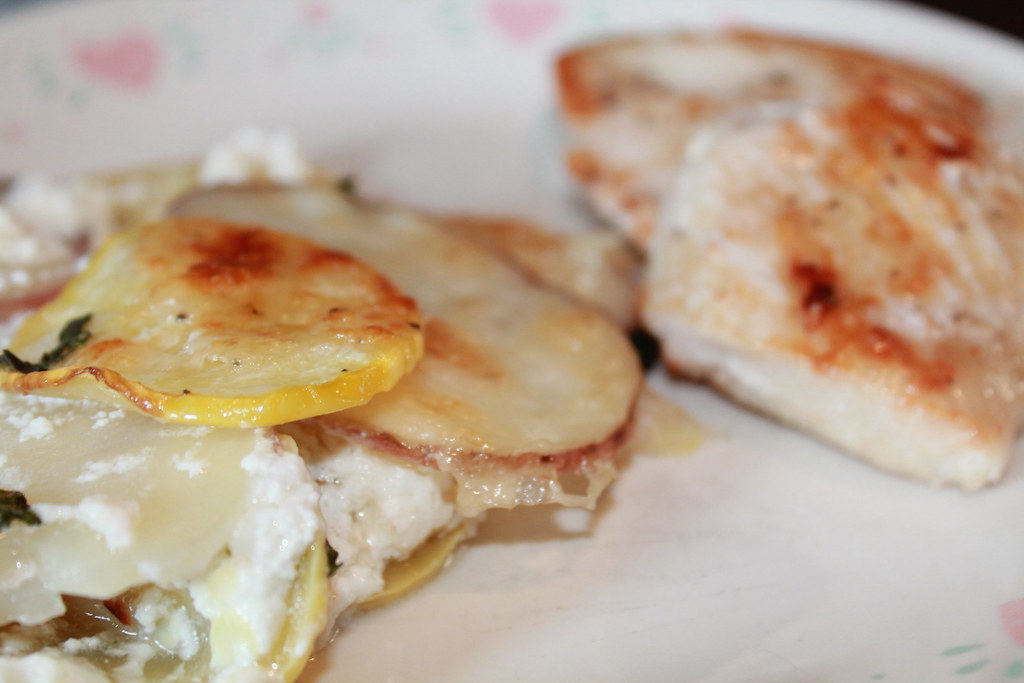
I served this for lunch one summer Saturday.  Hubby needed some protein to go with it, so I seasoned some chicken breasts and pan fried them in a little olive oil and butter combo until they browned.

I didn't expect Hubby to enjoy this dish.  As I've said before, he's unpredictable.  Surprisingly, we both really enjoyed it.  He had no complaints.  My only issue was that I felt the goat cheese was a little over powering and it took away from the veggies.  My future adjustment to the recipe would be to first try it with half the amount of goat cheese.  If it was then lacking a desired amount of cheesiness, I would play around with adding two ounces of another cheese--hello, Feta?
Friday, August 22, 2014

Lavender Shortbread Cookies

Recipe: Lavender Shortbread Cookies
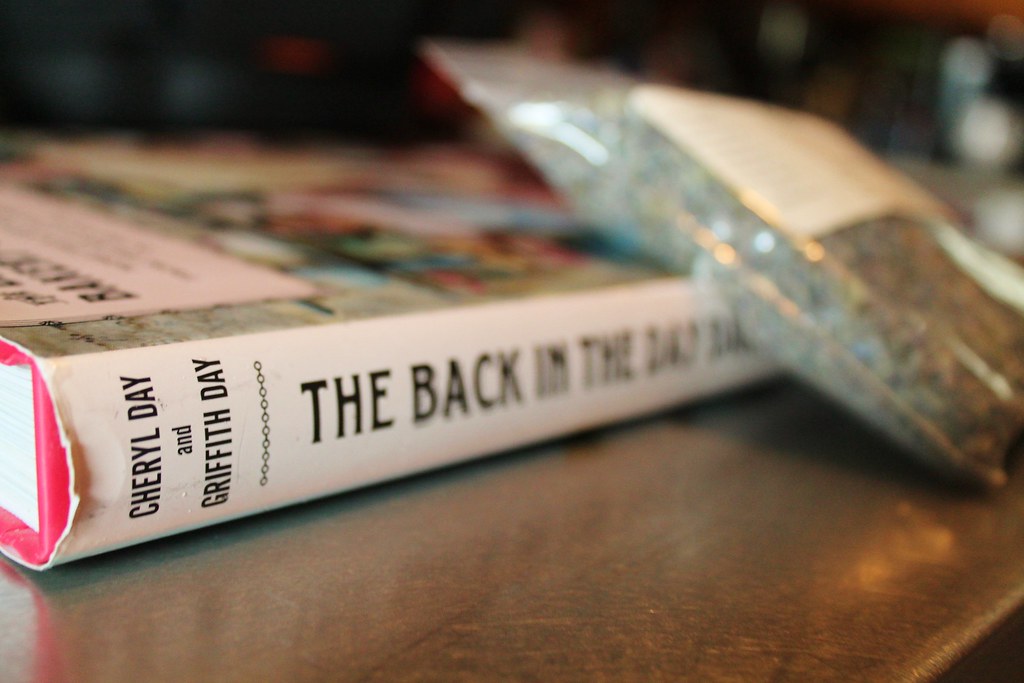
Source: The Back in the Day Bakery Cookbook*
Time: 1 hr 5 min
Ease: 2
Taste: 4
Leftover Value: 7
Down the Drain or Keep in the Strainer: Down the Drain!

*Note: I could not find their recipe online.  Here are two similar recipes:

IMG_8726

I have always heard good things about lavender.  So many good things, that once upon a time when my Back in the Day Bakery Cookbook was new, I instantly marked the recipe for Lavender Shortbread down as a 'must make'.  

What initially kept me from baking these cookies was the price of lavender.  I scoured the internet, knowing I probably wasn't going to find it at the local supermarket, only to discover it was going to cost me $3.99 plus the obnoxious price of shipping and handling.

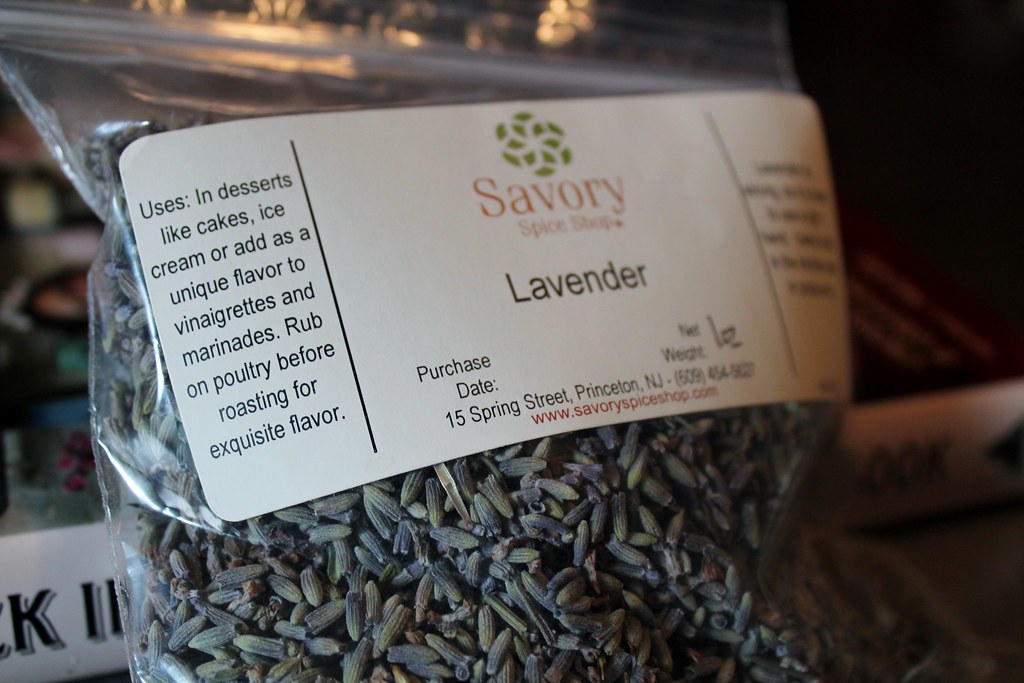
I was on the lookout for it, and finally found it at Savory Spice Shop in Princeton.  If you enjoy unique and hard to find spices, this is the place to go.  There must have been twenty varieties of salt.  Even Hubby was lost in the different spice rubs and BBQ items they had to offer.  

IMG_9771

I didn't realize until later that I paid the same amount I would have paid had I ordered my lavender online.  Of course, I didn't have to pay shipping and handling, and maybe it's just me, but I prefer to buy things in person.  I want to pick from the back, inspect it, walk around with it, commit to it.

IMG_9768

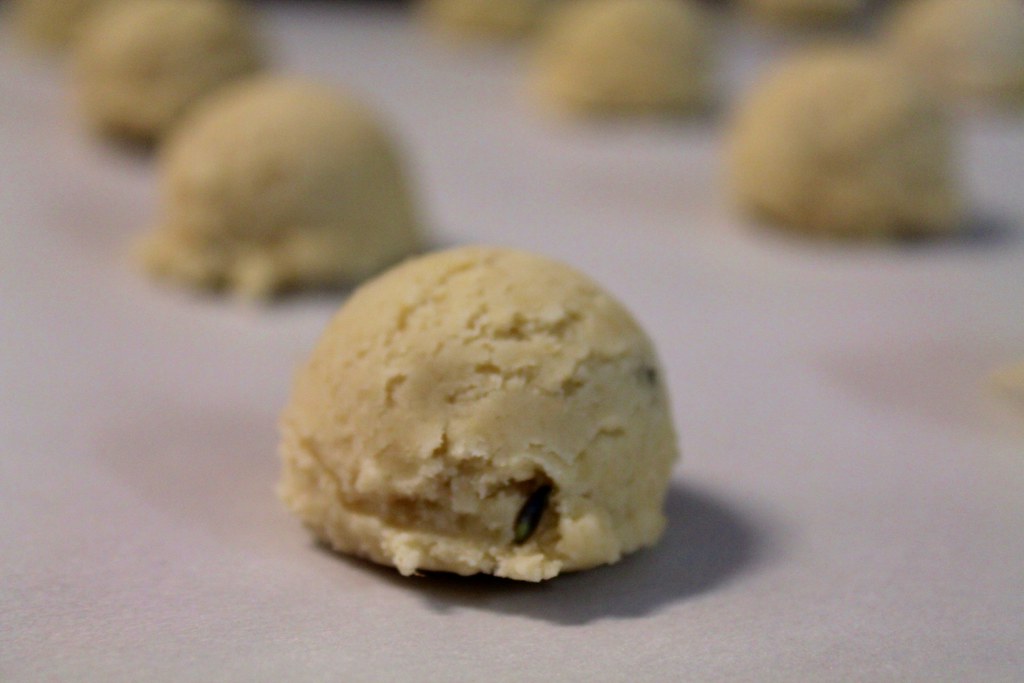
Having never tasted lavender before, I was a little confused at the smell.  It didn't relate to my nose as being something that was going to give my cookie the addictive delicious quality I hoped for.

IMG_8708

Naturally, I pressed on ignoring my nose.

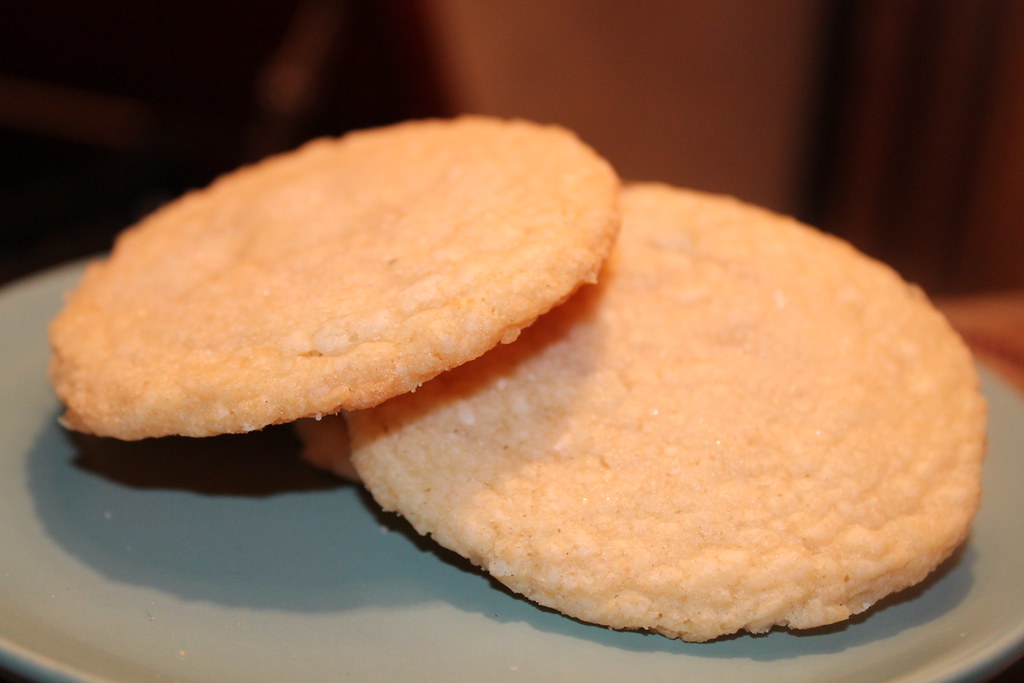
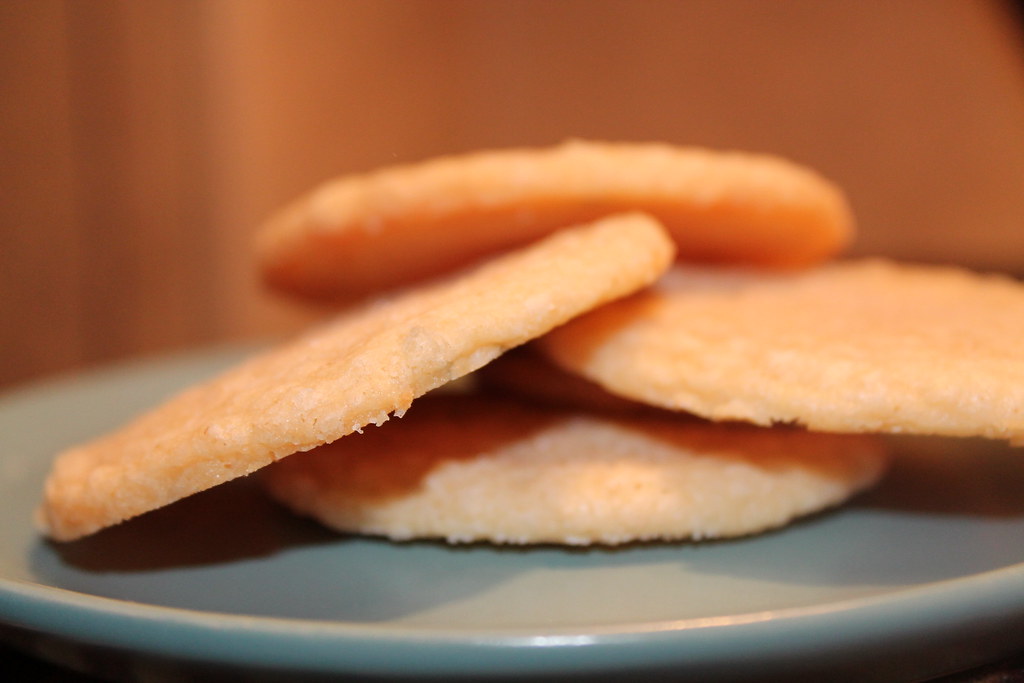
While the shortbread quality of these cookies was perfect, the lavender took away from the buttery delight that is shortbread.  I equated the taste of the lavender to thyme.  Thyme, for some reason, is a seasoning I have never enjoyed too much.  I want to like it, but I just don't have a palate for it.  I know several cooks have tried to become clever and incorporate thyme into cakes and custards, but for me, it should remain in savory dishes and rubs for chickens.

IMG_8729

These were definitely the type of cookie that I had to warn tasters of its uniqueness ahead of time.  It went like this, "I brought a delicious chocolate cake, and, um, yeah, I have these cookies here.  They have lavender in them, so if you want to try them...I'll just warn you that they taste more on the herbal side...like thyme."

Tuesday, August 19, 2014

Do 'Em Yourself Doughnuts!

Recipe: Easy Homemade Doughnuts, 'Yeast Doughnuts'
Source: Woman's Day Magazine
Time: 1 hr 30 min active time; plus overnight rising, 30 minute rising time, and glaze set time
Ease: 8
Taste: 10
Leftover Value: 8 (Like most doughnuts, fresh is best!)
Down the Drain or Keep in the Strainer: Keep it in the Strainer!

First of all, let me say, I only have access to Woman's Day Magazine because my grandmother hands them down to me when she is finished reading them.  I read them to satisfy her want for me to read them.  

Whew, glad I cleared that up.

Second, you'll notice this recipe is called, 'Yeast Doughnuts'.  However, the recipe link says "Chocolate Glazed Yeast Doughnuts', and even further, the original recipe title in the magazine said, "Easy Homemade Doughnuts".

Let me stress right away that these are certainly not easy.  I'm not giving them a whopping '10', only because I try to reserve that for recipes I find myself questioning why I even attempted to make them in the first place.  For example, think of a Parisian pastry composed of layers of buttery flakes that when paired with a cappuccino makes you want to sing praises for the baking masters who created such a beautiful thing that can be eaten at breakfast, midday, or evening and enjoyed to the fullest.  I recently learned how to achieve such wonder.  It's an intense process which, I'll just say, one of the steps involves molding butter into a flat sheet to sandwich between layers of dough.  

Crazy, right?

At first I thought, sure I'll try it.  And then I realized how much pain I would be putting myself through when I know that Panera and Starbucks both have pastries that I can purchase for a few bucks equaling less time and money spent on the final product--my happy belly.

Yet there are some recipes that lean towards that 10 rating, and some that I do dare to make.  Homemade doughnuts is one of them.  While there is no butter molding involved in doughnut making, it really is the amount of time that has to be put into them that makes them an 8 for ease.

IMG_9477

But just look at how gorgeous they are.

IMG_7382

I have made homemade doughnuts several times now.  I've tried two different recipes and decided to stick with the first, with a few changes.

Regardless, my kitchen always ends up being a mess.  From start to finish, there is no way to avoid it.

IMG_7388

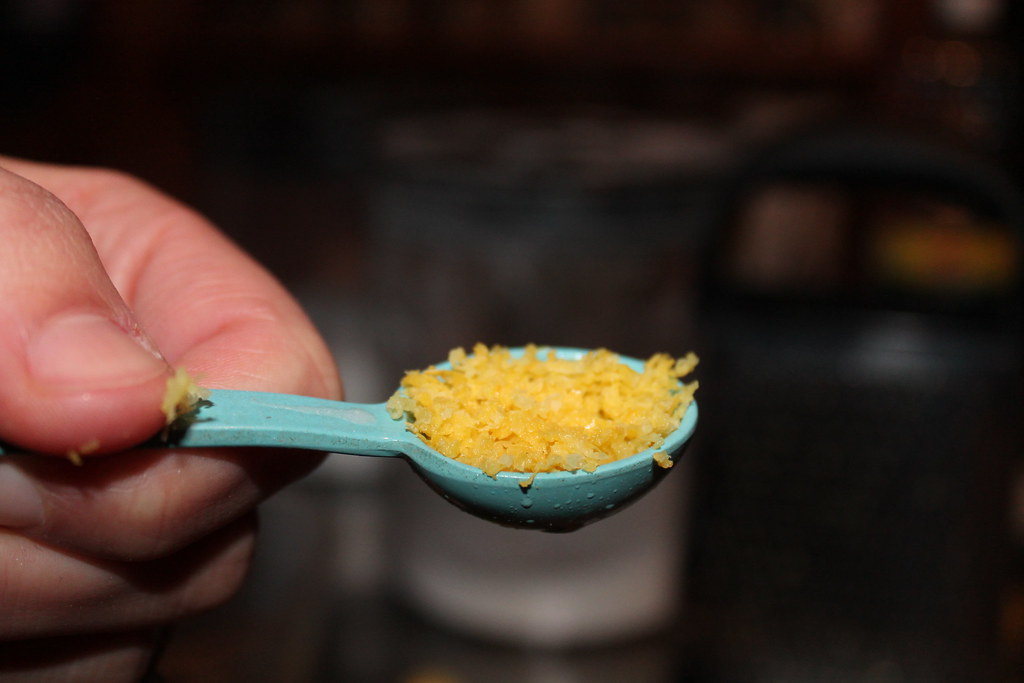
The major change I made from the original recipe was to nix the lemon zest.  When I have made doughnuts with lemon zest, everyone who ate them loved them--except me.  I felt like it was overpowering and had no place being used in a basic glazed doughnut.

IMG_7400

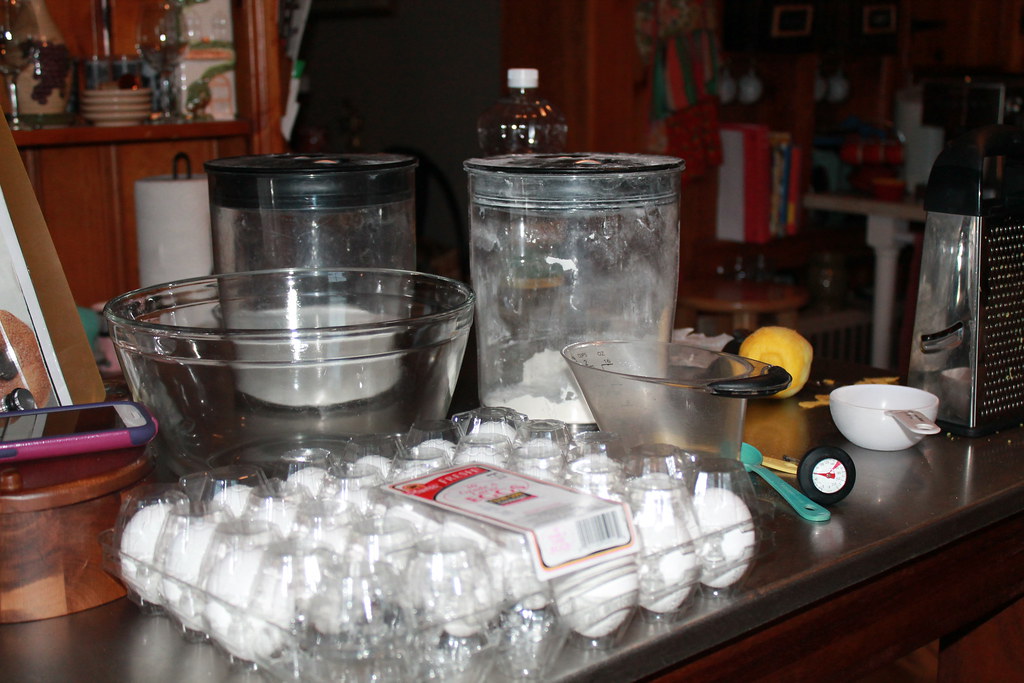
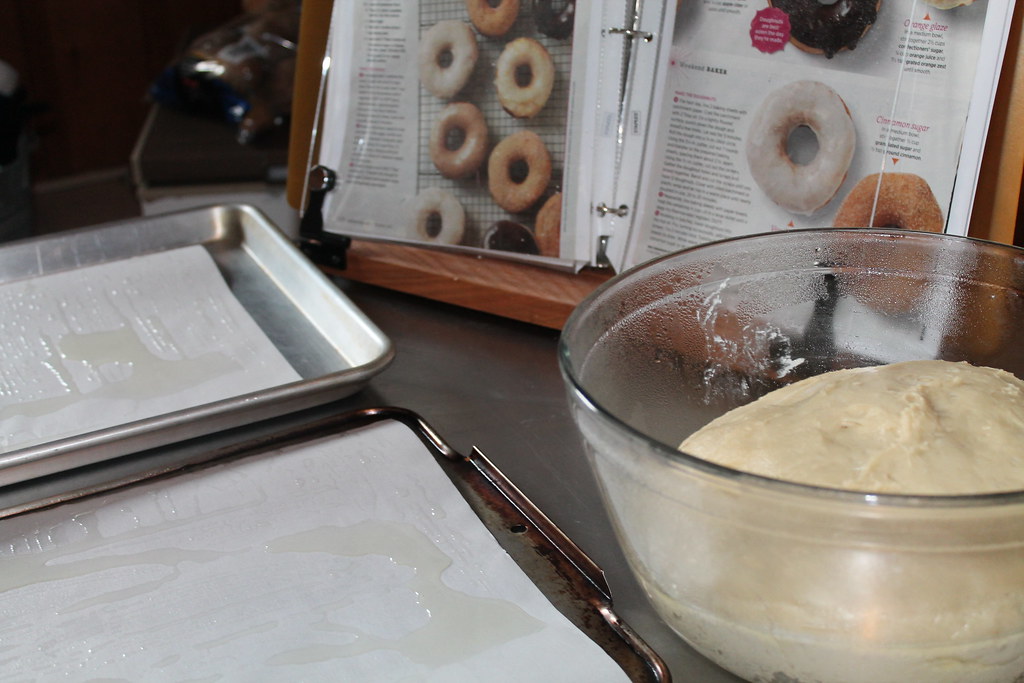
The dough for these doughnuts needs to be made the night before you want to make them.  No matter how many times I make these, I'm pretty sure I will always forget this important step.  I usually find myself scrambling at 10:00 at night to make the dough because I forgot to plan ahead.

IMG_7408

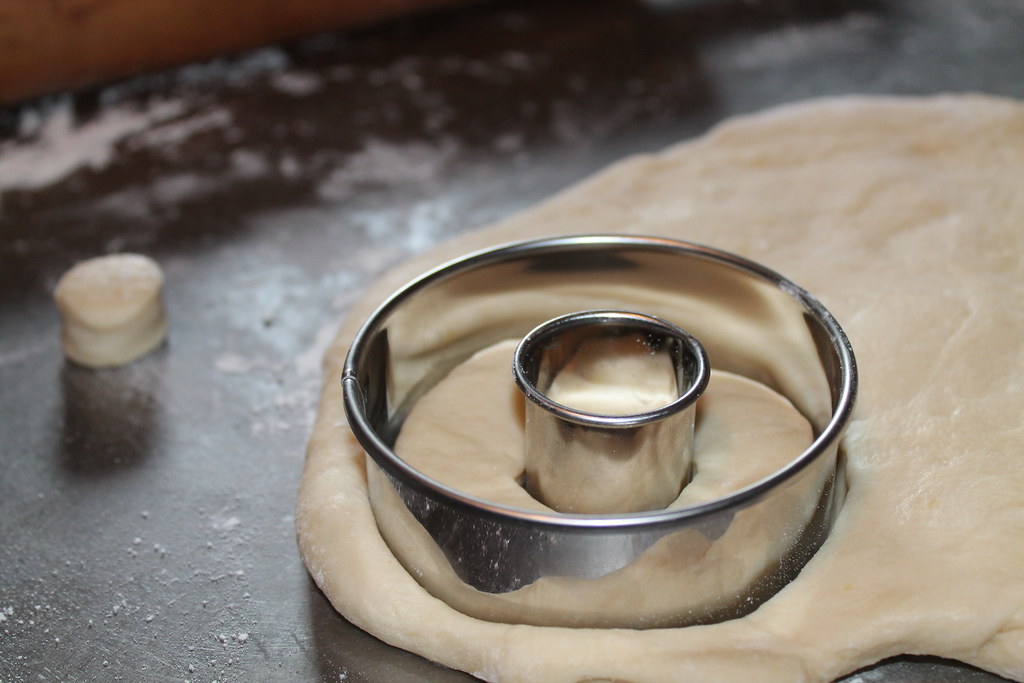
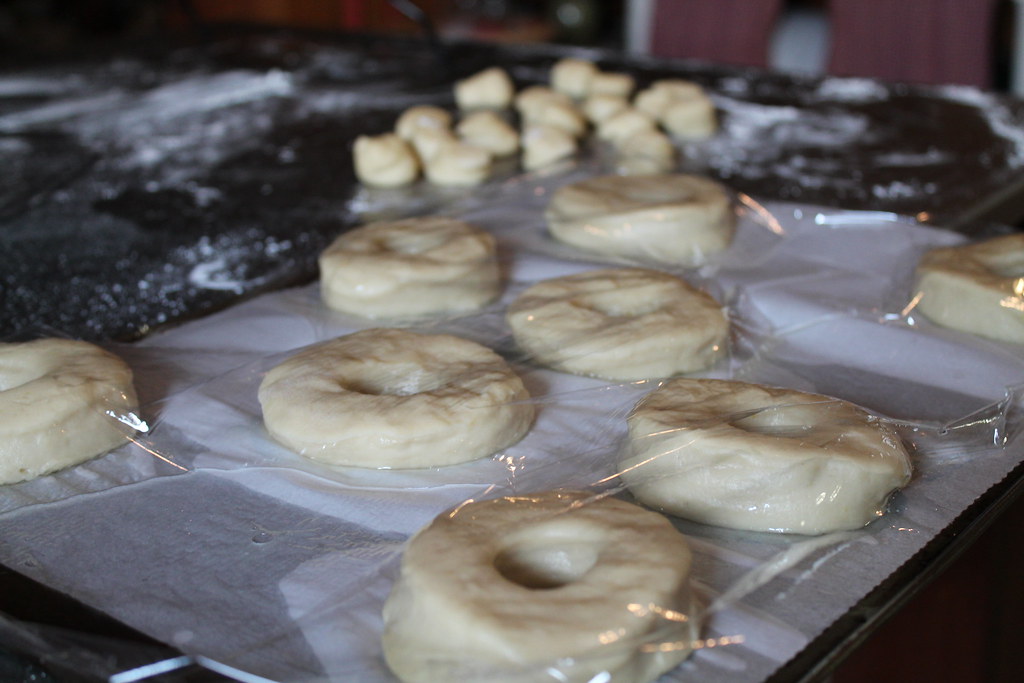
You can purchase a doughnut cutter, but I went ahead and bought a fancy biscuit cutter set and used one of the bigger cutters for the outside and a teeny one for the middle.

Make sure to save the holes!  This will be important later for test tasting!  

IMG_7412

After the doughnuts are cut, they need to rise in a warm place for 20 to 30 minutes.  I usually spend that time getting my oil warmed up, and trying to somewhat clean my kitchen.

IMG_7410

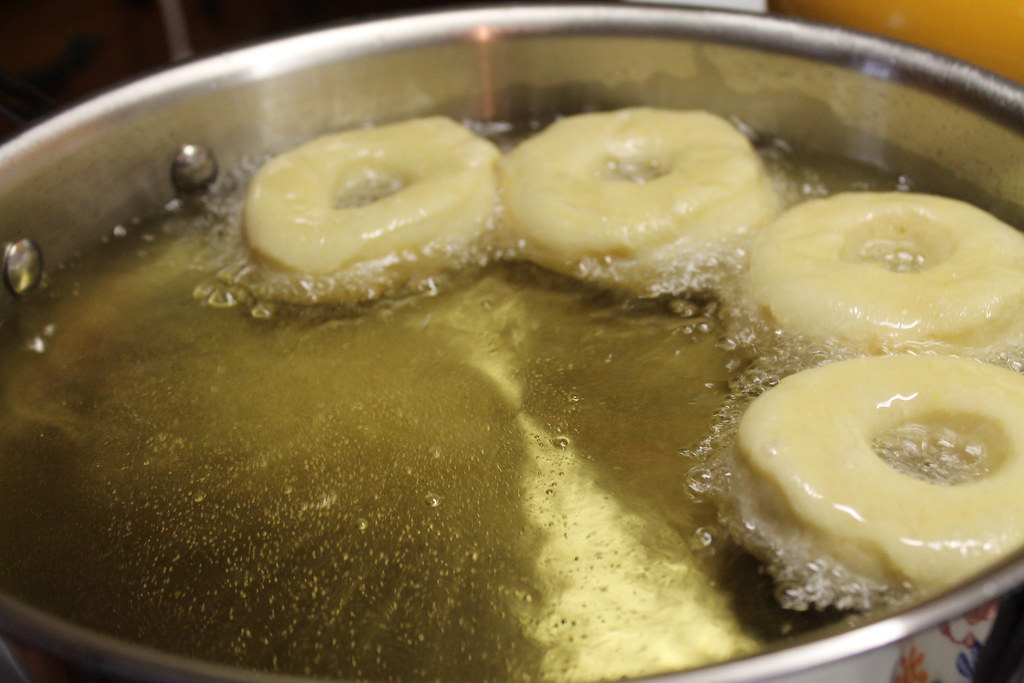
Here's the part that you just have to make peace with.  Delicious glazed doughnuts are fried.  There.  I've said it.  I'm always amazed at how little time they need to spend in the oil to become this:

IMG_7414

Oh my stars, they look beautiful.

Over the course of the different times that I've made these, my biggest struggle, aside from the lemony flavor, has been glazing the doughnuts.  For starters, you have to allow time for not only glazing the doughnuts, but also allowing the glaze to set.  Too often I've planned out my time so that I would glaze the doughnuts and then head off to whatever function I was making the doughnuts for in the first place.  They need at least an hour to set.  The different glazes that the recipe included were: apple cider glaze, chocolate glaze, orange glaze, and vanilla glaze, but I wasn't impressed with them.  

Not pictured, but definitely a crowd pleaser was my chocolate icing:

Chocolate Icing

1 cup semi sweet chocolate chips
2 T canola oil
1/2 tsp kosher salt

Microwave and stir until the chips are melted

IMG_9464

The basic glaze always came out too runny when I followed the recipe.

Here's the best I've come up with:

Glaze for Glazed Doughnuts

2 cups powdered sugar
1/2 tsp kosher salt
1/2 tsp vanilla
1/4 cup + 2 T water

Mix together until smooth

IMG_9454

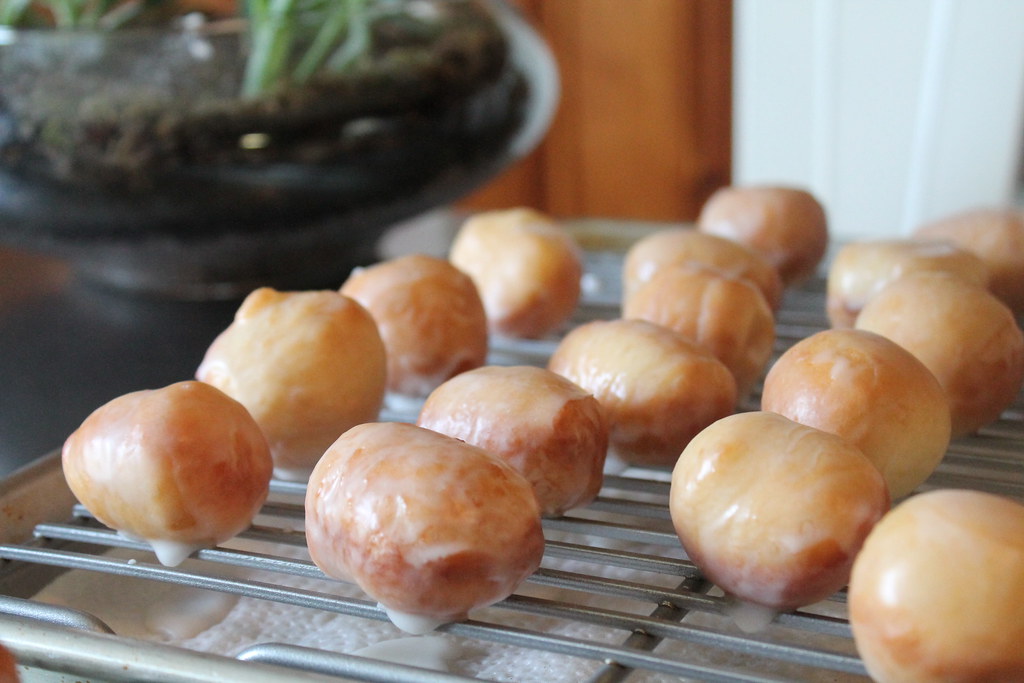
With the above glaze recipe I was able to glaze a dozen doughnuts and close to twenty doughnut holes.  Here is why you want to make doughnut holes rather than making one or two more doughnuts...

IMG_9467

...while you're glazing the rest of the doughnuts, you can pop a few in your mouth and not feel as guilty as you might if had you eaten an entire doughnut.

Friday, August 8, 2014

Amazeburgers

Recipe: Spicy Whisky BBQ Sliders
Source: The Pioneer Woman Cooks: A Year of Holidays
Time:  25 minutes
Ease: 4
Taste: 10
Leftover Value: 8
Down the Drain or Keep in the Strainer: Keep it in the Strainer!

Ordinarily I take issue with making up words, but from today forward these burgers will be known as Amazeburgers.  I have no other singular description for them.  Amazeburgers they are.

Usually I avoid burger recipes.  (And before you call me a liar, yes I know I posted about these burgers just last month.  Let me clarify.  They were mini.  Everything and anything mini stands to be the exception to the rule).  I've been burnt by far too many burger recipes that tried to class up the basic burger when, hello! who are we fooling?---burgers aren't meant to be classy.

I didn't have high hopes for these burgers, but because I can't stand to have the same recycled recipes for dinner every week, I tossed this one on my monthly menu.

It's from the newest Pioneer Woman cookbook, and sadly isn't posted on her blog.  If you read along though, you'll get the gist on how to make these melt-in-your-mouth, I-can't-eat-just-one, where-have-these-been-all-my-life Amazeburgers.

The ground beef is seasoned, squirted with a little Worcestershire and then shaped into burgers.  Interesting tip from PW: make a well in the center of each burger with your thumb to prevent the patty from plumping too much when it is cooking.

Coat the skillet with a little butter--eek! yes, butter!--and cook the patties on both sides.

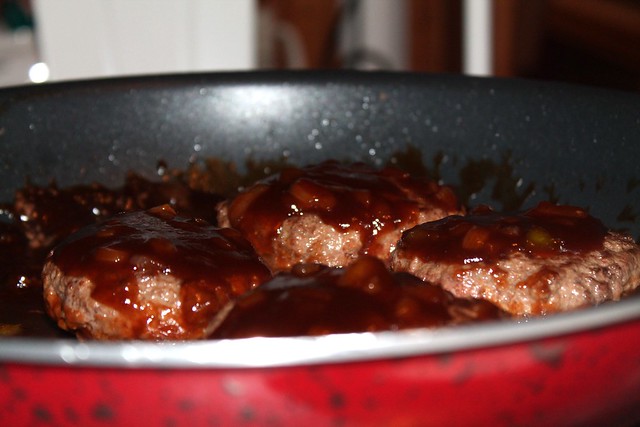
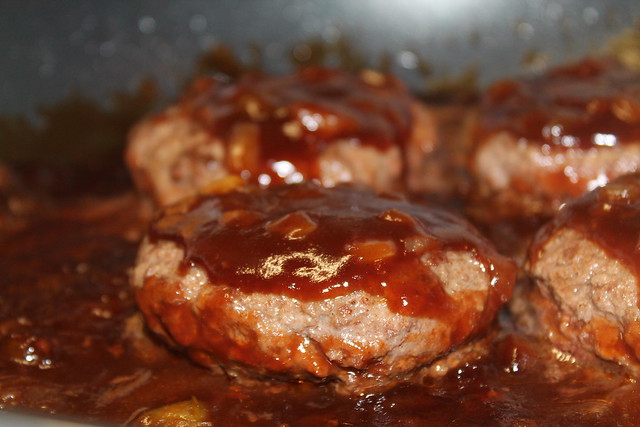
Fry some diced onions in the delicious juices, some might call them fat but that just seems insulting, then pour in some whiskey.  Allow the whiskey to bubble up and reduce.  Add BBQ sauce, and some jalapenos, and then toss the burgers back into the skillet.

IMG_9384

I told you: simple.  I gave this a '4' for ease because I think part of what made my burgers so Amazeburgery was that for once in my life I didn't over cook the burgers.  I like my meats done medium, with a hint of pink on the inside, and somehow I managed it with these burgers.  I might not, however, manage it the next time I make them. 

IMG_9394


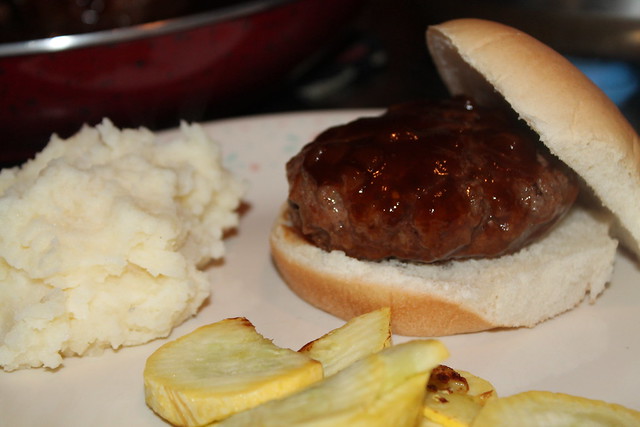
After returning the burgers to the skillet, I flipped them over and swished them around in the sauce.  Hubby ended up being about twenty minutes later than I expected the night I served these, so I let them simmer in the sauce and they remained perfectly amazing.

I may or may not have eaten mine before he came home.

IMG_9397


It's not often that I am this impressed with something that involves barbeque sauce.  Even Hubby was impressed, which is saying something.  Hubby is rarely impressed, food snob that he is.

This recipe is definitely one of those don't-judge-a-book-by-its-cover recipes.  What I thought was going to be another recipe tried and marked off the "To Make" list has become one that now will go on the "Hubby Loves" list.

Wednesday, August 6, 2014

Graham Cracker Chocolate Chip Muffins

Recipe: Graham Cracker Chocolate Chip Muffins
Time: 40 minutes
Ease: 2
Taste: 4
Leftover Value: 6
Down the Drain or Keep in the Strainer: Down the Drain!
 
During summer, I seek out anything that slightly resembles s'mores.  My thoughts when I saw these muffins were: graham crackers are used in s'mores, chocolate is used in s'mores, so this must be like a s'mores muffin minus the marshmallows.
 
No, I am not the most logical person.  Regardless, these should have been somewhat satisfying, but sadly--they weren't.  
 
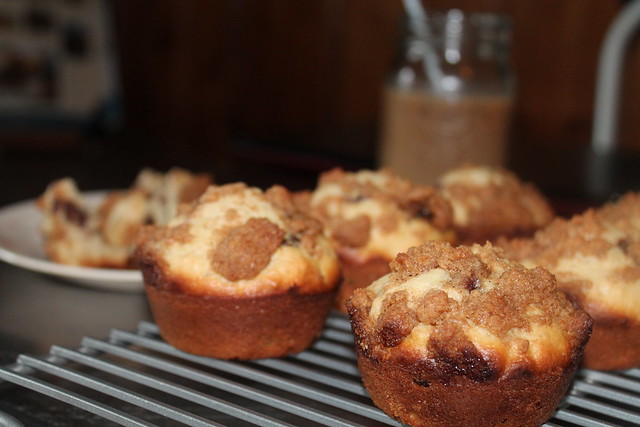
IMG_9365
 
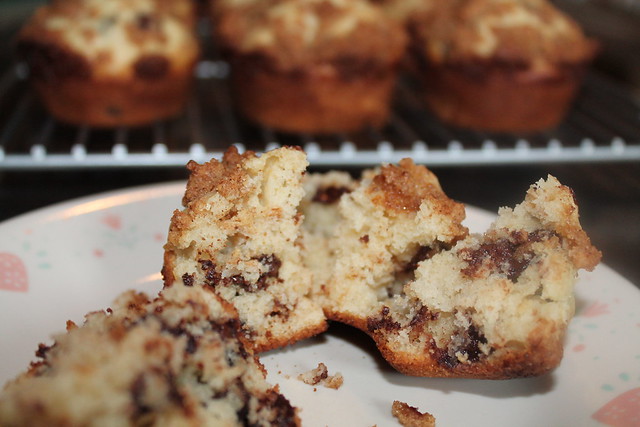
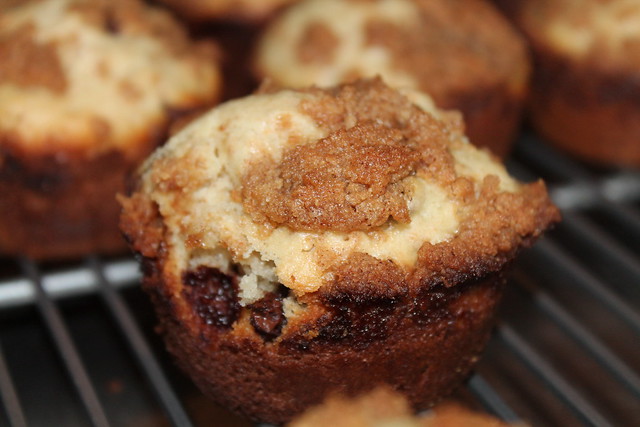
I added extra chocolate chips, a lot of extra chocolate chips, but it still didn't make these worth making again, let alone eating more than one.
 
That's a little bit of a lie.  I did eat two.  After all, I had to be able to rate their "leftover value", and I do always secretly hope that baked goods that don't hit the spot while fresh will somehow magically transform as they cool into something of value.  I did, however, rank their leftover value higher than their taste because they tasted basically the same the second day as they did fresh.
 
IMG_9381
 
There were crushed graham crackers in the dough and the topping.  Usually these streusel-like toppings add to the splendor of a baked good--I mean, how can you argue with sugar and butter mixed together and plopped on top of chocolate and cake?  I don't know if it was the amount of flour or a lack of butter and sugar but I wasn't impressed.  It was sticky and chunky, but not at all the buttery sugar crunch it should have been.

 
IMG_9376

I'm remaining optimistic though.  I'm sure somewhere there might exist the perfect s'mores muffin.

Maybe one day I might even attempt it myself.