Showing posts with label vanilla bean scones. Show all posts

Sunday, December 29, 2013

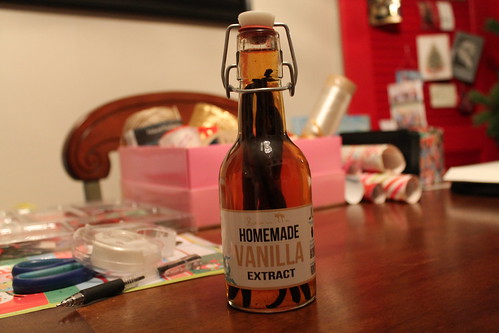
Homemade Vanilla Extract--It's Easy, I Swear!

Recipe: Homemade Vanilla Extract
Source: Beanilla
Time: 5 minutes, 6-8 weeks of wait time 
Ease: 1
Taste: 10
Leftover Value: 10--It just gets better as time goes on!
Down the Drain or Keep it in the Strainer: Keep it in the Strainer!

If you had told me three years ago that I would love baking so much that I would scour the internet for ingredients not sold in the typical supermarket--I would have argued the ridiculousness of such a notion.  Yet here I am, ordering things like lavender and vanilla beans for recipes that call for such rarities. 

IMG_6315


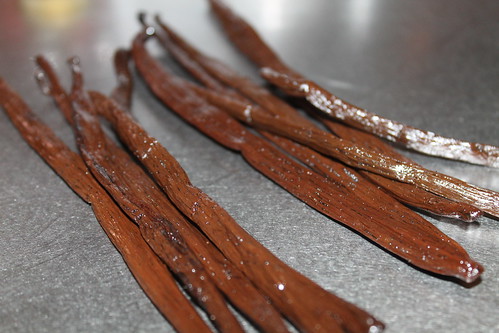
If you have never used a real live vanilla bean in a recipe, it is well worth the cost and wait of ordering online.  The first time I purchased vanilla beans online was to make Pioneer Woman's Petite Vanilla Bean Scones.  Instantly, I learned that there is no substitute for the beauty and wonder that is a vanilla bean.

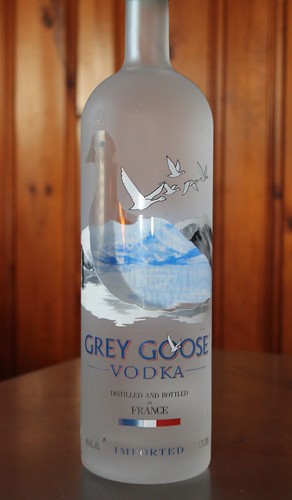
I got the idea to make vanilla extract after I received this as a gift:

IMG_6225

While it was an extremely thoughtful gift, at the time, Hubby and I could probably count on one hand how many mixed drinks we'd ever tasted.  We've explored a little since then, but again, only a little.

The picture doesn't do the size of the bottle justice, so to prove that I had a lot of vodka on my hands:  


IMG_6226

I had read on Beanilla.com that vanilla extract involved vodka, and after contemplating how many White Russians (Hubby's drink of choice) that we would have to make to use the entire bottle, I decided I'd use it for vanilla extract.

My goal was to make it for Christmas gifts, so I knew that even with the massive amount I had on hand I would still need a little more.

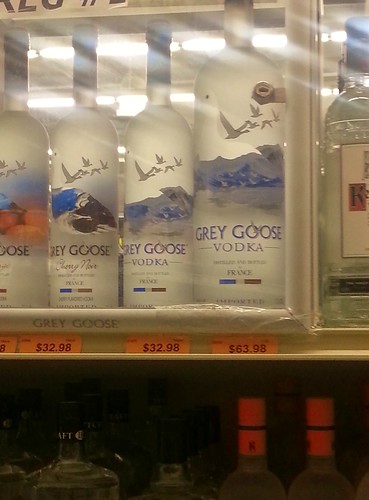
That's when I realized just how expensive my 1.75 liter bottle of Grey Goose went for:

20131016_202051

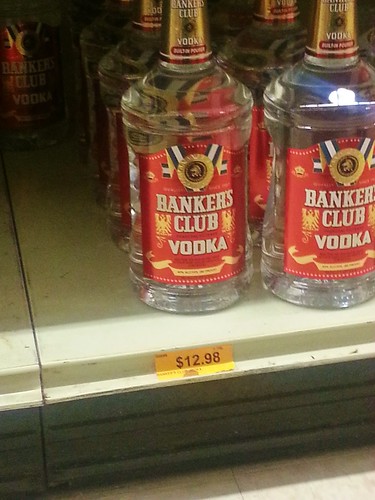
And how much the cheapest bottle of vodka in the store went for:

20131016_202131

That's not totally true.  The Canal's brand was cheaper, but also had a lower alcohol percent, so I went for one step above that.  I also decided to make only a few bottles with the Grey Goose, all things considered.

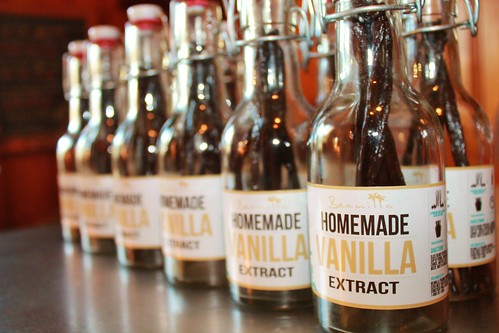
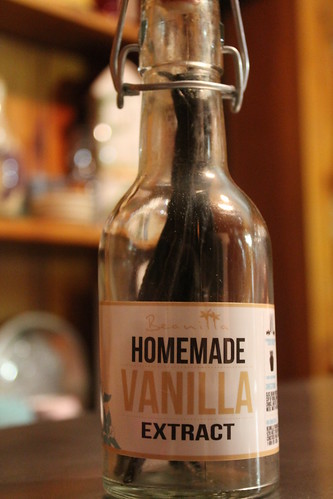
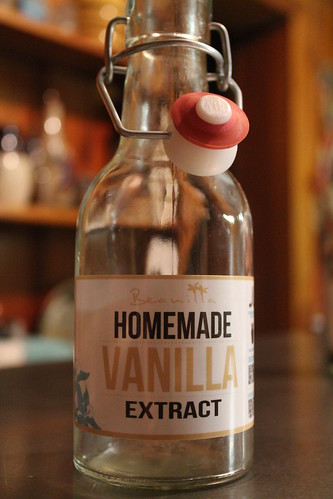
If you choose to do this at home, you do not need to order the "kit" from Beanilla.  I only did because I was making twelve.  If you visit the website, you'll notice that they have updated the packaging on the bottles compared to mine pictured below.  They've also raised the prices.  When I bought mine, the deal was $7.99 a bottle when you purchase twelve bottles or $9.99 for one.  Now it is $11.99 for one and $9.99 if you purchase twelve.  Unless you are making the extract in bulk or for gifts, it would be more cost effective to just order vanilla beans and buy your bottles somewhere else.  

I will admit, I was a little giddy when my bottles and beans arrived in the mail.

IMG_6241

I've always found homemade gifts to be the most meaningful and I knew from the start that I wanted to make this for some of the special women in my life who I knew would not only love the gesture, but also use it up.

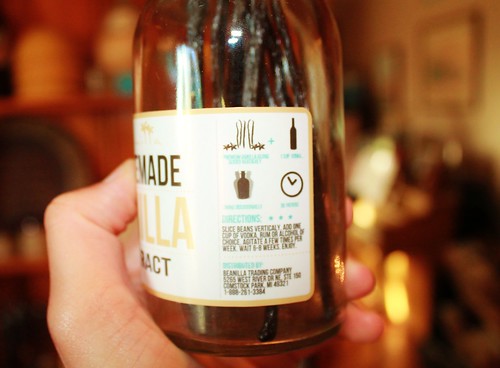
It couldn't be simpler, but just in case, they put the instructions right on the bottle.

IMG_6242

For an 8 oz bottle, you need five vanilla beans and one cup of vodka.

IMG_6320

Each bottle was packed with seven beans.  Knowing this, I had planned out a few uses for the extras in my holiday baking.

I love these bottles.

I really, really do.

Sorry.  It's the little things that excite me.

IMG_6321

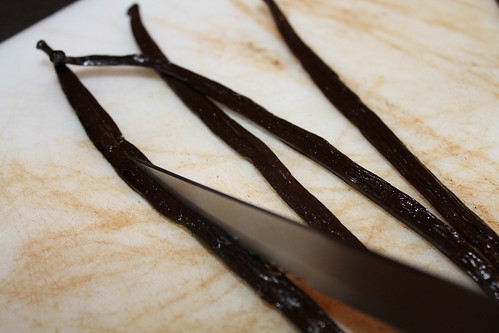
The first step is to slice the five vanilla beans down the center.*

*Note: Yes, I know there are only four beans pictured here. I promise, I used five.

IMG_6322

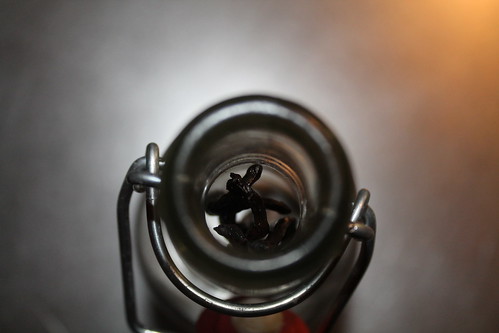
Shove the beans into the bottle.  The recipe on Beanilla says that you can cut them up into tootsie roll sized pieces, but that seemed like it would be a drag to deal with later, so I decided against it.

IMG_6325

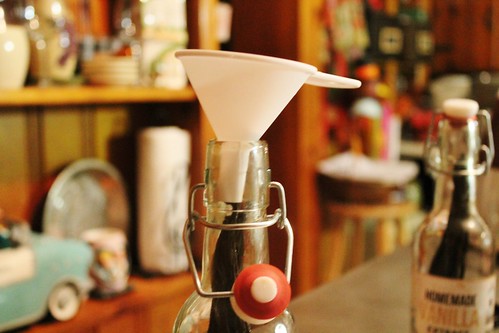
A funnel is of extreme importance for getting the vodka into the bottle without making a mess....a very expensive and smelly mess.

IMG_6326

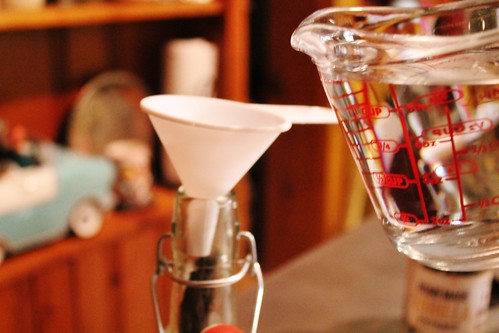
Pour one cup of vodka into the bottle.  Considering that the bottle is 8 oz, there is no real need to use a measuring cup rather than just pouring straight from the bottle.  However, I happen to have issues with needing to see things measured out accurately, therefore the measuring cup was used.

IMG_6327

Yet even with the measuring cup, I occasionally had to add more.  The entire bean should be submerged in liquid.  This is important to remind those you are gifting.  The beans can stay in for as long as you want, however, once the liquid level goes below the beans they should be removed.

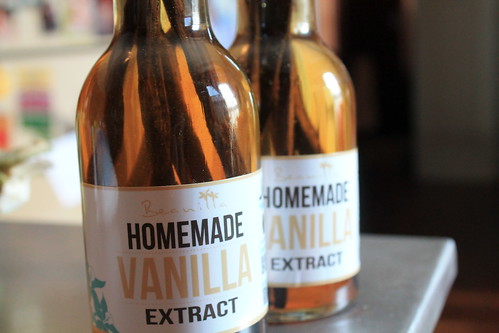
Every few days, give the bottles a good shake.  This is what mine looked like after about two weeks:

IMG_6334

I'm always excited about giving gifts, but I think I was most excited about this gift.

IMG_6934

There is no comparison between pure vanilla extract and imitation.  Pure always wins.  However, if you're thinking it's much easier to just pick up a bottle of McCormick's Pure Vanilla Extract, keep in mind that what you pay for 2 oz of that stuff is around what it will cost to make 8 oz of your own.

Make it yourself.  Trust me.  You'll thank me.  And anyone you make it for will thank you, too.
IMG_6942


Sunday, December 1, 2013

Thanksgiving Delights: Part One

I've been in charge of Thanksgiving breakfast since I've been married.  It is one of my favorite things about Thanksgiving other than the turkey, the stuffing, the mashed potatoes, the after dinner dessert, the family time...okay, let me rephrase, it's my favorite part of Thanksgiving morning.

Other than the parade.

Usually I send out a family email blast to let everyone know breakfast is still on and that they don't need to bring anything because I'm crazy enough to attempt to make 12 completely different desserts within the two days before Thanksgiving.

In case you're wondering about the dessert part, this post should explain everything: Thanksgiving breakfast

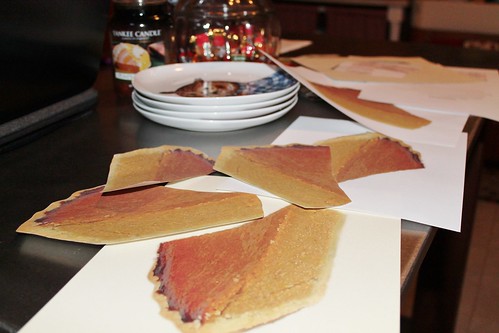
This year I found inspiration in summer party invitations I saw on clearance at Target.  The invitation was a two-tone ice pop (with stick and all) and on the back was where the details of the party were to be written.  I loved this, but couldn't see using ice pops for a Thanksgiving dessert breakfast.

After a little thought, the pumpkin pie invitation was born:

IMG_6507

I always try to switch up the menu a little bit.  Last year was the year of the mini desserts.  Mini desserts are great because guests are always afraid to be the person who takes the first slice of pie or cake.

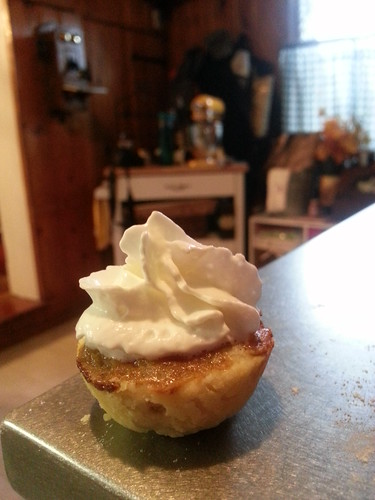
The tough item to make mini was pumpkin pies.  Pumpkin pie should take only about 30 minutes (at most) of prep time.  Shorter even if you are using canned pumpkin and a pre-made crust.  But me, I'm married to my better than pumpkin pie recipe which uses fresh butternut squash instead of canned pumpkin.  Making this into mini pumpkin pies took collectively about 3 hours of my time.

It was so worth it.

20131126_152128

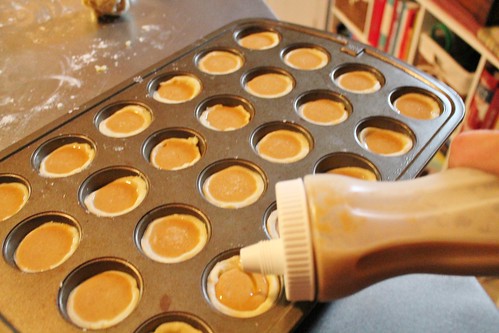
What helped the process move along smoothly was this pancake pen I bought ahead of time:

IMG_6606

I am absolutely in love with this item.  The pumpkin pie mixture for this recipe is extremely liquefied.  Knowing this before hand, I figured a pancake pen would make life so much easier.

Boy am I happy when I'm right.

IMG_6608

Some of the other items on my menu were:

IMG_6680

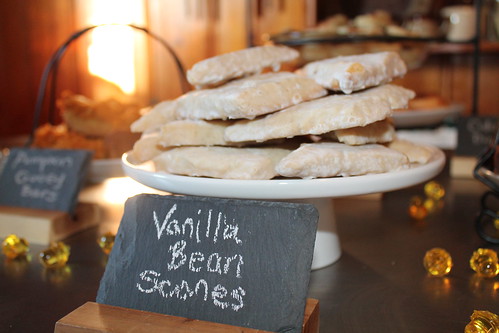
Just like, in fact better than, Starbucks petite vanilla bean scones.  While scones are typically a little more on the dry side, the icing on these trap the moisture in and each bite is moist with vanilla bean deliciousness.

My sister-in-law, Kristina, helped me pick this one out:

IMG_6694

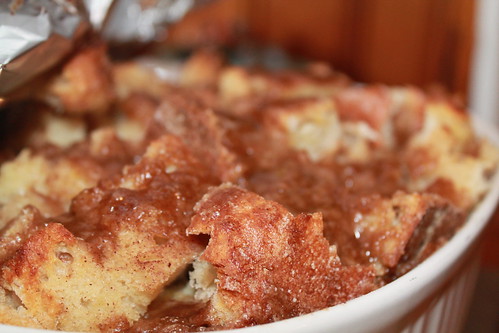
Baked French Toast.  Oh-my-goodness.  While I know this isn't really a dessert, I wanted to have a somewhat breakfast item to offer.

That's what I said to my sister-in-law as we discussed and decided on Baked French Toast to fulfill that desire of mine.  The truth was I wanted to make cranberry butter, and I figured this would be the perfect thing to put it on.

It was.  It most certainly was.

Look for the recipe for cranberry butter in one of the upcoming posts.

I love cheesecake brownies, it is my go to treat at Starbucks these days.  I thought I would concoct my own cheesecake pumpkin bar.  As Thanksgiving day got closer, and my body got run down with an unwelcome seasonal cold, I hadn't yet settled on what I would be doing to make my cheesecake pumpkin bar come to life.  That's when a coworker told me about these:

IMG_6678

Please don't judge me when I say this, Paula Deen should be sainted.

There.  I said it, and I meant it.

I love her almost as much as I love the butter she uses in all of her recipes.

These Pumpkin Gooey Bars were just as good as the pumpkin cheesecake bars I was dreaming up.  The cake crust on the bottom gave a great balance to the sweet creamy pumpkin mixture on top.  They were yummy cold or even warmed up for about 15 seconds in the microwave.  Either way, top it with a little cool whip and you've got pumpkin heaven in bar form.

About a week before Thanksgiving, I realized I had no chocolate on my breakfast menu.

No chocolate.  No a lick, drib drab, ounce, drip drop, or even an iota of chocolate on the menu.

For shame, I know.

I looked through my clipped recipes that I have yet to make and found these glorious masterpieces:

IMG_6684

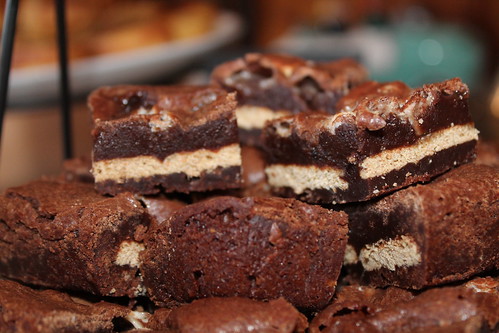
Smores brownies.  Oh yes.

I've made another version of smores brownies before and was highly disappointed.  While they were decent brownies, they were hardly worthy of being considered smores brownies.

These most certainly were.  They were the one item on my breakfast table that I didn't have any left overs of.  Now that has to say something about them!

Go here for the recipe: Inside Out Smores Brownies

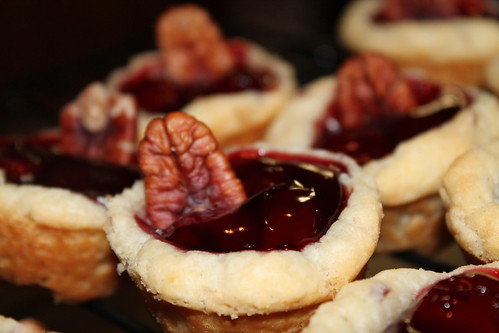
It seems this was the year of last minute additions.  I am typically not into fruit desserts.  Cherries, however, I have a soft spot for.  When I saw these mini cherry pecan pies in an ad for Lucky Leaf Cherry Pie Filling, I knew I had to make them....if I could find the time.

IMG_6672

They were mini, which made them even more necessary to add to my breakfast table.  They took a little longer to bake than the recipe said, otherwise they were perfect.

For the recipe go here: Cherry Pecan Pies

I've saved three recipes to give you a blow by blow, step by step, look at.  Up first will be Cranberry Butter.  
You won't want to miss it.