Source: http://www.foodnetwork.com/recipes/giada-de-laurentiis/peanut-butter-granola-bars-recipe.html
Time: 1 hr 30 min (15-25 minutes prep time, depending if you need to toast your almonds or not)
Ease: 4
Taste: 6
Leftover Value: 8
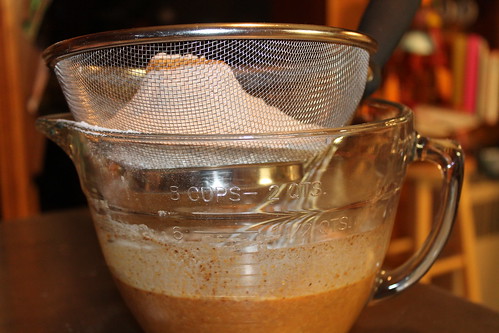
Down the Drain or Keep in the Strainer: Keep it in the Strainer!
I'm always interested in discovering if there is a way I can make at home something I usually purchase prepackaged. The whole craze over the massive consumption of preservatives in most American diets doesn't help much either. It does kind of irk me that something like a granola bar, that you think you are being healthy by eating, could have some of the same bad for you things in it as Twinkies.
However, on the other side of the fence there is the issue of cost. I refuse to make my own free standing granola because I've found that unless you plan on chomping on the same five-pound bag of granola for the next month, it is something that is simply more cost effective to purchase prepackaged.
Nuts are stinking* expensive! And naturally, they are one of the items higher on the list of things you should eat.
*Sorry to use such foul words. But I speak the truth.
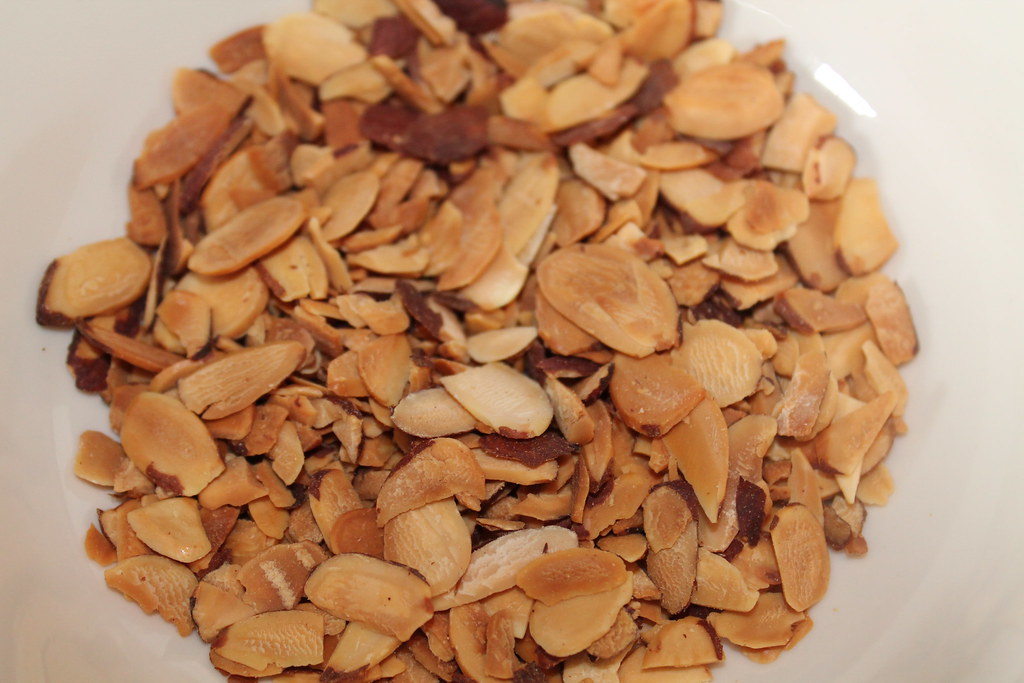
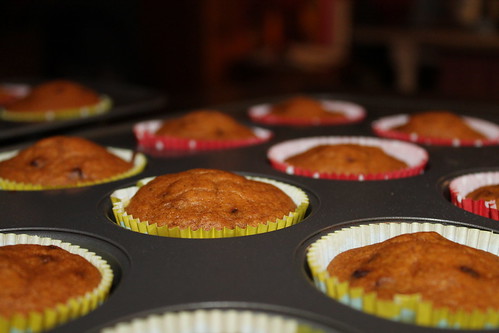
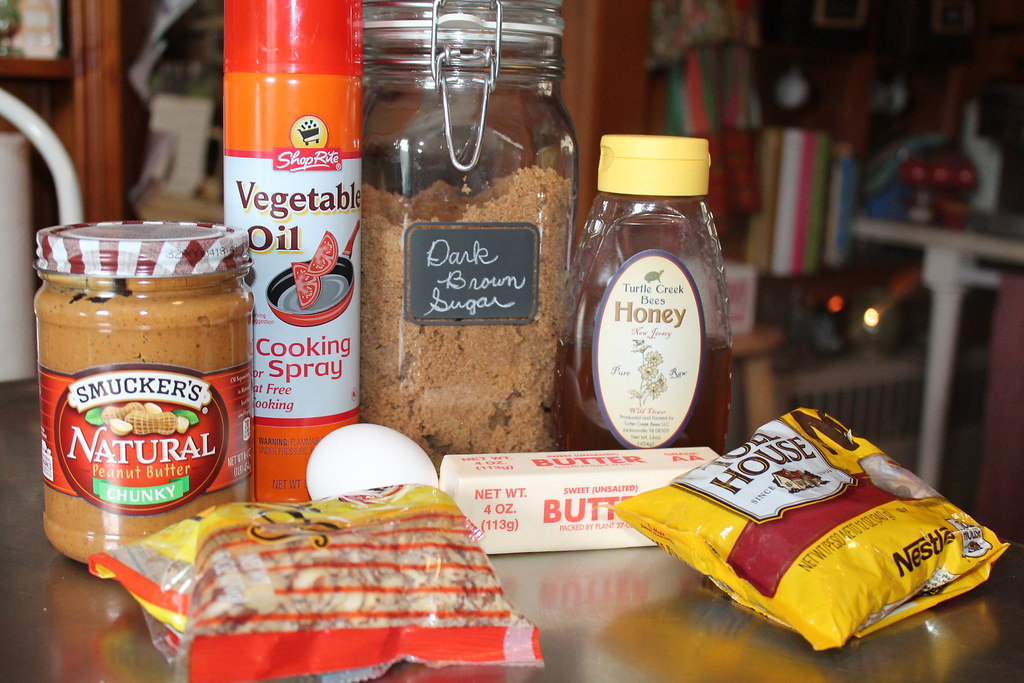
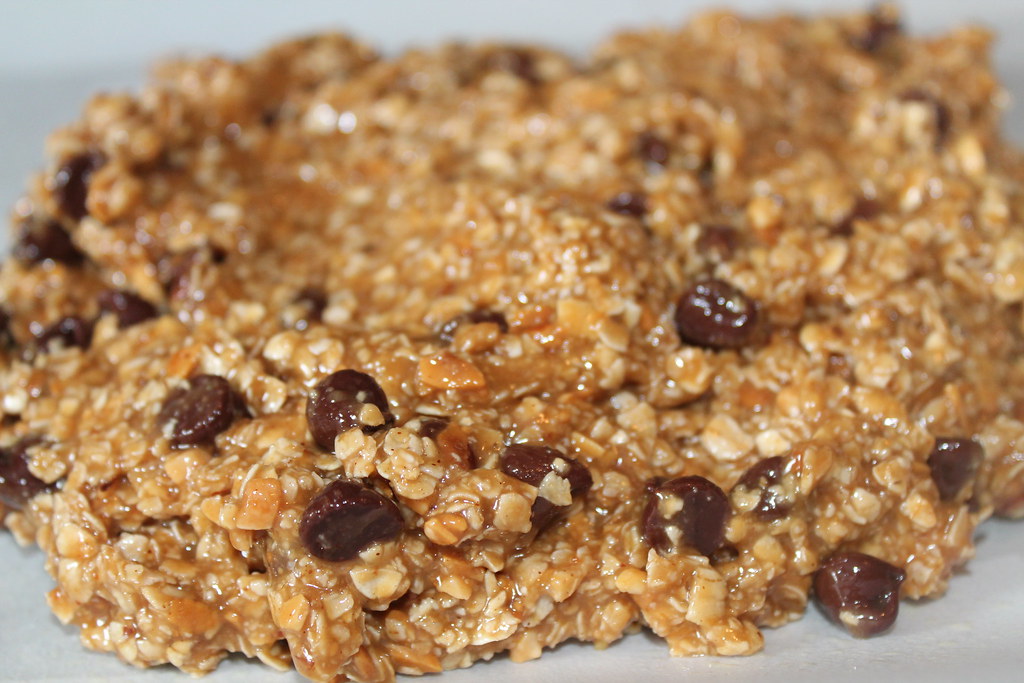
These peanut butter granola bars were fairly inexpensive to make. The slivered almonds were the priciest item, however, I already had them on hand so it worked out for me. The almonds are supposed to be toasted. I have a hunch the entire recipe wouldn't have crumbled to pieces if they had not been toasted. Of course, rule follower that I am, I toasted mine. The almonds were well toasted by five minutes, unlike the eight to ten minute time the recipe gives.
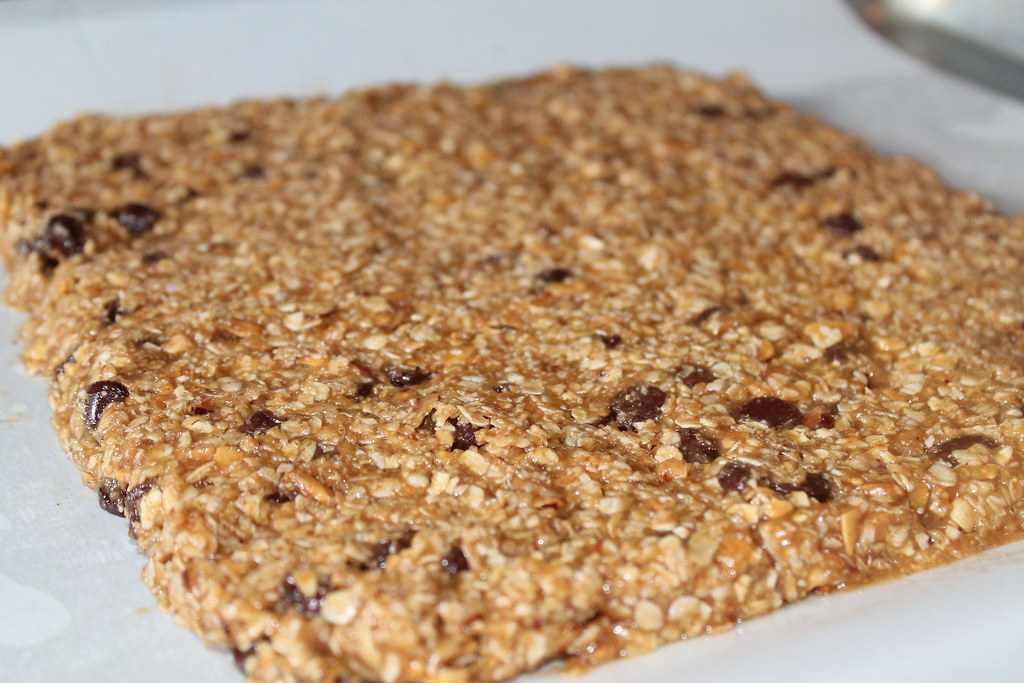
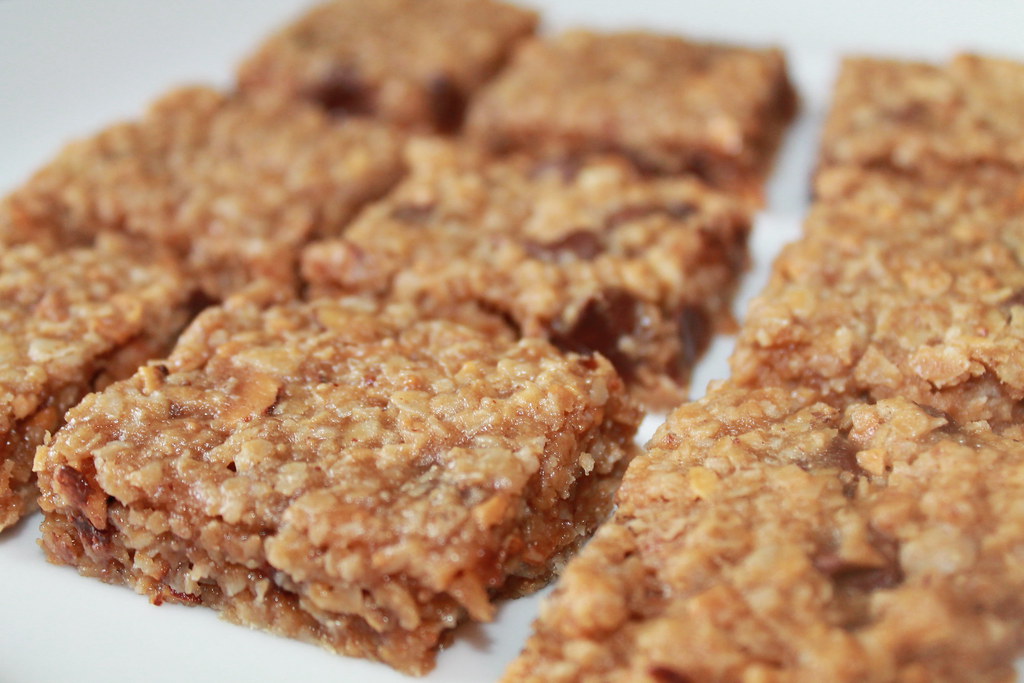
Instead of old fashioned oats, I used one minute oats--and here's why: price. This might have created a texture difference in the final result of the bars, I'd have to try it out with old fashion oats to know for sure. While they were able to be cut up easily, they didn't have that stiff quality that an ordinary granola bar has.
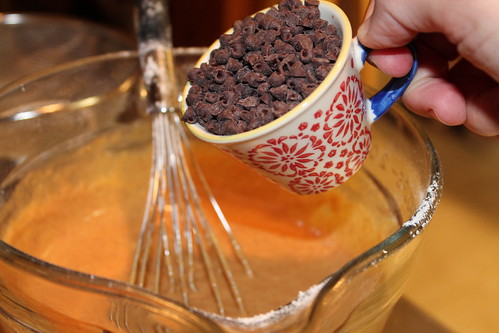
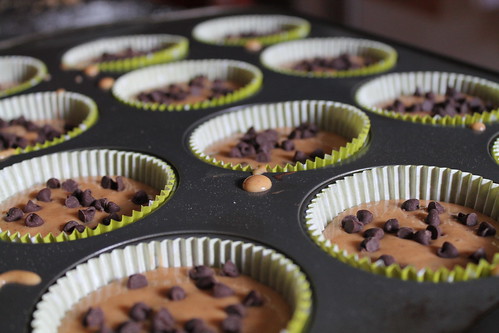
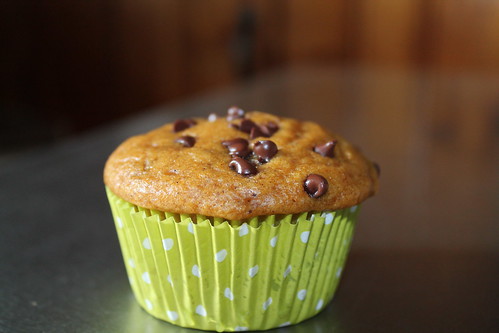
Oh, and I added extra chocolate chips.
I couldn't resist.
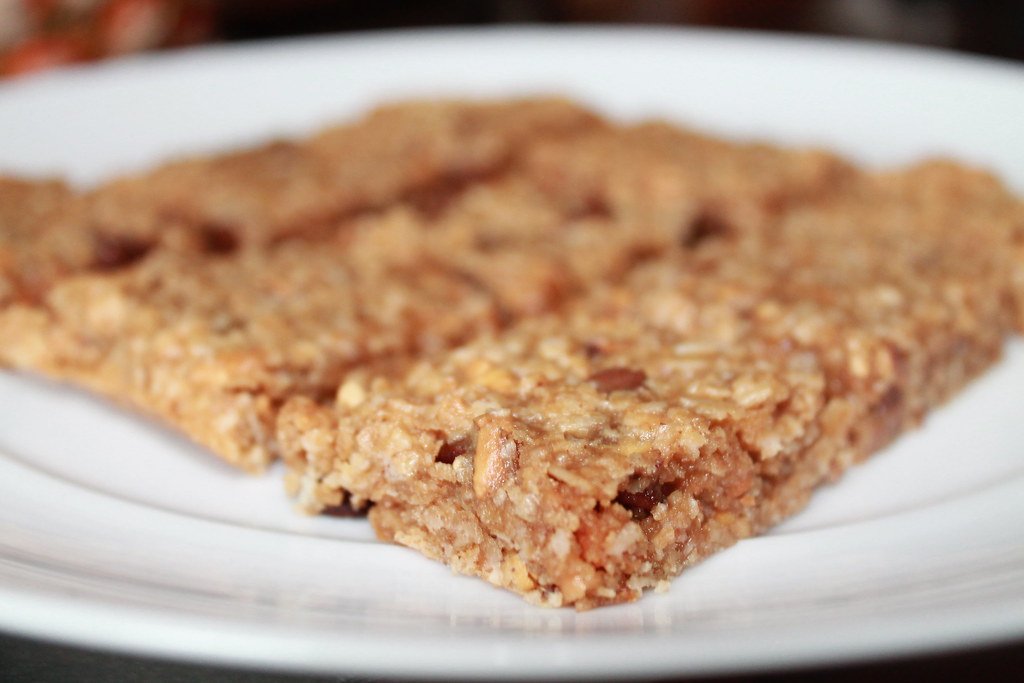
Something odd I noticed, and this might just be me, was that the peanut butter flavor was overpowering on the day I made the bars. The same was not true the following day. The flavor seemed to have mellowed out and blended better with the other ingredients the longer they sat.
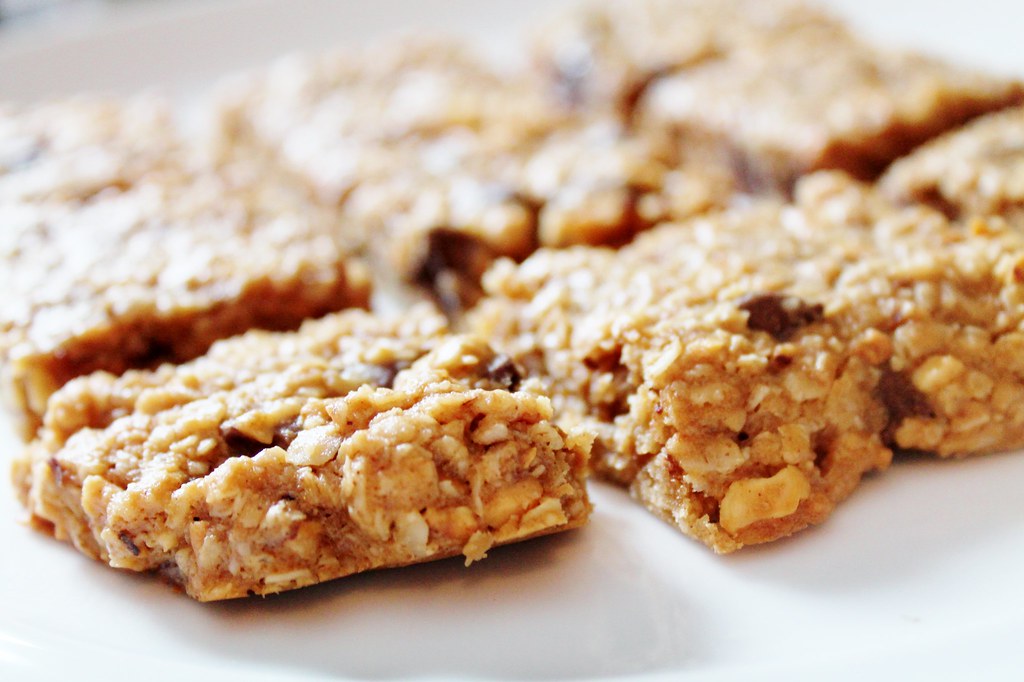
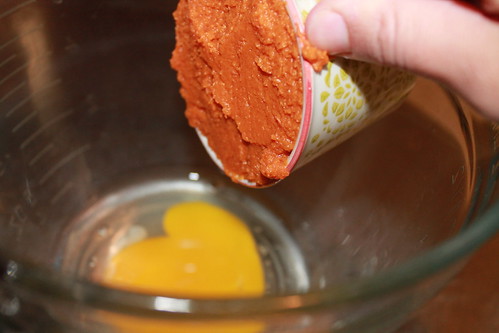
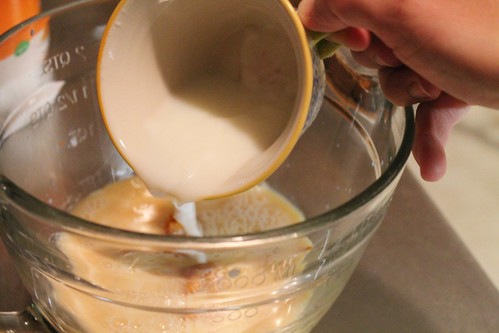
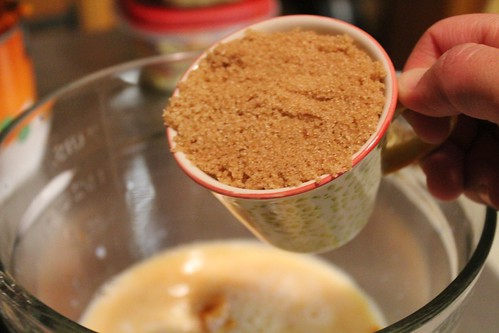
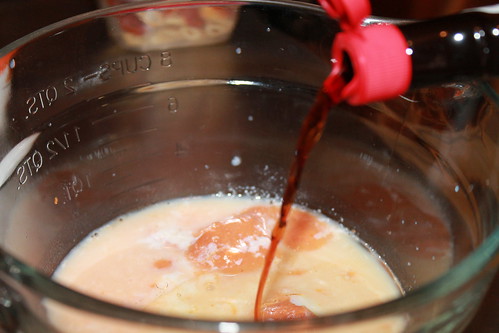
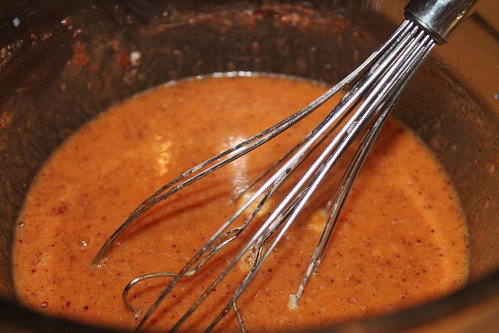
As a homemade alternative to the basic store bought granola bar, I'd say these are a keeper. My favorite part was that they didn't require too much work. With the exception of toasting the almonds, the process was basically three steps: 1. Mix everything together, 2. Bake, 3. Cool.
When I'm making something that I know is going to be on the healthier side, therefore not something that I'm going to eat and become giddy with a sugar high, I find that easy is best. If it's easy to do and the taste is better than cardboard, chances are I'll try it again.