Recipe: Basic Nut Milk
Source: Bon Appetit
Time: 12+ hrs inactive time, 15 minutes active
Ease: 2
Taste: 8
Leftover Value: 10
Down the Drain or Keep in the Strainer: Keep it in the Strainer!
Milk has never been my friend. Our relationship dates back to my grade school years when my mother would force me to drink a lidded Tupperware cup (the tall one) filled with white milk on the drive to school. We were always early, so if it wasn't finished by the time we reached school I was forced to stay in the car sipping instead of playing outside with the other early students.
There is a lot being said about milk these days.
'Go organic!'
'Go for the fats! Drink whole milk!'
'Don't drink real milk at all. Go soy, go almond!'
Frankly, I could care less about any of these stands. It was a mixture of seeing the article in Bon Appetit magazine and a friend who cannot drink milk suggesting that I try using almond milk if I wanted to cook something for him involving milk as an ingredient.
The article I read was incredibly comprehensive, it explained so much that I felt confident I would be able to make the best almond milk ever.
The list of ingredients and limited number of steps is what really got me though.
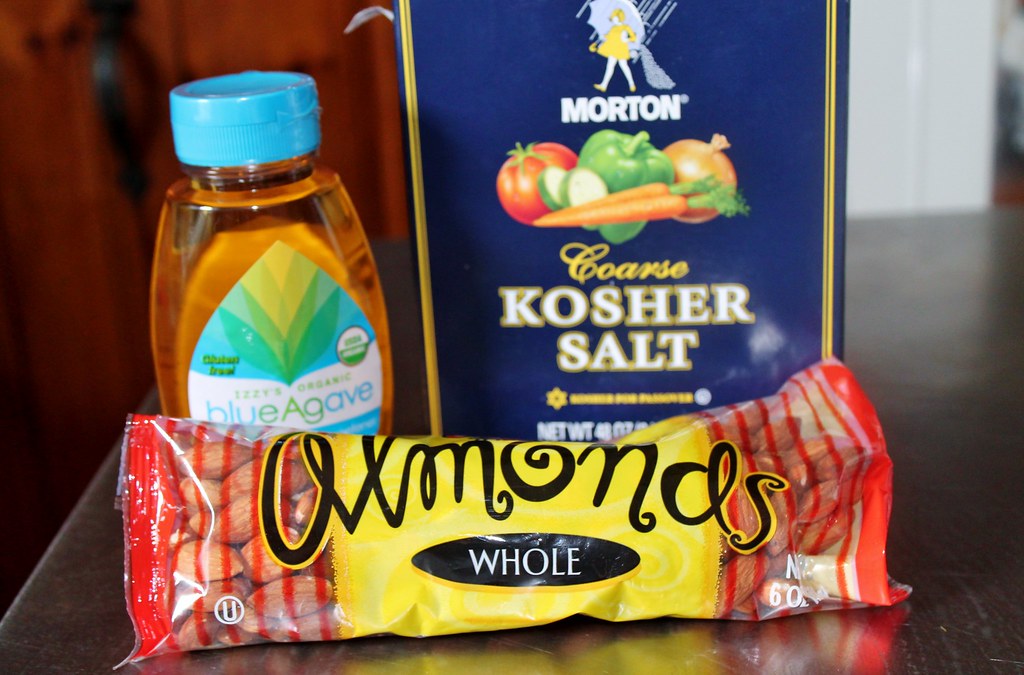
Almonds, salt, agave syrup...done.
The only problem with making your own almond milk is that it takes a massive amount of waiting. If you want almond milk immediately, you'll have to go to the supermarket and buy it.
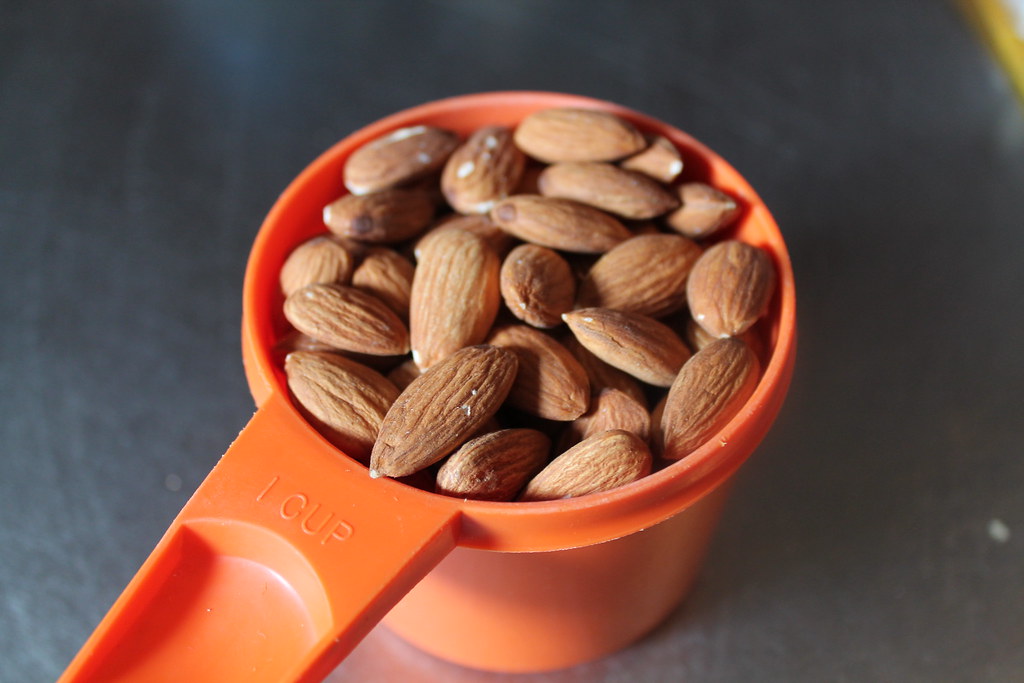
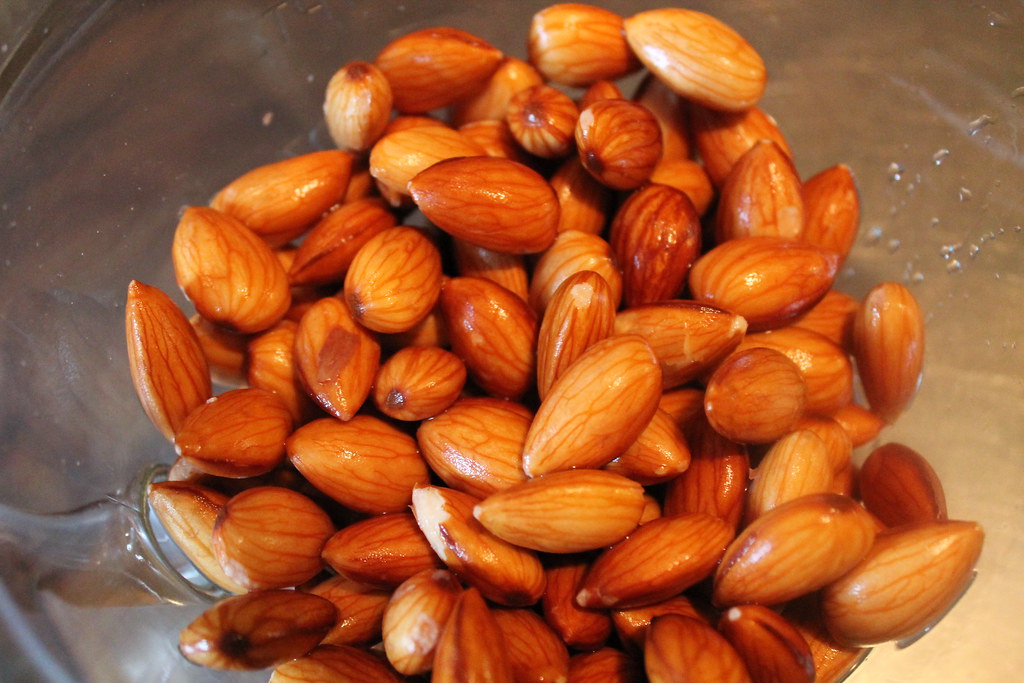
Take a cup of almonds.*
*Note: You can also use hazelnuts, pistachios, pecans, walnuts, cashews, or peanuts. I'm interested in pistachio milk...it sounds amazing.
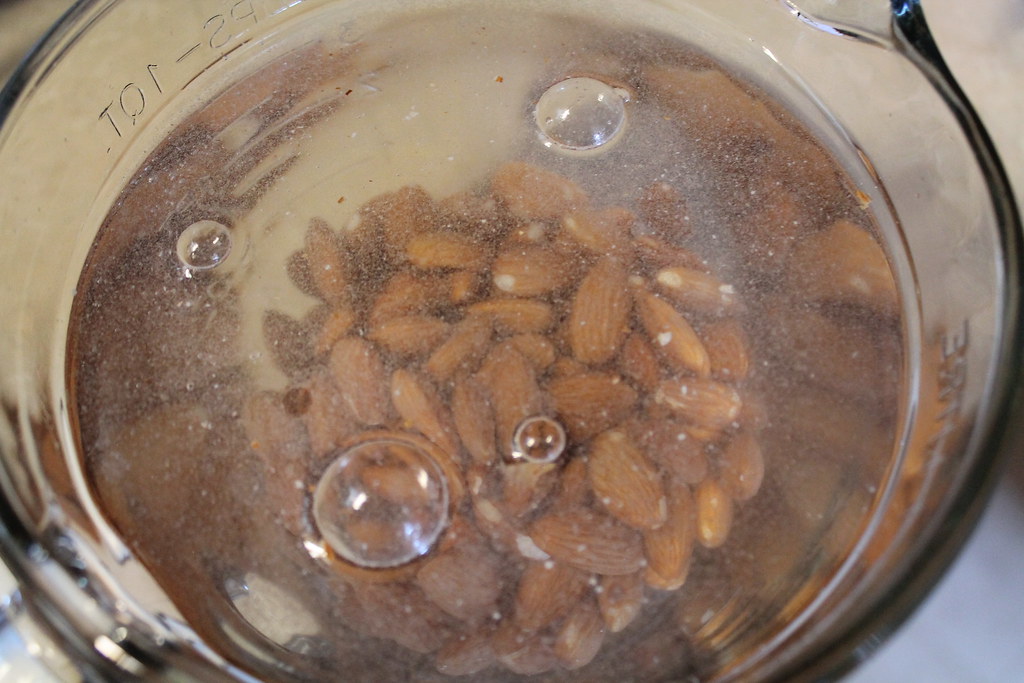
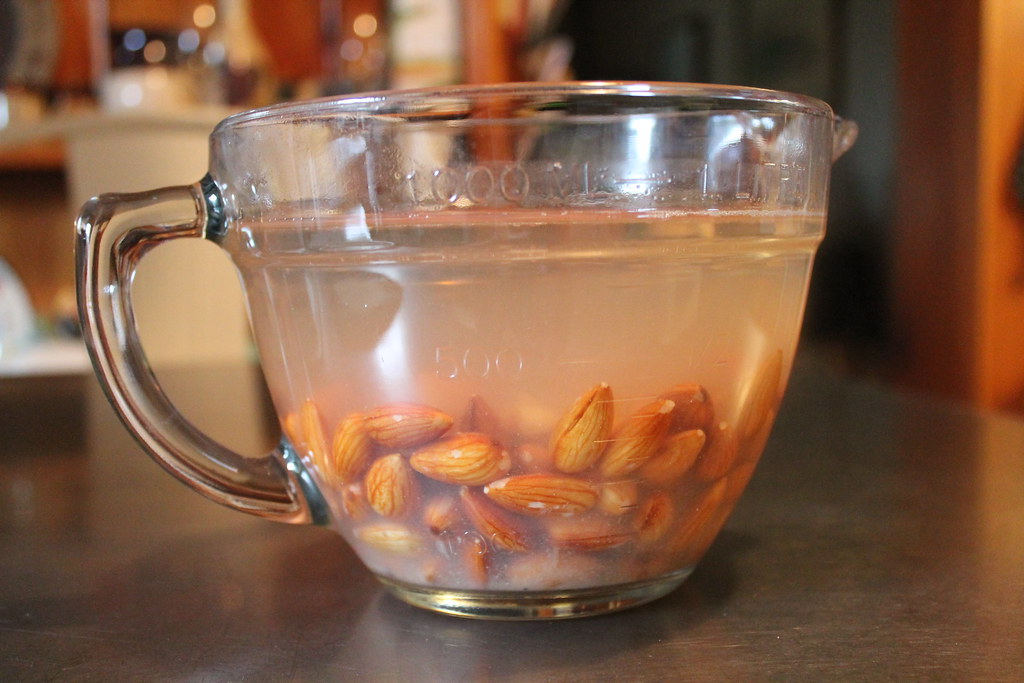
Place the almonds in a bowl and cover with about 2" of water.
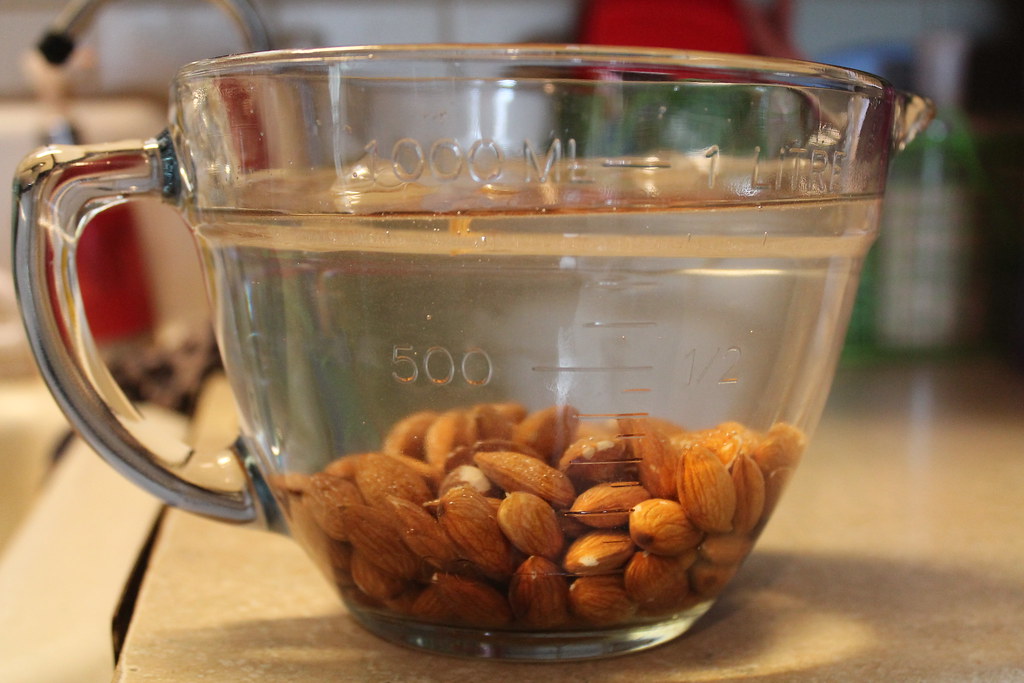
In order for the milk to be less gritty and more silky the almonds need to soak at least 12 hours. I didn't plan my time properly, so mine soaked for 20 hours.
Just look at the difference in the clarity of the water...
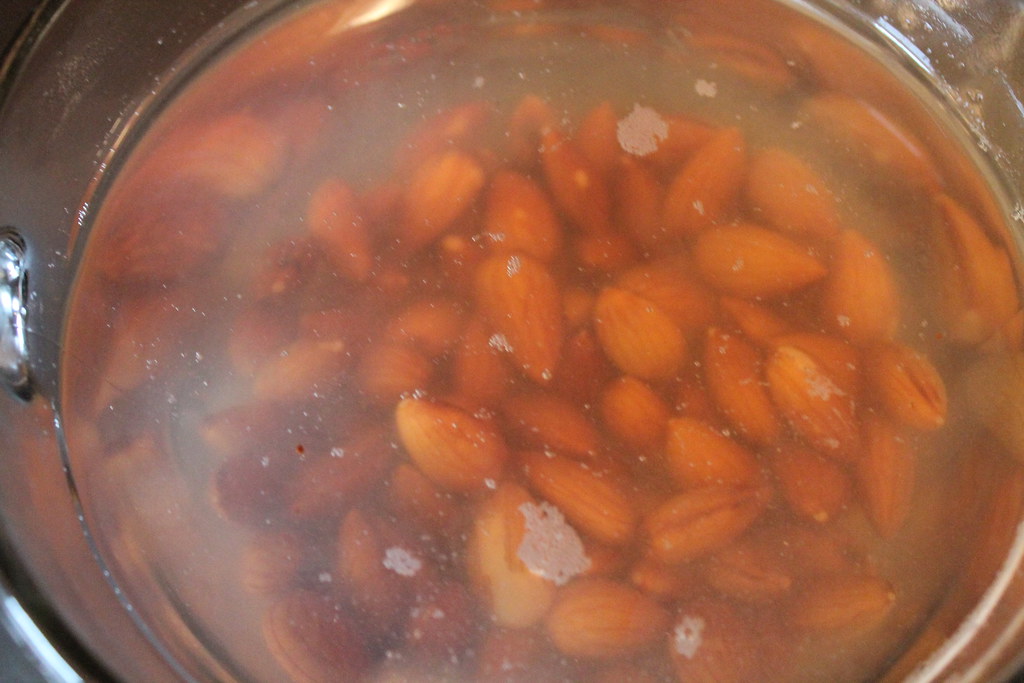
Here is an important point that you absolutely do not want to miss. This liquid should be drained and discarded.
No one wants to drink almond milk made of musty soaking liquid.
Put the soaked almonds in a blender with the salt, agave, and four cups of very hot water.
Hubby and I bought a Ninja last Christmas because it seemed like a great deal and a major necessity at the time. It sat on top of our fridge, in the original box, until this month.
I guess it would have been worse if we waited until after this Christmas to open it.
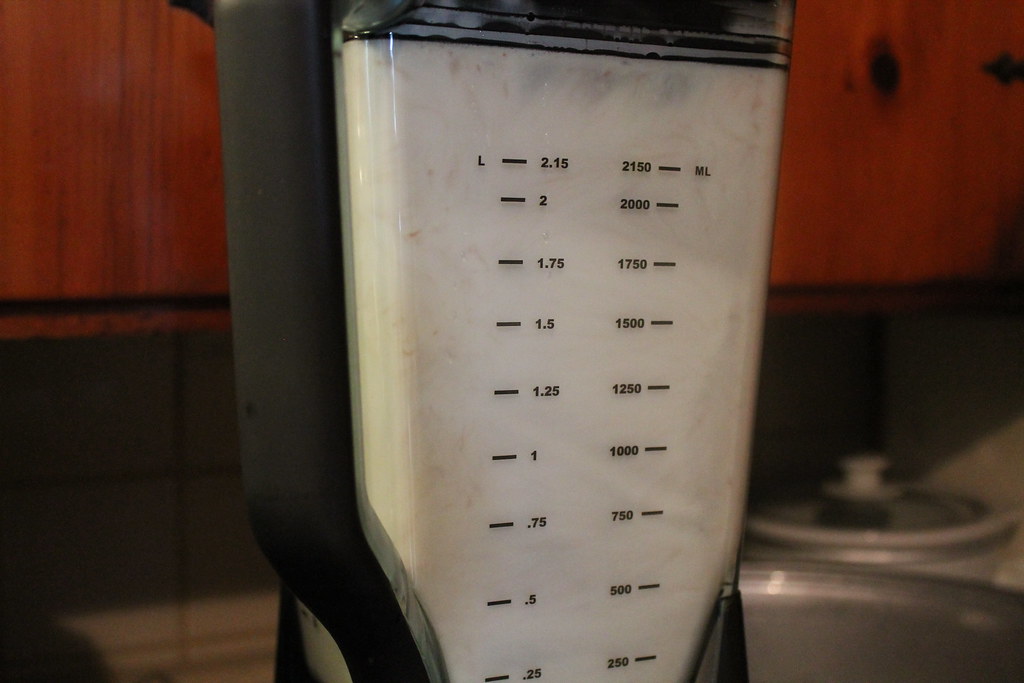
As life would have it, I've used my blender at least five times in the past week.
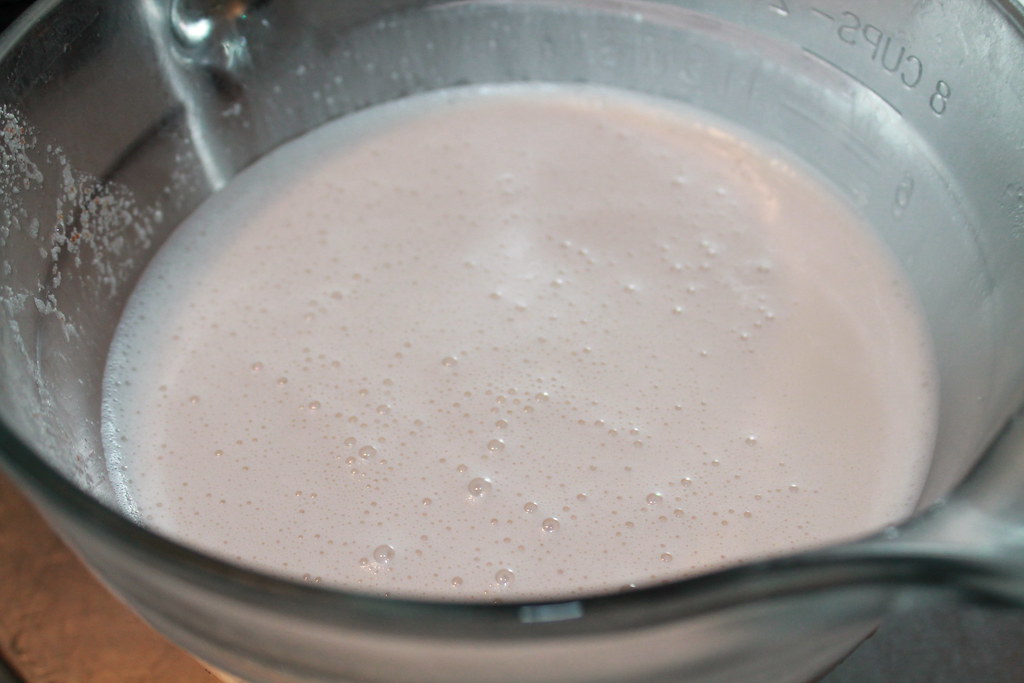
I'm not sure if my water was too hot, because during the two minutes of blending it frothed a little.
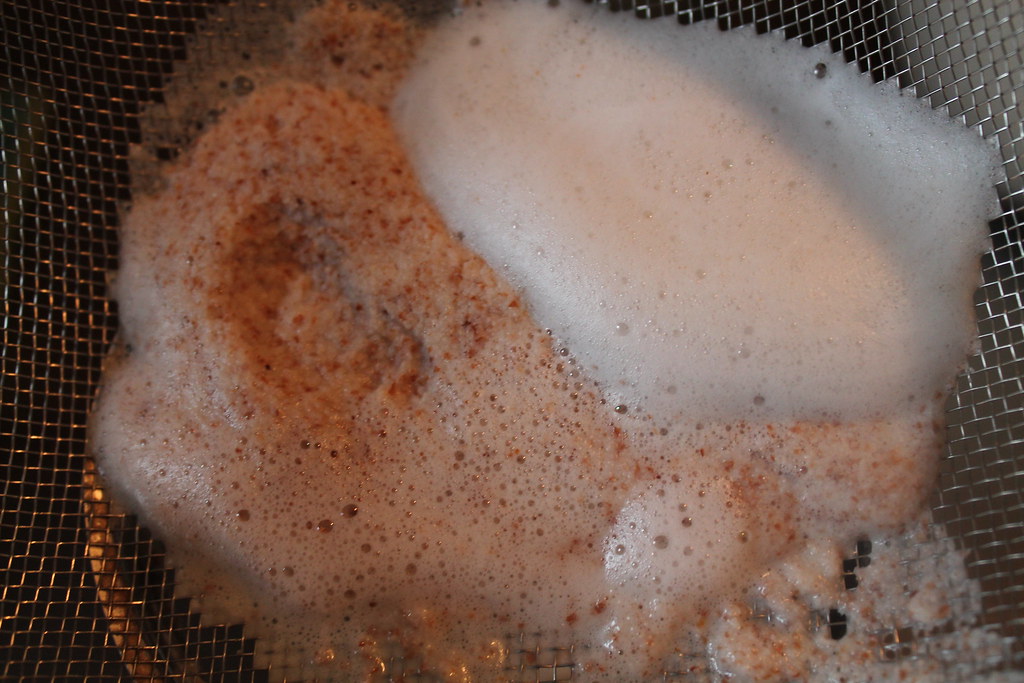
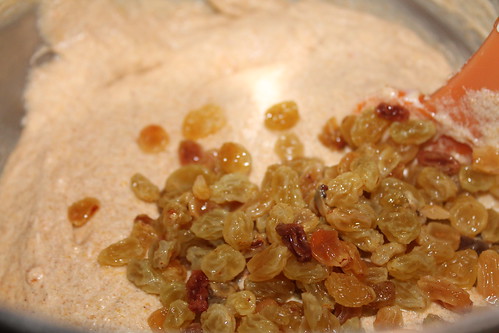
The recipe suggests using a fine mesh sieve to strain the nut remnants. I don't know where my brain was, but the above picture seemed to me like the proper amount of remains to have after blending a cup of nuts.
It wasn't until I cooled the milk and went to transfer it into a carafe that I found at least another half cup of this nut pulp scattered at the bottom of the bowl. My suggestion, and what I plan to try next time, is to use a cheese cloth or paper towels to catch the nut pulp and drain the milk into the bowl. It works for coffee grinds when I make iced coffee so I can only imagine it will be the perfect solution to this problem.
No matter how much you strain, the recipe states, some of the nut pulp will settle at the bottom. If you've ever purchased almond milk at the supermarket and thought you detected a piece of a nut among the smoothness of your drink--this is why.
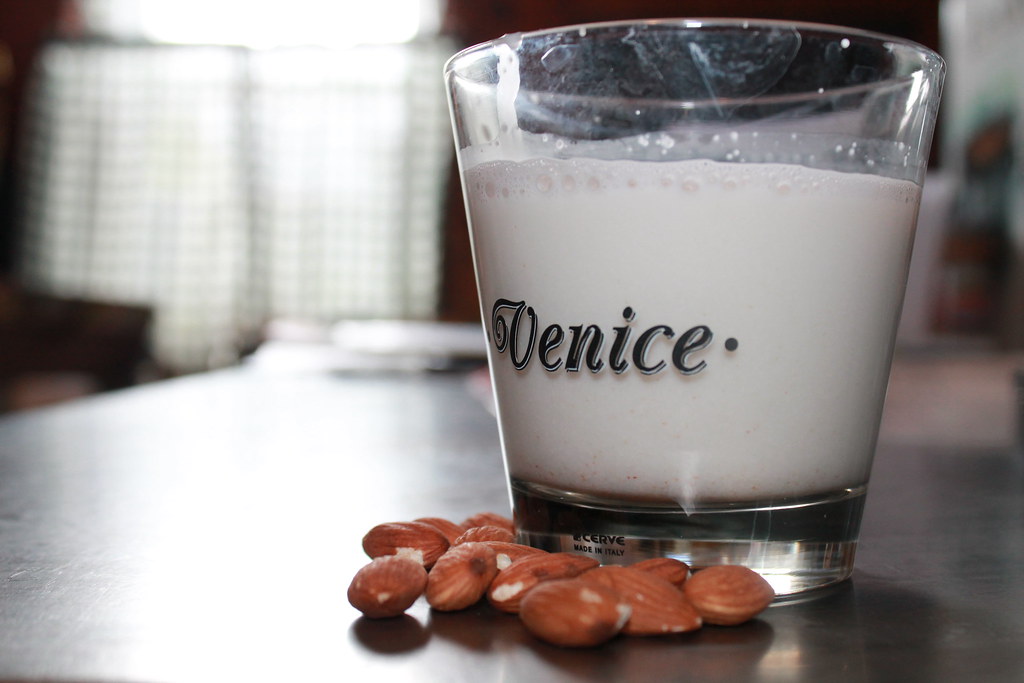
I found the texture of the milk to be similar to one percent milk. The hint of almond flavor was not overpowering, in fact I found it to be refreshing.*
*And I never, ever, find milk to be refreshing.
The major point and purpose of my making almond milk was to see if it changed the flavor when used in a recipe originally calling for milk.
That night, I made Whole-Wheat Macaroni and Cheese* and loved it! There was no noticeable difference from if I had used regular milk and even though I knew the secret to the milk I had used I could not detect even a hint of an almond flavor, and neither could Hubby.
*The quest for the perfect mac and cheese continues. Hubby did not like this one--at all. I used a sharp cheddar and sort of kind of forgot that he prefers a mild one. I'll be trying it again, keep your fingers crossed for me.**
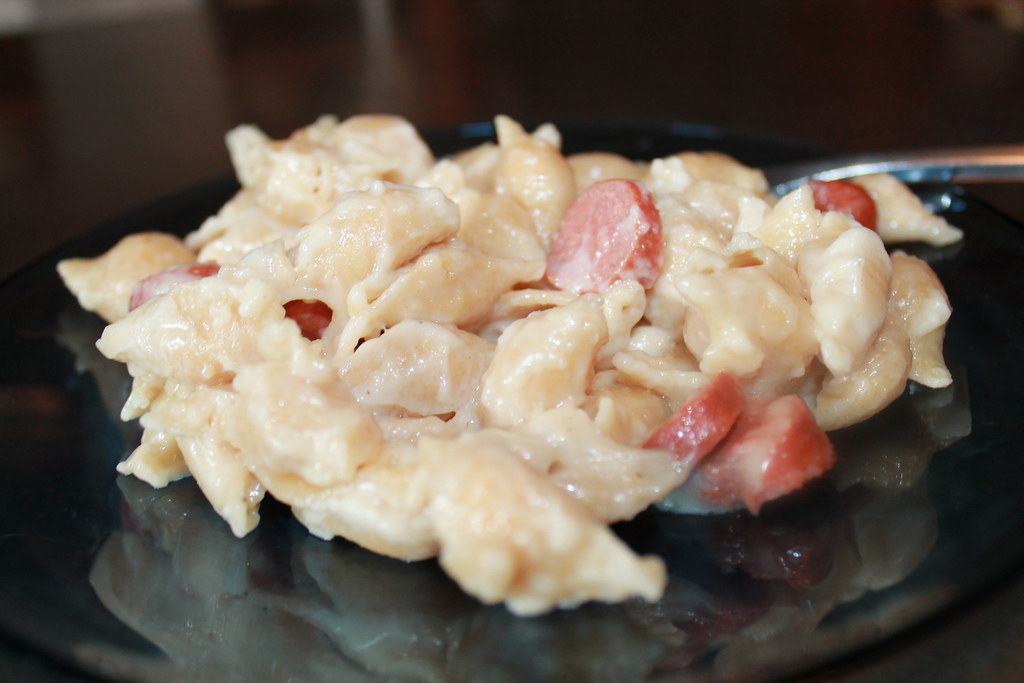
**And yes, we mix hot dogs into our mac and cheese like we are five-year-olds. I don't care what the world says about hot dogs, I'm going to continue loving them anyway.
I also used the almond milk in hot chocolate. I know it isn't quite hot chocolate season, but to celebrate the cool feel of fall I thought, why not?
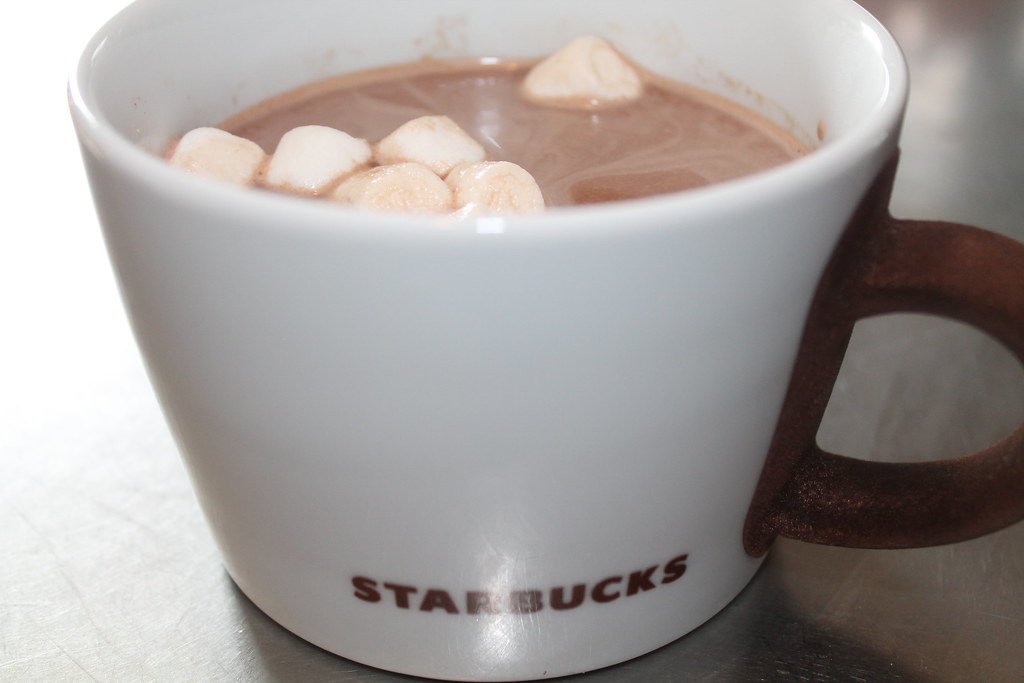
Using almond milk in hot chocolate definitely exposes the nutty flavor more than in macaroni and cheese. As I sipped, it reminded me of a Ferrero Rocher. If you enjoy those chocolatey delights, then you should enjoy almond milk hot chocolate.
The almond milk was an overall success. If you can find almonds at a cheaper price--wholesale perhaps?--it is far more worth it than picking up a container at the supermarket.