Showing posts with label sangria. Show all posts

Wednesday, December 17, 2014

Recipes #41-45 Impromptu Dinner Party


The event I originally planned to make PW’s sangria for was moved to a later date, as in, a later date in the New Year.  Considering that her sangria contains two 1.5 liter bottles of wine, I knew it wasn’t something I could make only for Hubby and myself.

IMG_1526
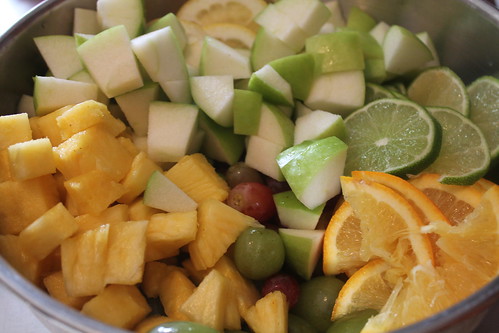
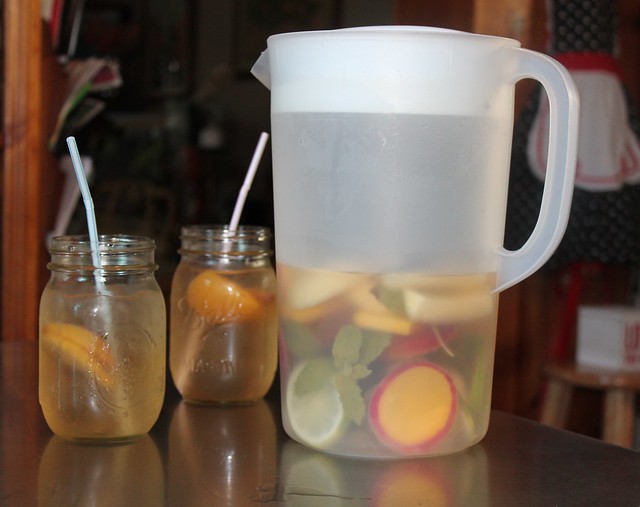
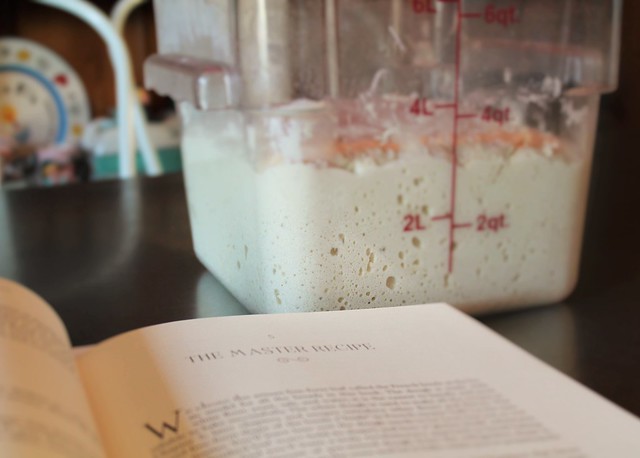
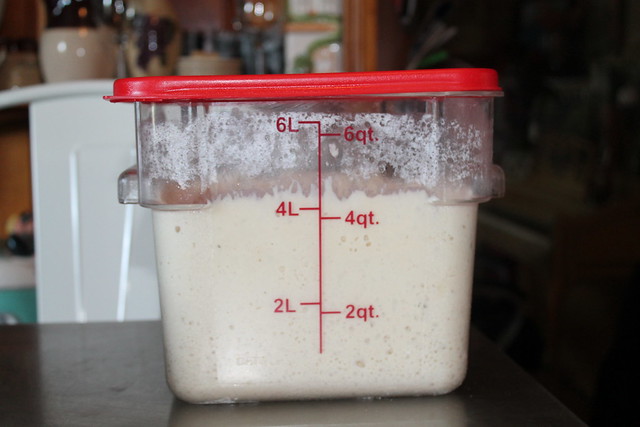
Have at least a 6 liter container ready.  There is a lot of fruit in this recipe!


Recipe: Sangria
Time: 30-45 min prep (based on how quickly you can cut up fruit) and at least 2 hours fridge time
Ease: 2
Taste: 10
Leftover Value: 10, Hubby has been having a glass everyday since!
Down the Drain or Keep in the Strainer: Keep it in the Strainer!

IMG_1583


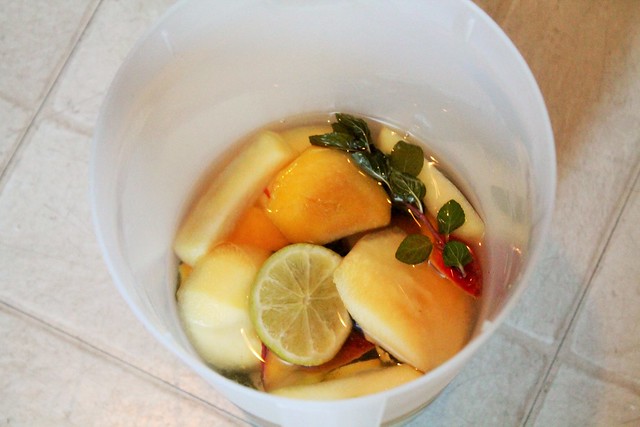
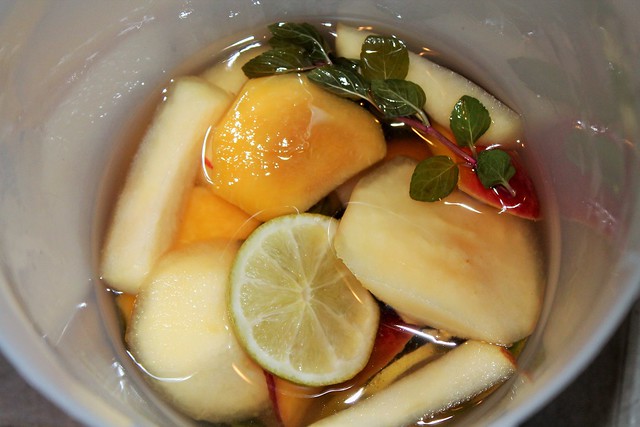
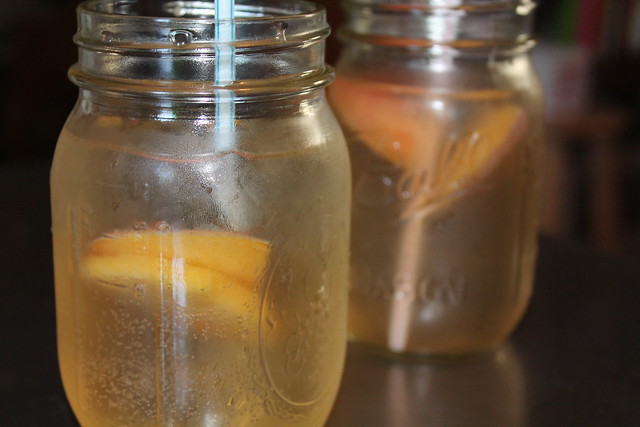
This sangria is intense due to a few different elements.   For starters, it has a massive amount of fruit most of which requires a lot of slicing.*

*Note to self: Never attempt to cut up lemons, limes, or oranges without a serrated knife.  Anything else will just make you angry.

Also, she adds a cup of orange flavored vodka and rum, as well as, a cup of sugar. 

Goodness!

I quickly invited my SIL, Sam, and her boyfriend, Kurt over to enjoy this delectable sangria and dinner.  I figured I could bang out the sangria and at least two other recipes.
Two soon turned into four.

It was quite a mish moshed meal, but it was delicious, adventurous, and I wouldn’t have had it any other way.

IMG_1576
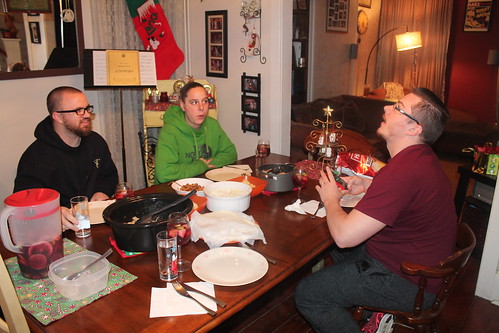
I love my family, but they stink at taking pictures.

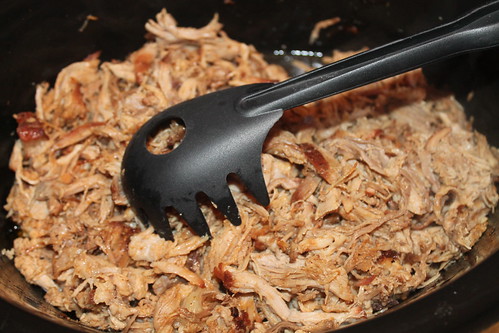
With Spicy Pulled Pork as the main entrée, there weren't many side dishes left in the book that would mesh well.  Instead, I decided to make a few of her starters.  I’m still learning how to make it so that everything isn’t done all at once when I make a big meal.  Luckily, pulled pork is an item that can sit in the crock-pot once it is done (That is assuming you didn’t already just cook the whole thing in the crock pot.  In that case, it can stay in the crock-pot—I mean, really, aren’t pulled pork and crock-pot synonymous?).

IMG_1542

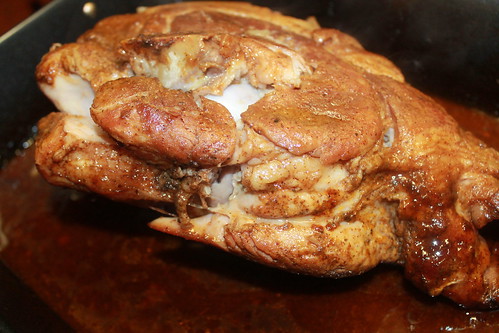
Recipe: Spicy Pulled Pork
Time: 6-7 hrs
Ease: 1
Taste: 9
Leftover Value: 9
Down the Drain or Keep in the Strainer: Keep it in the Strainer!

IMG_1574

The pork was divine.  The recipe says that it cooks in the oven on 300 for 6-7 hours.  Mine, unfortunately, was done in six hours, about an hour and a half before our guests were arriving.  After Hubby “pulled” it apart, I had him toss it into the crock-pot.  I put the crock to “Keep Warm” and kept adding half a cup of water as needed.  The pork was served with warm flour tortillas as PW recommends.  I never would have thought to serve it that way, but the flour and pork combo was delicious.

Here is the run down of the starters I served before the pork:

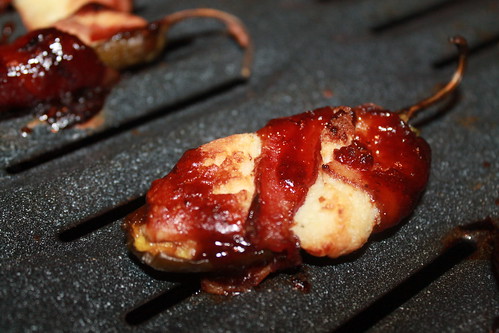
Recipe: Jalapeno Poppers
Time: 45 min, at least
Ease: 10
Taste: 8 (you'll understand better from my description below)
Leftover Value: No leftovers!
Down the Drain or Keep in the Strainer: Down the Drain*

*Note: This is only for wimps like me.

IMG_1569

The cashier at Shop Rite thought I was absolutely crazy when she picked up my bag of jalapenos.  She looked at me and I’m pretty sure made a noise that meant I was crazy.  She continued to tell me how hot jalapenos are, but that she likes to eat them whole.  I quickly told her my intentions and suddenly I wasn't a crazy lady to her any longer.

This recipe takes more time and caution than I am ever willing to give to food again.  In case you are unfamiliar with working with jalapenos, you must avoid touching the seeds at all cost.  That is where the heat is packed and if you make contact with it, you’ll feel it.

I’m not too big on spicy things, though I am a lover of hot wings.  I prefer subtle spice.  Originally, I wasn’t going to sample these at all, that’s how turned off to them I was by the time they were finished cooking.  However, as part of the challenge, I forced myself through a bite.  The flavor was great, and if I was a spice lover, I’m sure I would have eaten five or six.  However, I am admittedly not a spice lover and therefore not ashamed to tell you that I spat my bite out in the trash.

Recipe: Artichoke Dip
Source: The Pioneer Woman Cooks
Time: 30 minutes
Ease: 4
Taste: 8
Leftover Value: 7
Down the Drain or Keep in the Strainer: Keep it in the Strainer!

IMG_1547

IMG_1578

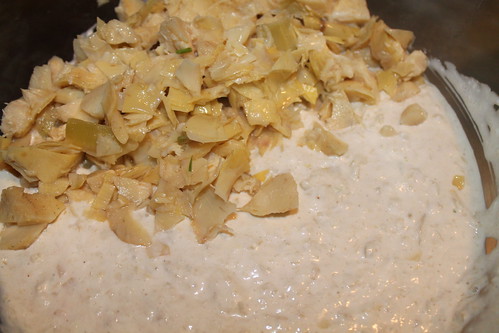
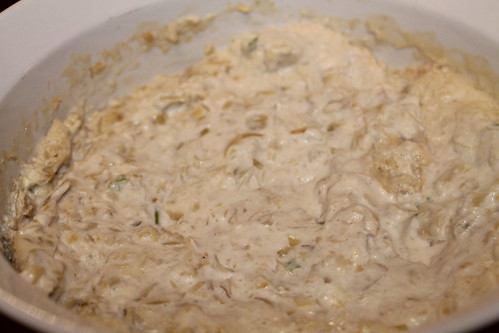
I didn't know what to expect with this artichoke dip.  I’m not too big on chips and dips to start with, so I didn't have high hopes.

Surprisingly, I loved it.  Sam told me that she has often seen it with spinach.  I think that is an addition I’ll try to make next time.  The dip is served warm.  PW says that it can even be used on sandwiches.  I served it with potato and tortilla chips.  We probably ate over half the bowl—even the men loved it!

Recipe: Onion Strings
Time: 1 hr soak in buttermilk, 15 min to fry all
Ease: 5
Taste: 7
Leftover Value: 2
Down the Drain or Keep in the Strainer: Down the Drain

IMG_1565

IMG_1561


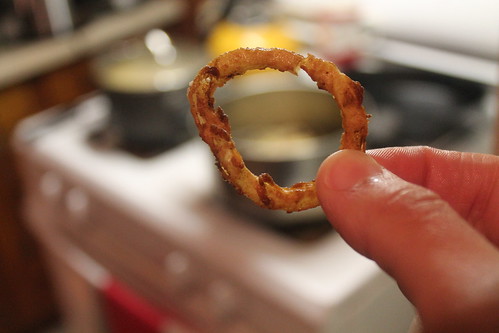
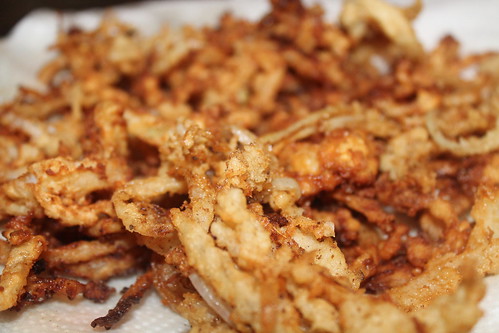
This was my least favorite recipe of the night.  The oil the onion rings fried in darkened quickly due to the amount of loose flour.  They were delicious enough, but far too much work.

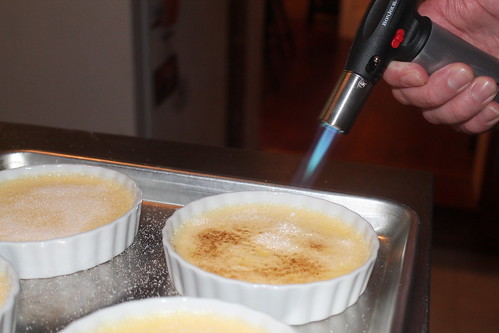
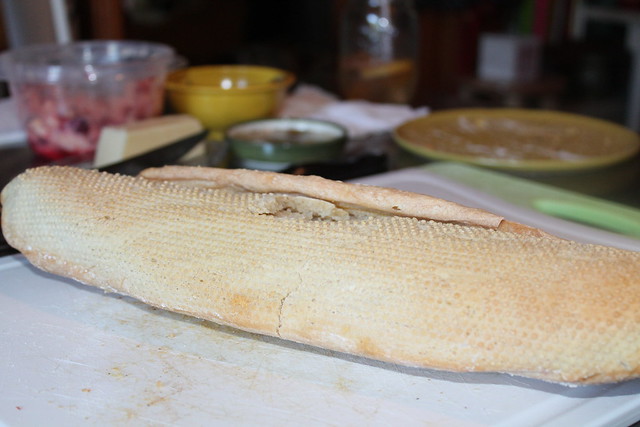
For dessert, I attempted crème brulee again.  I think you’ll agree, I had much better success with this recipe using crème brulee dishes.

IMG_1589

IMG_1597

Wednesday, July 30, 2014

Artisan Bread Making--I Can Do That!

 
This post has been a long time in the making...almost a month to be exact.  Thank goodness I didn't let it get that far.  This summer has been filled with baking, writing, job hunting, violin playing, but not a lot of blogging! 
 
I'm sorry. 
 
Almost, but not quite, a month ago my girl, Amy, came over one Saturday while Hubby was away.  We spent a better part of the day making bread and drinking sangria. 
 
It was pretty much the best day ever.
 
IMG_9288

Amy brought the sangria and if you know anything about sangria you should know it is super easy to make and the most refreshing drink for a hot summer day.  We experienced peach sangria while we were out to dinner a few days prior to our bread making palooza, so naturally Amy loaded hers with peach in addition to the ordinary apple, lime, and...wait for it...mint! 

IMG_9290 
 
 Isn't it the most colorfully beautiful fruitastic* thing you ever saw?
 
*Fruitastic: adj. A fruit explosion of awesomeness.  Ex: The sangria Amy made was fruitastic and made my mouth happy.


IMG_9292
 

 She used two different kinds of mint.  Regular and chocolate mint.  Chocolate mint.  I'm telling you, the world of herbs gets more awesome as each day passes.
 
IMG_9294
 
After we seltzed our drinks with some Ginger Ale, we started into the dough.
 
IMG_9299

Knowing that the dough takes a minimum of two hours to rise, I made the dough two hours before Amy came over. 

For Christmas, Hubby bought me this incredible book: Artisan Bread in Five Minutes a Day.  It seemed such a specific book for him to buy me, but apparently it was one my heart had been wanting forever.  This book is not just a book of bread recipes.  It is a guidebook to making bread a part of your daily life.  It is so intense, it doesn't even touch on recipes until chapter five.  Chapter five is the 'Master Recipe', which is the only recipe I've used so far.  I figure I need to master the master before I can move on to the peasants (seriously, one of the chapters is 'peasant loaves'). 

IMG_9356

Making the master recipe is extremely easy.  It takes everything you know about making bread to a simplistic yet mind blowing level.  Warm water, yeast, salt, and flour are mixed together until everything is wet.  Kneading is not necessary!  In fact, it is discouraged.

The dough rises for two to five hours and then it is ready to be turned into delicious bread.

The master recipe is enough dough for four one-pound loaves.  It is developed in a way so that all you have to do is tear off a chunk of dough and make a loaf.  Effortless.  Hence the name, "Artisan Bread in Five Minutes a Day".  It literally takes five minutes to prep a loaf for baking.

IMG_9302

This book has taught me so much about how to make bread that I can't believe the loaves I'm making haven't come straight from Italian People's Bakery.  (If you've never been, get your patootie over to one and try their bread.  It's amazing.)

Corn meal is spread out on a pizza peel before the loaf is placed.  The above loaf is still part of the master recipe.  It is known as 'Boule' which is an artisan free-form loaf.

Again, there is no kneading involved.  Here's how simple it is: dust the top of the dough with flour, grab a one-pound hunk of dough, "cloak" (shape) the dough into a loaf for less than 60 seconds, let the loaf rest on the pizza peel.

IMG_9306

My favorite part is that most of the bread recipes involve steam.  As the oven is preheating, there are two things that should be in place in the oven: 1. a baking stone (which the loaf will slide off the pizza peel onto) 2. a broiler tray (placed on a rack under the stone).  After the 40 minute rising time (I know, that part is a practice in patience) the dough is jerked from off the pizza peel and onto the stone.  I still have issues with this, but regardless of how sloppy my pizza peel to baking stone transition has been the bread has always come out delicious.  As soon as the bread is on the stone, pour a cup of water into the broiler tray.  This creates steam which in turn creates a crisp crust.

Just like the pros.

Also like the pros, there is a 'dust and slash' step that occurs right before the bread goes into the oven.  The top of the loaf is 'dusted' with flour, and then with a serrated bread knife you make slashes across the top.

IMG_9313

This is the happiness that is homemade bread.

We got a little too excited over our first loaf of bread and pretty much demolished it in under a half hour.  That might have been okay if we were only making one loaf.  But we had planned on making three.

Yes, three.  Amy and I have always been over achievers.

Every recipe used the master recipe dough so that made the starting out process easy.  Our next loaf was "Sun-dried Tomato and Parmesan Bread" and it tasted just as scrumptious as it sounds.

IMG_9311

This was one of those recipes that I second guessed everything I was doing.  Was the bread rolled out too thick?  Was it too thin?  Is that a proper rectangle?  Was everything evenly spread out? 

And guess what?  None of that mattered.  Right or wrong, it still would have come out as a delicious hunk of tomato, parmesan, and bread.

IMG_9320

Like this.  I totally meant to make it in an 'S' shape.  That was, of course, thoughtfully planned out.

Yeah, okay. 

This lovely 'S' shape occurred because I am pretty sure I rolled my dough out too thin.  Then when I went to transfer the dough from the pizza peel to the stone, I had a bit of an issue.  An issue that is near impossible to correct because it involves a stone that is 450 degrees.

IMG_9327

In the end, it didn't matter.  The bread was still warm, crisp and filled with a mixture of the richness of Parmesan and the wild flavor of sun-dried tomatoes.  I think this was Amy's favorite.  Especially considering she texted me a few days ago a picture of a loaf of it that she made on her own at home. 

As if we needed more bread at this point, we pressed on to make a 'Crusty White Sandwich Loaf".  This was mainly to satisfy finally using my Italian and French bread loaf pans that I got for Christmas.

Though I loved, really loved, the Sun-dried Tomato and Parmesan bread, after this last loaf I don't think I could pick a favorite.  The Crusty White Sandwich Loaf is exactly what you get when you buy stick bread from your local supermarket's bakery section.  Except, of course, it's better.

IMG_9340

See the little bumps?  Don't they make it look authentic? 

That's the glory of the Italian loaf pan.

See the little breakage at the top of the loaf?

That's the idiocy of someone who will remain nameless (hint, it wasn't Amy) putting too much dough on the pan.  By the time the dough had risen, it was lopped over the side of the pan.  I did my best to stretch it out, but that beautiful wrinkle still happened.

Let's just say it gives the bread character.

IMG_9336

If you love baking and if you love bread, this method is for you.  If you love baking but you don't love bread, please seek bread therapy.  If you love bread but don't love baking, buy this book for someone you love who likes to bake.  Then they will bake the most delicious breads ever, and hopefully, share them with you.  I guarantee, the discovery of how easy it is to make artisan bread at home is something that no one can keep to themselves.