Showing posts with label Food Network Magazine. Show all posts

Tuesday, September 16, 2014

Blasé Mac and Cheese

Recipe: Alton Brown's Baked Macaroni and Cheese
Time: 1 hr 5 min*
Ease: 2
Taste: 4
Leftover Value: 4
Down the Drain or Keep in the Strainer: Down the Drain

*Needs additional resting time at the end

I am always on the hunt for the perfect mac and cheese recipe.  I should probably just stop while I'm ahead.  I have two perfectly good recipes that I use, one which Hubby likes, the other which he does not.

IMG_8910

I've been making Slow-Cooker Mac and Cheese since we were first married.  It is, as with most things in the slow-cooker, insanely easy and incredibly delicious.  My family loves it, I love it, but Hubby is not impressed with it.

Then I discovered Healthy Mac and Cheese and he fell in love.  Nothing else can measure up to it now.

Though I love Healthy Mac and Cheese it requires a decent amount of active work, and I much prefer a mac and cheese that everything can be tossed into the pot and left to melt together into cheesy goodness.*

Only to drive myself crazy, I continue to experiment with different mac and cheese recipes.  I expected this recipe to be amazing because it was not only by one of the Food Network's famous chefs, but it was also listed as the most popular Food Network recipe of all time.  Of course, this was based on page views on foodnetwork.com and perhaps the viewers who actually made the recipe all had the same experience as me.

Or perhaps not.  We'll never know.

*That rarely happens with any mac and cheese recipe, save for boxed mac and cheese.

IMG_8906

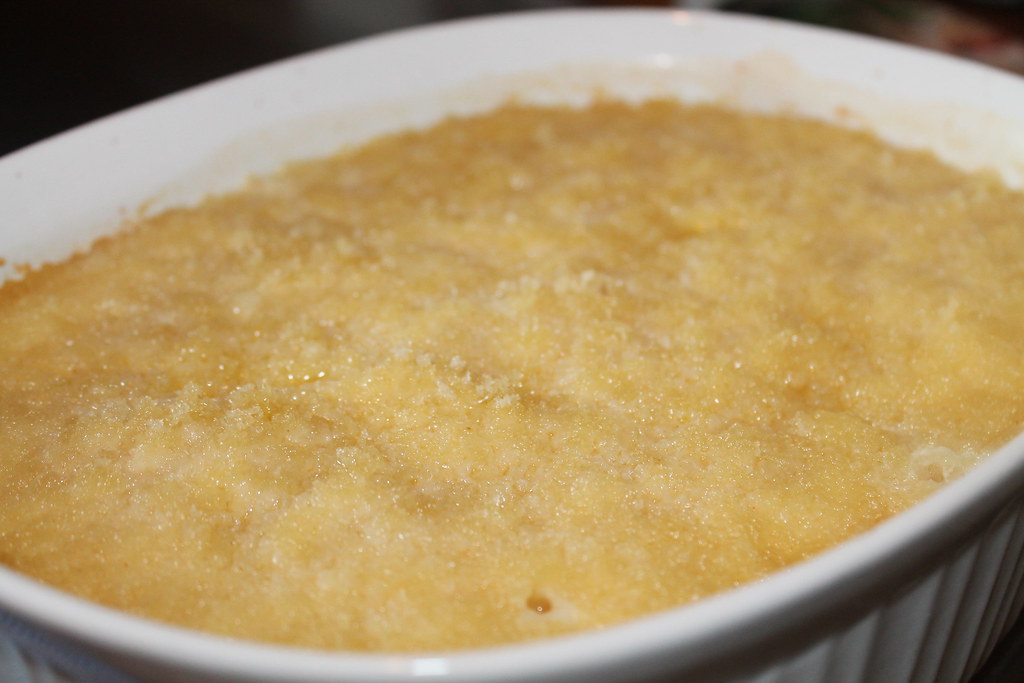
The major plus with this recipe was that the directions were easy to follow.  If you know anything about me by now, I followed them exactly.  My first issue was when it called for stirring in the cheese.  Most mac and cheese recipes will explain to let the cheese melt to a certain point of smoothness, this one did not.  So I let it warm and melt a little, but didn't wait until it was bubbling with cheesy gooeyness.

If it doesn't tell me to do it, I assume I don't need to waste the time.  In this case, it didn't seem to make a difference.

My last issue was the resting time for the dish.  After the macaroni is pulled from the oven the recipe states it should rest for five minutes.  I'm going to admit, the resting time is usually something that I fault on.  Instead of letting my meat rest before slicing, I dig right in.  Instead of letting bread cool to a temperature that will not burn human hands, I brace myself for burns and begin cutting.  Perhaps it is a patience issue, but I think it might really be a food/hunger issue.  However---this time, I waited the five minutes to let the mac and cheese 'rest'.

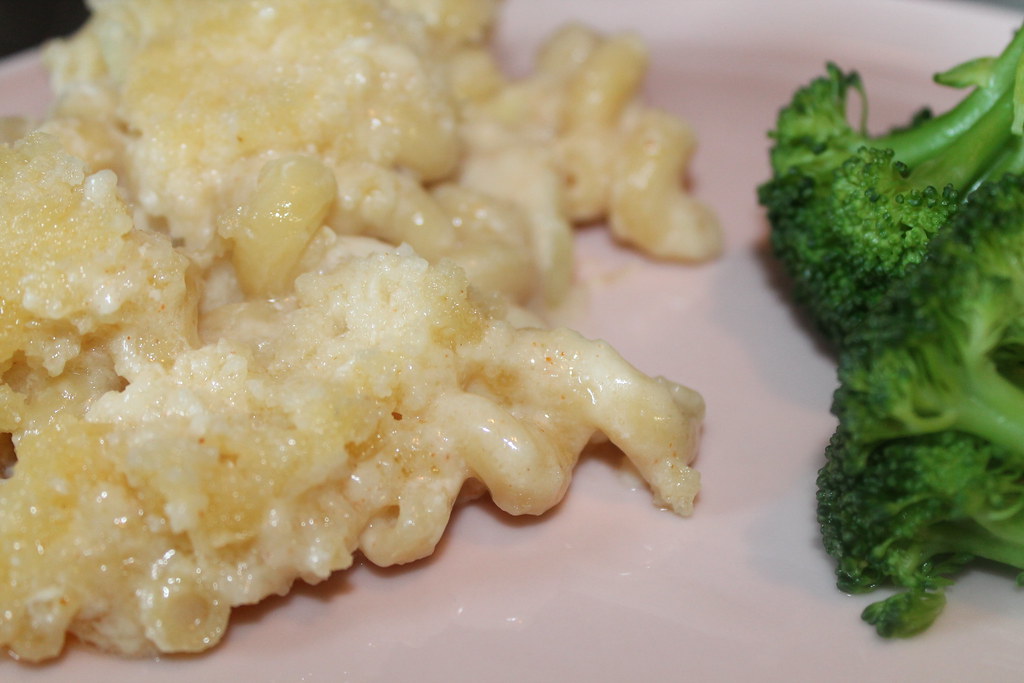
But this still happened:

IMG_8917

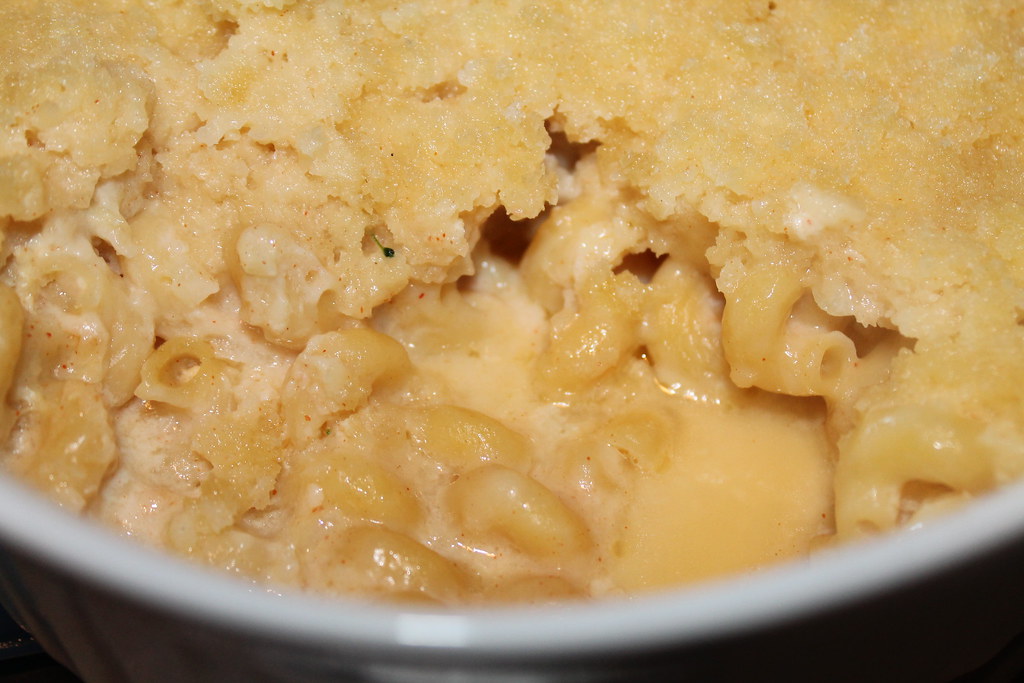
I'm pretty sure that there shouldn't be a lake in the dish after I scoop out a serving.  When I went back about twenty minutes later to give the mac and cheese a second try, it scooped out much cleaner.  That said, if you plan to attempt this recipe, let it rest longer.  It not only prevents cheese floods in your dish, but it also provides a better texture to the noodles.

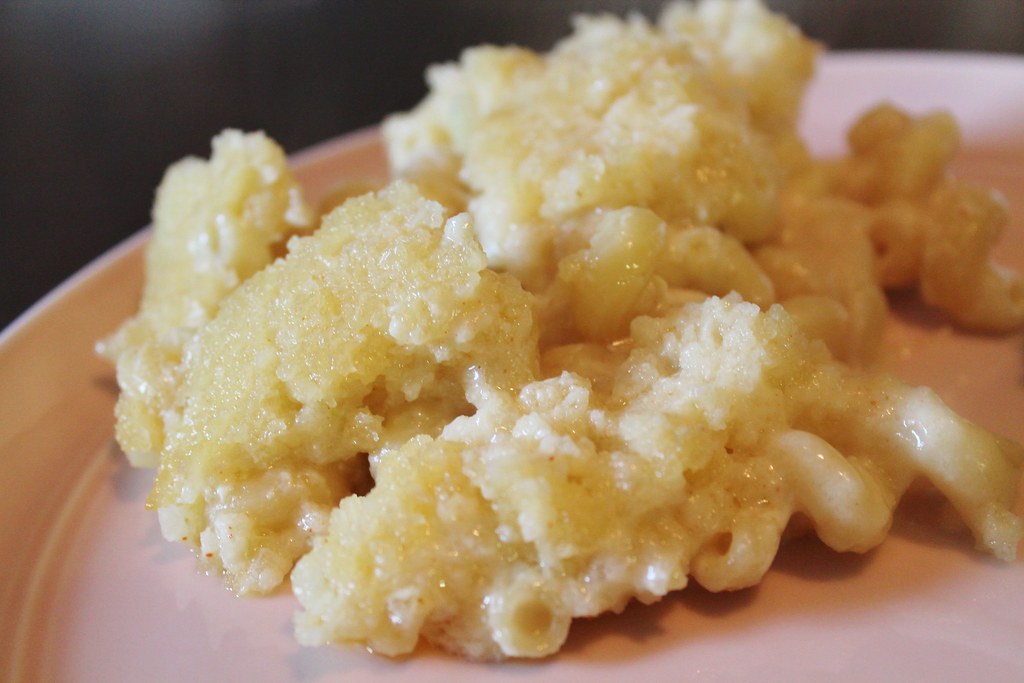
Ultimately, no matter how long this dish sat it wouldn't compensate for the overpowering onion flavor and crunch of onions throughout.  I thought it was odd that the onions were added at the same time as the milk, typically they are fried alone so that they will soften before other ingredients are added.

The bread crumb topping was unnecessary additional calories.  While I love to use panko breadcrumbs in many different dishes, mixed with butter and sprinkled on top of oniony mac and cheese is simply a waste. 

IMG_8913

Looks like my search for perfectly fabulous mac and cheese has yet to find an end.


Friday, February 28, 2014

Soft Pretzels

Recipe: Soft Pretzels
Source: Food Network Magazine
http://www.foodnetwork.com/recipes/food-network-kitchens/soft-pretzels.html
Time: 3 hours
Ease: 8
Taste: 8
Leftover Value: Good the next day, but not for much longer. 
Down the Drain or Keep in the Strainer: Keep it in the Strainer!!

IMG_6896

Move over Super Pretzel, homemade soft pretzels are here.  These came at the request of my younger brother who wanted to have pretzels for dinner.  Though I do love a good carbohydrate all by itself, I immediately knew that these pretzels would be served with burgers and hot dogs stuffed inside.

The ingredients for this recipe are so insanely basic that more than likely you already have all this on hand:

Butter
Dark brown sugar
Active dry yeast
Flour
Salt
Baking Soda

When cookbook authors talk about pantry "staples" these are the things I picture.  Not items like dried lavender, chipotle peppers in adobo sauce, or canned artichoke hearts.  Believe it or not, there are some lists that actually include these things.

I found this recipe in the October 2013 Food Network Magazine, but was so happy for you that it is posted online.  The only thing I like better about the magazine layout is that they numbered the steps and matched them with pictures of the process.

I can't number the steps for you, but here are the basic pictures of the process.

An hour of the pretzel time is spent waiting for the dough to rise, however, we all know that hour is never spent sitting around twiddling thumbs.  I spent mine doing dishes and getting my hot dogs, hamburgers, and other sides ready.

IMG_6861 

After the dough has risen and been kneaded, divide it in half, and then divide each half into six equal sized pieces.

IMG_6864 

The recipe said to tape a 24-inch long string to the counter top to use as a guide for rolling the pretzels.  I did this and found that the string absolutely refused to stay in place.  If you place two pieces of masking tape 24-inches apart, there really is no need for string.

IMG_6868 

Shaping the pretzels was my favorite part of this recipe. 

IMG_6870 

It was also the most time consuming part.  The recipe makes 12 large pretzels.  

IMG_6872 

Which means rolling, twisting, twisting, and folding back 12 pieces of dough--each with a mind of its own.

IMG_6873

It worked out perfectly that these pretzels, while in the dough stage have the typical two pretzel 'holes', when left to rise ended up puffing out and filling the empty spaces....like buns.

Because, after all, that was part of their purpose in my life.

Waiting another 30 minutes for them to rise was probably the most painful part of this recipe.  After already having to wait an hour for the dough to rise, 30 more minutes is torture.  Especially when all I could do was think about biting into a salty, mustardy bite of soft pretzel.

Despite the amount of time these consume, can I just pause to say: how on earth can you top making your own fresh pretzels?   

Perhaps by making your own homemade bread...without a bread machine.  More on that to follow.

I gave these pretzels an 8 for difficulty because the length of time combined with the rolling and shaping, as well as the big finish coming up of boiling and baking.  

IMG_6884

After the pretzels sit for 30 minutes, they are then put into a boiling water bath for a total of 1 minute 30 seconds.

The recipe says to cut the wax paper the pretzels have been rising on up like so:

IMG_6886

This makes it much easier to transport each pretzel to the boiling water.  However, the recipe also suggests using tongs to pull the wax paper away--this is completely unnecessary.  The wax paper pulled away easily using only my fingers.  Why bother pulling out and dirtying a utensil if not necessary, right?

It's all about simplicity.  As you can see, that's why I make things like pretzels that take three hours.*

*Hmmm....I think my priorities are a little confused.

IMG_6887

The boiling water bath is the busiest time of the recipe, but also the most exhilarating because you are moments closer to eating fresh delicious soft pretzels.

IMG_6888

After the bath, set the pretzels on baking sheets.  You should be able to use the same sheets from before.

IMG_6891

Here is where I made a mistake the first time I made these, however, I think it was one of those mistakes that made the recipe all the more better.  In my haste to be enjoying the warm baked delight that is soft pretzels, I thought the pretzels were supposed to be brushed with butter before baking.  Turns out it is supposed to be after baking.  In my world, more butter means more happiness.  

Bake at 425 degrees for 12 to 15 minutes.

20131209_185254

They couldn't be more perfect.  They were thick enough that I could slice them down the center and put either a hamburger or sliced hot dog in between.

20131209_185509

Next time, I'll have to try coating them in cinnamon sugar....my second favorite way to enjoy a soft pretzel.